If you’ve ever used a high end camera with a great zoom lens or even multiple lens attachments, then you know all about refractor telescopes and how the dioptric lenses they use help to form a starker up-close image. These refracting telescopes are the main focus of our review, seeing as there are so many options on the market. Many researches, but also artists and photographers, use these devices to allow larger apertures while seeing a far away image – such as a star – in our review we’ve taken a look at the entire popular market and narrowed the list down to only those instruments which make for the best refractor telescope.
In researching these instruments and ranking them based on their quality and usability, we took a look at many specific features, the most important of these include the aperture ratio – meaning the diameter of the light collecting region and resulting size of the image – as well as the focal length ratio. Some instruments were considered easier to handle and better assembled if they came pre-fabricated straight out of the box, though we did give due consideration to devices with some assembly requirements. Additionally for such high costing scientific instruments, refractor telescopes with a good warranty ranked highly for this reviewing process. We’ve compiled a list of the 5 best models, and the Sky-Watcher ProED 100mm just tops them all.
More features: ED Schott glass, 8×50 RA viewfinder
This professional refractor telescope is a market favorite, mainly because it comes with ED SCHOTT Glass that creates an ultra-high definition with a much wider aperture that offers a brighter display. Total aperture length comes in at 120mm and offers the potential of much brighter and better pictures with a Crayford-type dual-speed focuser along with 2-inch and 1.25-inch adapters.
This is a fairly hefty instrument and some manual labor and additional purchases will need to happen as it doesn’t come with a traditional tri-cam stand. However for amateur to semi-professional astronomers no other telescope offers this level of performance. Its design is also very unique – hand crafted – and features a signature Black Diamond metal finish with contrasting off-white aluminum casting; all materials are highly durable and made to stand the test of time. Additionally, these materials include Metallic High-Transmission lens Coatings which eliminate virtually all false color from an image; refractor optical tubes have also been “light-baffled” to minimize stray light and prevent picture distorting reflections.
This one of a kind tool is crafted to deliver optimum visual and photographic performance, especially when observing bright planetary objects. Also, for its price it includes the safety of a 2-year limited warranty on all parts, making this a very dependable investment.
More features: DC servo motors, adjustable height tripod, USB port, 40,000+ objects database, 354x magnification
For bi-lingual or non-English speaking users the NexStar+ hand control offers multiple language programming options to improve the usability of the telescope in your home – these include language settings for English, French, Italian, German, and Spanish.
Once you have your ideal setup, usability is more than simple and you’ll benefit from this scopes insane focus ratio (f/8) or up to 150mm for the perfect high contrast planetary views at a distance. Additionally the focuser can be used with both the 2-inch and 1.25-inch accessories. This device is very technology based and includes integer gear ratios and permanently programmable periodic error correction to allow long exposure imaging and immediate focus back on a previously viewed object or plain of the sky. Other technologies include all new motors for an improved tracking performance without interference from the motor housings, and improved latitude range from between 7 degrees and 77 degrees.
Dynamics include an adjustable height tripod with an updated industrial design that offers more rigidity, less flexure, and improved aesthetics. This telescope includes a USB port and an accessible database familiar with up to 40,000+ objects in the night sky. Paired with a Nighscape camera this telescope will provide brighter images on close as well as deep-sky objects for dazzling images.
More features: StarPointer Finderscope, 213x magnification, manual alt-azimuth mount
For amateur astronomers on a budget this telescope is one of the best – first because it comes with the bonus Starry Night Basic Edition Software which will help you on your way to navigating the night sky.
This software includes coordinates and distances for specific planets, stars, groupings, all based on your location and the time of the year. The telescope itself comes with a 90mm fully coated glass optics refractor along with a lightweight frame and tri-stand manual alt-azimuth mount. Straight out of the box you can start focusing this telescope and put it to use and it requires no tool setup; additional accessories do include two eyepieces (20mm and 10mm), an erect diagonal image, and a finderscope. For further ease of use this tool includes a panning handle with a clutch for smooth and accurate pointing; the tripod is also highly adjustable.
Made from lower grade materials this telescope is much more affordable and weighs less than almost all other refractors on the market. However for its price you get an impressive aperture along with an unprecedented focal ratio of f/11 for imaging on very distant objects. This compact model will give you access to dazzling views of the sky or even just close-ups on nature during the day.
More features: three replaceable eyepiece included, adjustable full size tripod, optical coating
Gysker Infinity AZ 80mm Refractor Telescope has comes with an impressive focal length of 400mm, especially considering that this is the budget choice for our list for astronomers with little to medium amounts of experience stargazing.
As well, this refractor includes a focal ration of f/5 with a rack-and-pinion focuser and the option of using three different eyepieces that include a 25mm low, a 10mm medium, and a 5mm eyepiece for the highest level of magnification. All components in this design are made from a combination of metal and plastic parts that will not only stand the test of time but are also offer a wide range of adjustability for specific charting of the heavens. For enhanced brightness, the telescope sports a multi-layered glass green-coated optics. It also comes with detailed instructions for easy assembly, complete with pictures of the parts.
The focuser type is rack-and-pinion but none of these elements are springy or work to distort the image or sag and lose the picture; instead they offer the possibility of high quality images with the right nightscape camera and a locked focus. This telescope is a great choice for astronomy hobbyists as it comes with phenomenal options for magnification and it’s highly portable.
More features: adjustable-height tripod, equatorial mount, two Sirius Plossl 1.25″ eyepieces
This particular beauty comes with a magnificent EQ refractor that has a large 120mm ultra-clear aperture; this means the telescope will be ideal for great light gathering and big bright views.
Although this telescope does have a short focal length at just 600mm (f/5), this limited length will offer exceptional rich-field performance; other additions such as the 25mm Plossl and AstroView 120ST refractor also help to ensure a sprawling 2.1 degrees of sky while viewing. For a better sense of this scope, that amount of sky encompasses entire double clusters in the same perspective such as Perseus, Pleiades Cluster, or North America Nebula. While viewing clusters such as these, the 6×30 finder scope will let you accurately aim the refractor anywhere in the sky and then simple align until crosshairs are centered on the object you want to view.
Telescope comes with two 1.25 inch Sirius Plossl eyepieces which offer sharp views and the option of wider images or a more direct focus on one particular thing at a time. One of the customer favorites about this product are its AstroView EQ mounting system with three legs and a slow-motion control while scanning the heavens; an included polar-axis scope will allow you to achieve polar-alignment quickly and accurately.
The remainder of our guide is organized with a segment explaining features and uses of these features first and foremost – this way amateur and mid-level astronomer hobbyists can easily understand all of the technical terms associated with buying and using a refractor telescope. Following these feature specifics we have answered frequently asked questions and included our top nominations for the best refractor telescope.

The reason so many users can benefit from owning a refractor telescope is mainly due to their unique portability; these are lightweight, yes, but their components are also uniquely designed to travel well and stay in focus at all times. This means once you’re to a location, any beginner could easily set up and have instant hassle-free access to the universe. Not to mention better and bigger optics that gather more light than common telescopes. Also the higher the price of the instrument, typically the smoother and farther your focus will be, the wider your wide lens will show, and the more detailing on a planet your narrow lens will offer. For evidence of this simply compare the Sky-Watcher ProED, which is a highly professional instrument that uses refractor lenses, to the beginner friendly Gskyer Telescope. Same usability overall, but completely different functions, materials, and capabilities based on their design and price margin.
First things first, once you’ve followed the manual instructions for complete assembly, you’ll immediately want to correct your telescopes alignment and level your telescopes mounting. Without these adjustments the telescope will not track objects correctly as they appear to move across the sky due to the rotation of the earth.
Some basic knowledge which will assist in the alignment process is (a.) the northern hemisphere is the best direction to align the telescope so you have the best view to the south; this is due to the tilt of the earth’s axis. (b.) Establish where South is and then raise the RA axis of the mounting so that it is aligned on Polaris (the North Star); to use Equatorial Mounting to good effect, tilt the Right Ascension axis of the mounting so that it points in the same direction as the axis of Earth (towards Polaris). The mounting has a tilting mechanism built in to make it easy. (c.) You may find it necessary to adjust the height of your tripod at this point, once you’ve done so make sure you lock the setting in place. (d.) Finally, to set the mounting to your new angle, loosen the locking device (this may be a clamp or a ‘lock-nut’ on the adjusting screws). Screw the adjusting screws in or out to raise or lower the RA until 51.4° is aligned with the pointer.
The telescope should now be aligned. Turn your finder and make sure you’re facing the South – the finder is often a cross hairs or red dot through your telescopes sight, but additionally you can adjust some finders and fit them to a lower power eyepiece – depending on your immediate need. Looking through the finder, Polaris should be visible and centered on your red eye sight or in the middle of your crosshairs – this is often your starting coordinate or focal point in the sky before navigating the celestial plane and finding moons or planets. As you navigate you’ll constantly need to adjust your alignment for different objects; to check the alignment select any object in the sky. Release the RA and Dec clutches and locate and centralize the object in the finder. Look through the eyepiece of the main telescope and centralize the object using the fine adjustment drive knobs. It’s that easy!
As you’ll see many of the below mentioned features are listed with telescope specifics above in the detailed reviews of our top products. In this section we further elaborate on these features and many of the telescopes which best match the ideal qualities for a feature.
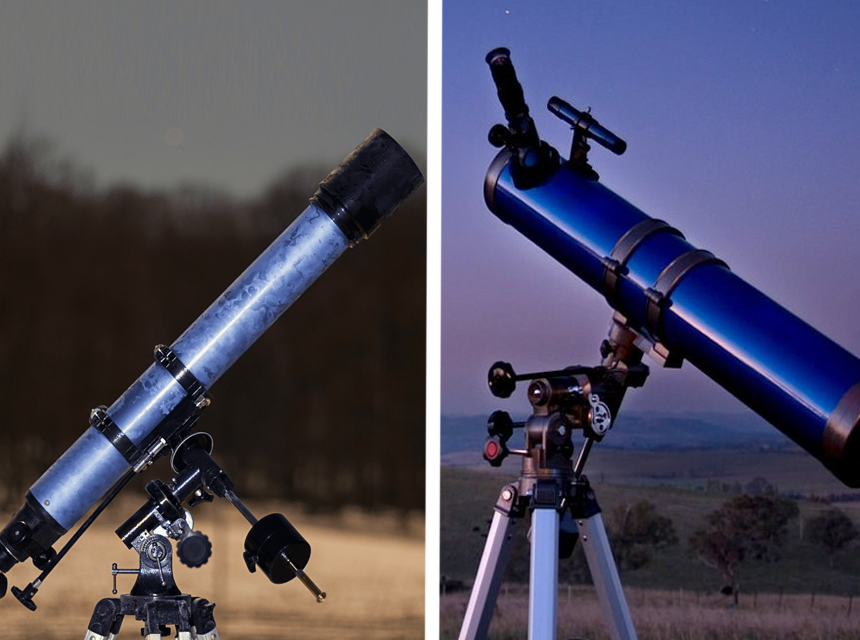
The mount is just the base on which the optical tube rests and can be adjusted. There are generally two kinds of mounts and these include the Alt-Azimuth mount and the Equatorial Mount. Astronomers have different preferences over which mount they use or suggest using, especially consider that an equatorial mount is more complicated to use and involve aligning its axis with the earth’s rotation. However, this also makes Equatorial mounts better to use when tracking objects in the sky.
Alt- Azimuth mounts on the other hand perform very easily and typically come with technologies to make them easier to use. These mounts operate by allowing the optical tube to move up or down and side to side (or like a regular photo tripod).
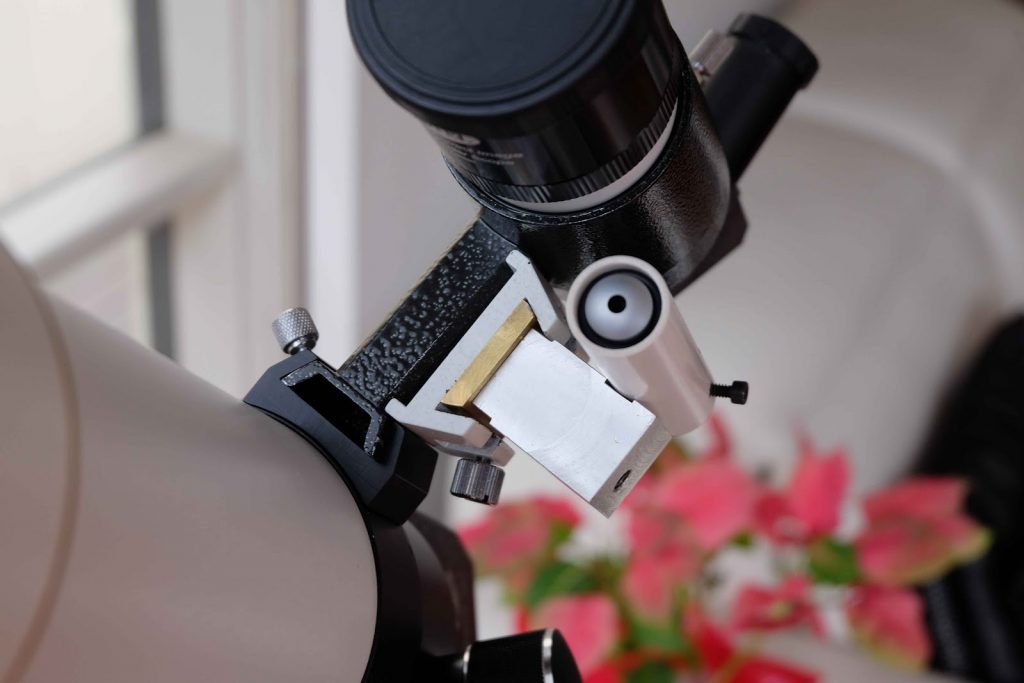
Focal length is the measurement in millimeters from the objective to the eyepiece and it determines the magnification on an object when you pair your telescope with an eyepiece. This is why eyepieces are listed with millimeter measurements the same way focal lengths are listed with millimeter measurements. The distance is typically the measurement from the lens to the eyepiece and represents a theoretical distance based on how light bounces and a picture is perceived by your eye or a camera.
Focal ratio likewise defines a measurement between the focal length of the scope and the aperture which will give you the overall f-number size that constitutes (a). the portability of a telescope, (b.) the speed of your exposure time, and (c.) the necessity of tracking an object in the sky. Portability: the small an f/ratio the smaller the tube carrying length. Exposure: The smaller the f/ratio the shorter the exposure time for a camera and therefore you can capture images faster with less glare. Tracking: The smaller the f/ratio the less you’ll have to track an object as the earth rotates.
For the most part this feature makes shorted focal ratios seem preferable – and they are if you’re specifically taking photographs – however for general astronomy and watching the night sky, when you’ve got a higher f/ratio you can see things much farther away in better focus – such as Jupiter’s rings. For the best of both worlds you should consider a telescope with an f/ratio that lands somewhere in the middle; such as the Celestron Advanced VX.
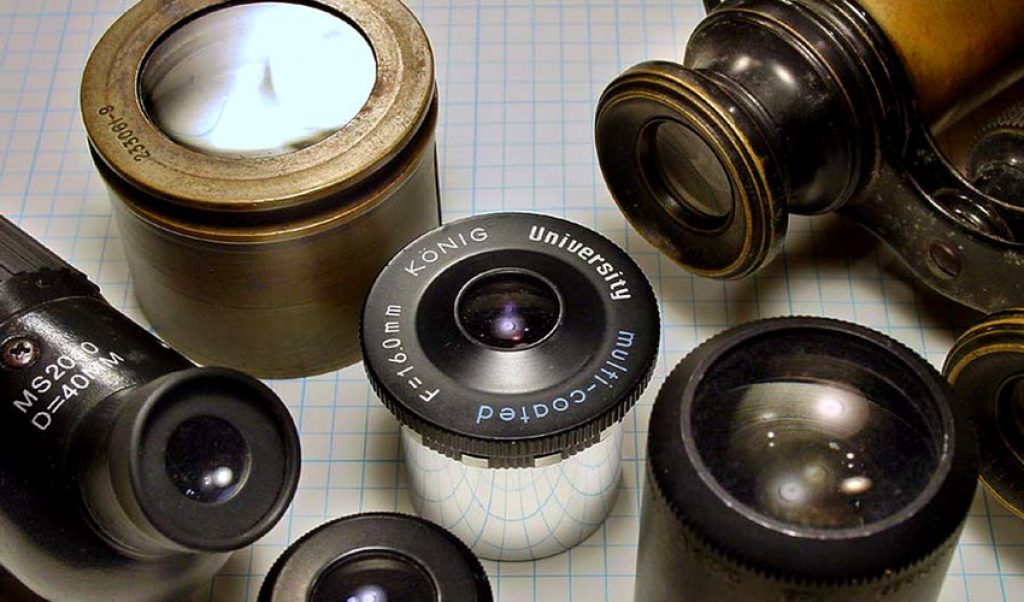
For your given aperture length, the higher you magnify typically the darker your image will be – and therefore harder to see its details. The best magnification setting is actually 50 times your telescopes aperture in inches. For instance, a high-quality 4-inch scope at 100mm shouldn’t be pushed beyond 200x magnification, otherwise what you see through it would be really poor quality.
The telescopes ocular fits into the focuser to provide greater magnification, and different eyepieces offer different magnifications – typically telescopes include 1-2 different eyepieces. For eyepieces and magnification, again remember that the best setting is 50 times your aperture in inches. These eyepieces will then work to further the focusing light which comes through the telescope to your eye. For beginners to mid-level hobbyists, the Gskyer Telescope and our budget pick for this list include three quality eyepieces.
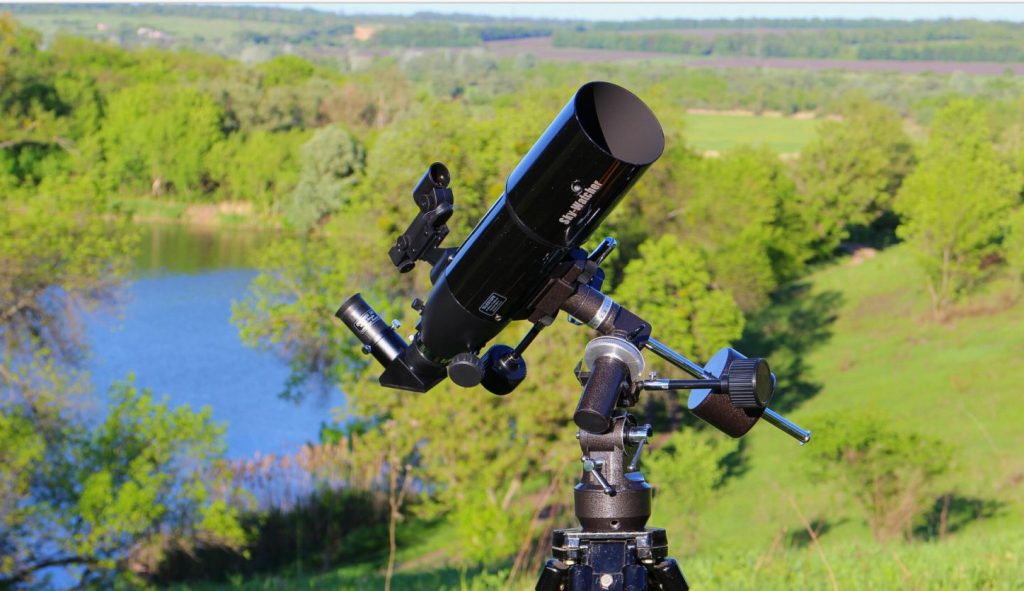
Telescopes below $500.00 are typically not worth the investment, these often feature low quality materials and weak eyepieces. If your budget were below $200 you’d be better off buying high powered binoculars and saving yourself the hassle of a low-quality telescope. That’ said, for the price, these refractor telescopes offer amazing optics for top quality photography and imaging of the night sky as well as close-up on nature during the day time. For beginners we suggest you start low – consider the Gskyer Telescope as it’s our budget pick for this list – and through practice as your astronomy know-how increases, save up for more expensive professional rigs including the Sky-Watcher ProED.
As always, if you’re sinking a lot of money into a purchase make sure you get the warranty which covers replacements and repairs for (at the least) a year from the date of purchase. This will give you time to test out the product and return it to the buyer if there are any unlikely manufacturing or shipping damages or errors.
Still stuck between different options? Look no further! These are our top 3 nominations for the best refractor telescope!
Sky-Watcher ProED. The best all around refractor telescope for our list, this comes with an insane aperture and an equally complimentary f/ratio for focused images that are detailed and bright and ideal for nighttime photography.
Celestron Advanced VX. Amazing telescope perfect for people who love taking pictures of far away objects and can be easily taken at any location with the weight of 30 pounds.
Celestron AstroMaster 90. 90 mm aperture of this telescope and easy to handle profile make it great for newbie astronomers.
