The heat has been used to smooth fabrics since the 1st century BC Trusted Source Clothes iron - Wikipedia Before the introduction of electricity, irons were heated by combustion, either in a fire or with some internal arrangement. en.wikipedia.org , but thankfully, the irons come a long way from using hot coals. Modern steam generator irons use hot water to make removing creases simple and easy. Your appliance, however, will have limescale build-up over time. The reason for this is due to the hard minerals, which are left behind after water is evaporated.
The limescale build-up can cause brown and white staining on clothes, water leakage, and eventually block the steam nozzle. All of this will leave you to wonder how to descale a steam generator.
That’s what we’re here to find out. We’ll look at how to descale some of the most common brands along with also looking at general tops. Read on to learn how to descale a steam generator iron!
The process of descaling involves removing limescale build-up, which will prevent your iron from blockage. The holes of the steam generator iron can become blocked due to the limescale deposits, and other issues can be caused by limescale, too, such as leaking and staining.
It’s essential to stay ahead of your steam generators descaling and be proactive instead of waiting for there to be an issue. Descaling will increase the lifespan of your iron and also keep it at its optimal performance.
After descaling, people can be surprised by the dramatic increase in steam production, not realizing that the issue had gotten so bad. It’s a good idea to descale your iron at least every three months. This will make life easier and avoid the need for costly repairs or replacement.
If you neglect your iron, then you may end up needing a new one. If so, there are many brilliant steam generator irons out there that produce excellent results. If you’re on a budget, you can also get plenty of great steam irons for under $50. If you do need to get a new iron, make sure you keep on top of its limescale build-up.
Step 1: Unplug your steam generator iron for at least two hours until it is completely cool
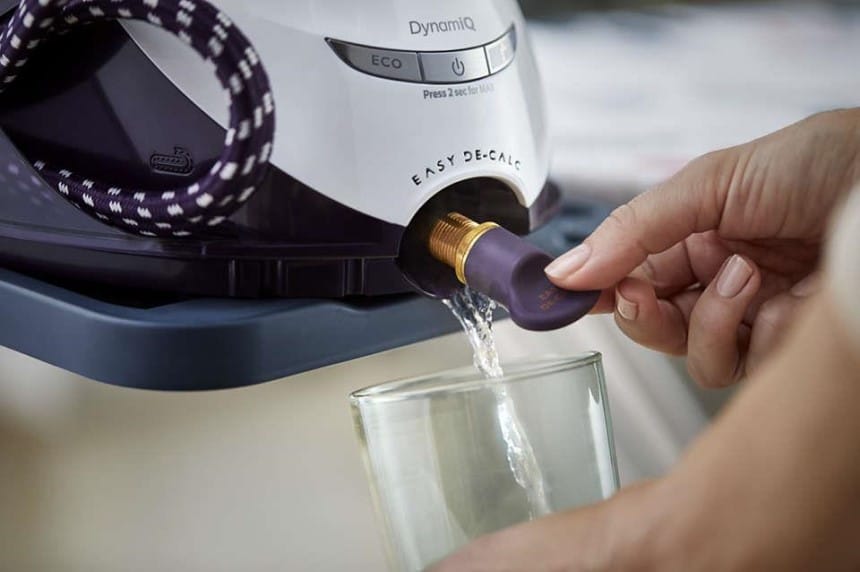
Step 2: Position the steam generator near the edge of a sink or a table. Place a cup of at least a 350ml capacity directly under the EASY DE-CALC knob.
Step 3: Take off the EASY DE-CALC knob. Allow the scale particles and water particles to flow out into the cup.
Step 4: Place the knob back and rotate it clockwise until it fits tightly on the iron.
Step 5: You can continue ironing.
If the Easy DE-CALC function is not something that you use regularly and you are experiencing brown/white flakes being released from the iron, it is a good idea to descale the soleplate. Here’s how to do it:
Step 1: Unplug your steam generator iron and let it cool off.
Step 2: Position the steam generator near the edge of a sink or a table. Place a cup of at least a 250ml capacity directly under the EASY DE-CALC knob.
Step 3: Take off the EASY DE-CALC knob. Allow the scale particles and water particles to flow out into the cup.
Step 4: Position the iron in such a way that the EASY DE-CALC opening is facing upwards. 500ml distilled water is then poured into the opening. The amount of water that you pour in differs for the PerfectCare Elite (GC96xx) and the PerfectCare Elite Plus (GC96xx). Pour 900ml distilled water into these models.
Step 6: Plug the iron and turn it on. Wait at least 5 minutes until the iron is heated up.
Step 7: Press the stream trigger continuously as you move the iron for three minutes on a thick cloth piece.
Step 8: When steam starts coming out, or when no more water comes out, you can stop moving the iron. You can continue ironing. If brown/white flakes are still present after descaling the soleplate, repeat the cleaning process.
When the CALC CLEAN light flashes on your steam generator iron, you need to descale it. Here’s how to do it:
Step 1: Make sure that your steam generator is turned on to fill up the water tank halfway. Set the temperature dial to CALC CLEAN if your iron has a dial on it.
Step 2: There is a SMART CALC CLEAN container that came with the purchase of your Philips Steam Generator Iron. Place your iron on this container.
Step 3: You will then need to press the CALC CLEAN button and hold it for at least two seconds until it beeps.
Step 4: The cleaning process takes about two minutes. Once the CALC CLEAN light stops flashing and beeping, you will know that the cleaning process is complete. Take a clean towel to wipe the soleplate until it is dry.
By descaling with the Easy Rinse function, you can increase the longevity of your iron. Here’s how to do it:
Step 1: Unplug your steam generator iron and let it cool off for at least two hours.
Step 2: Remove the iron from the base and detach the water tank if it can be removed from the iron.
Step 3: Make sure to hold the steam generator family with two hands and shake it well.
Step 4: If your model has a Calc Clean cover flap, remove it, as well as the Calc Clean knob or cap.
Step 5: Empty the steam generator by tilting it towards the sink. Refill the steam generator and empty it again. Repeat this process two times in order to get the best results.
Step 6: Return the knob/cap and flap on the iron.
Step 1: Unplug your steam generator iron and let it cool off for at least two hours.
Step 2: On the base unit of the iron, lock the iron in place. (If you are unaware where that is, look at the instruction booklet that came with your Morphy Richards steam generator iron.)
Step 3: In order to prevent water spillage, remove the detachable water tank. Turn the steam generator upwards. You should see the boiler screw under the base unit.
Step 4: Unscrew the boiler screw.
Step 5: After removing the screw, you will need the boiler tube along with its attachment. From the storage position, remove the boiler tube and the attachment connected to the boiler tube.
Step 6: Place the boiler tube attachment into the hole that was closed by the boiling screw. Make sure that the boiler tube is located in the boiler tube crevice.
Step 7: Turn the iron in a way that it is lying on its back by turning the steam generator back over.
Step 8: Replace the detachable water tank into the base unit after filling it with water. (Always use clean water to fill the water tank. Do not use any chemicals or descaling solutions as this will cause damage to the appliance.)
Step 9: Position the front end of the steam generator near the edge of a sink. This will allow the boiler tube to drop down into the sink. Make sure that the boiler tube isn’t squashed between the edge of the sink and the steam generator.
Step 10: Plug the iron back in and switch on the power.
Step 11: Press the descaling button and the steam trigger at the same time and hold them down until the descale button flashes and you hear a beep. The steam generator will begin the self-cleaning process. The water and scales will flow through the boiling tube into the sink. After about two minutes, the cleaning process will be complete, and you will hear three beeps. The descale button light will go off, and the iron will automatically switch off.
Step 12: Unplug the appliance from the switch.
Step 13: Once the iron has cooled down, remove the boiler tube, as well as the boiler tube attachment, and place them back in their positions in storage.
Step 14: Screw the boiler screw back in by turning it in a clockwise position. Make sure the screw is tight.
Step 15: When you use the appliance again, the descaling button will light up. Wait about a minute for it to register that the boiler has been cleared and for it to pump water.
There are many things you can do to ensure that limescale does not build up in your steam generator iron and cause any blockages in the steam holes of your iron. Prevention is better than cure. Here are some tips to help prevent limescale build-up:
Tip 1: Be cautious about the type of water you are using. This should be distilled water or demineralized water. This type of water is purified and won’t contain any minerals. You can buy distilled and demineralized water at a supermarket or a drug store.
Using water from the faucet will mean you need to descale your iron much more frequently. There is an issue, however, as specialized water can be expensive. If you do not wish to purchase water often, an alternative is to use a water filter. You’ll need to get one that removes minerals as a lot of them don’t do this, so you’ll need to double-check.
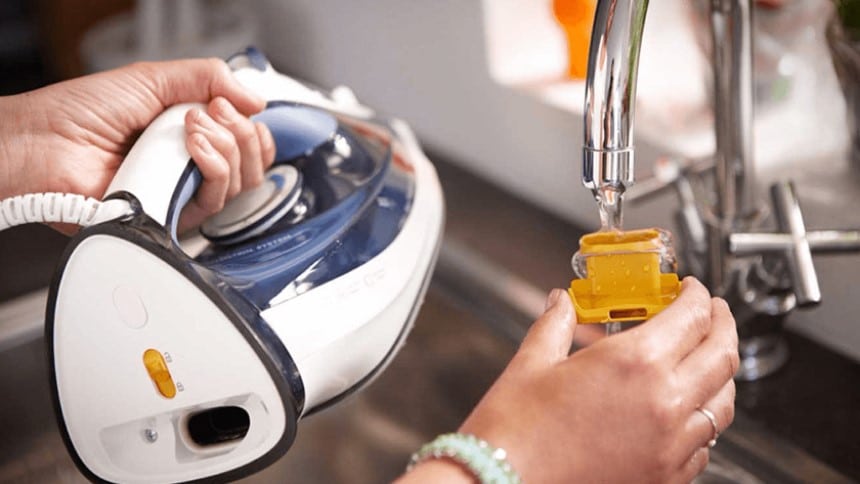
Tip 3: Use the correct temperature when ironing your clothes. Ironing your clothes at a temperature that is not suitable for the type of material that you are ironing will cause small bits of dust to melt on the soleplate.
This causes water to build up in the steam holes, which then leads to limescale. Ironing your clothes at the correct temperature will prevent this from happening as often. All clothing items have a label attached to them that indicates the temperature at which they should be ironed at. Clothing with prints on them requires special attention as it can easily melt due to the material that it is made from.
Tip 4: Empty the water tank. Once you are done ironing, and there is still water remaining in the water tank, make sure to empty the water. Storing water in the water tank can cause deposits as the water evaporated.
Make sure your steam generator iron does not have any water in it when it is stored for long periods. If you use your iron every day, then this will be less of an issue.
As with any type of electrical appliance, there will be a time when not even regular maintenance is going to solve its issues. If you go through these cleaning processes and still have an issue with your iron, then it’s probably worth getting one of the best steam irons available on the market.
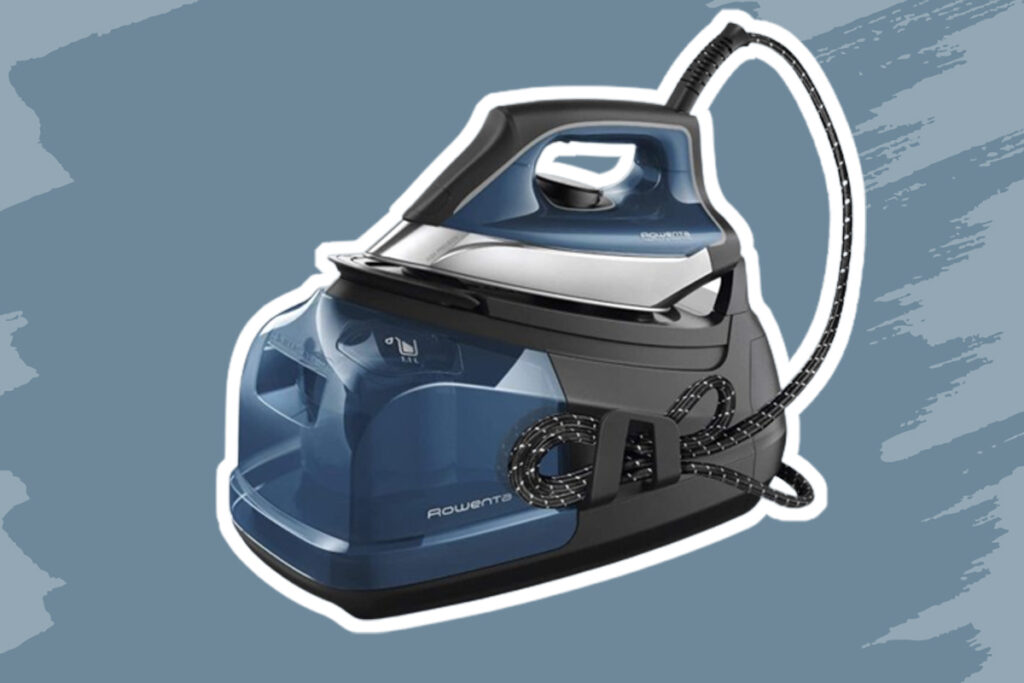
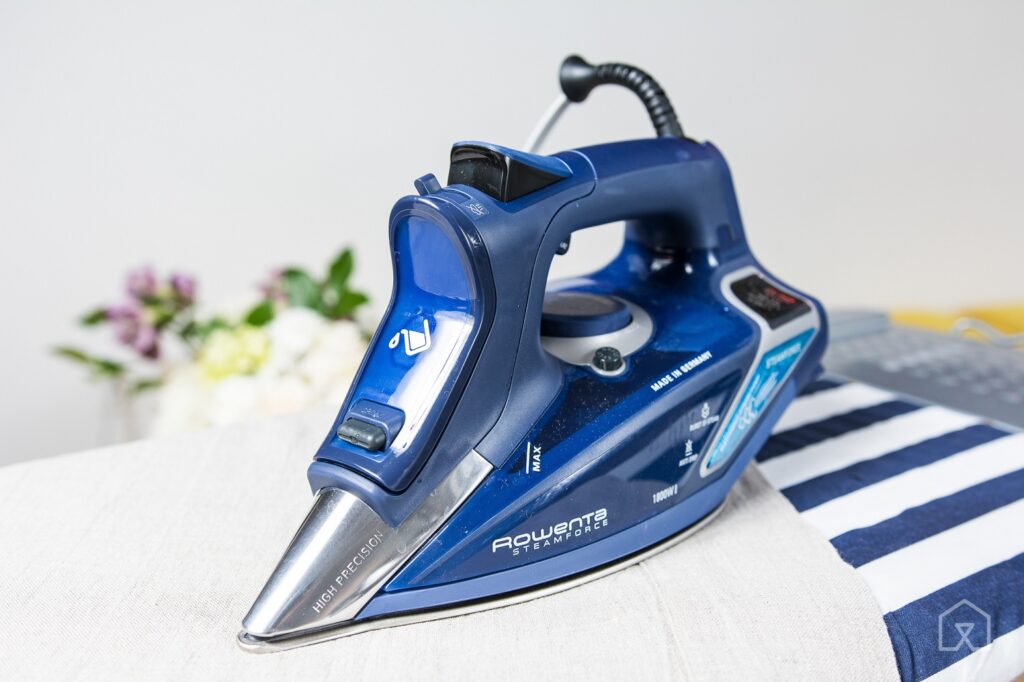
If you are looking for a new steam generator iron, check the Rowenta DG8520 Perfect Steam model that offers 1800 watts of power and 5 bars of pressure. While that is great, it may be a little over your budget. If so, the PurSteam 1700W Steam Iron is a brilliant affordable alternative.
It is important to know how to descale your iron, as well as how to prevent limescale from building up in your steam generator iron. This could ultimately save you time and money, as your iron will last longer, and you won’t need to be spending money on repairs or buying a new iron every few months.
All electrical appliances require maintenance and cleaning because we use them often, and it is easy to neglect cleaning them. Take into consideration all the tips and methods mentioned above to ensure that you get the best performance from your steam generator iron.
Descaling may seem like a chore, but you’ll be saving yourself time and effort further down the road. By following these methods, you should now know how to descale a steam generator iron.
