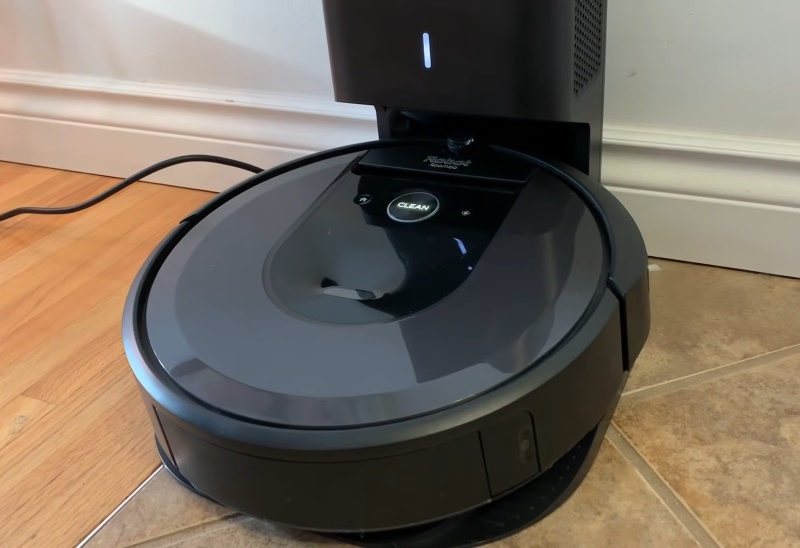
Getting a vacuum bot is one of the more convenient ways to keep your floors clean. You just set the cleaning schedule, and the machine will do the rest on its own. Of course, one of the more popular vacuum bots in the market at the moment is the iRobot Roomba. Variations of the bot include the 694 robot vacuum, i3 series, j7 series, and the s9+, among others, with some offering a mapping feature. As such, the question, “how to get my Roomba to map my house?” is common with most new buyers.
Fortunately, it’s not something you’re likely to struggle with, even if you’ve never used a vacuum bot before, and we’ve included all the necessary steps below.
Are All Roombas Able to Map Your House?
Unfortunately, not all Roomba vacuum bots are able to map your house. For instance, one of the cheapest Roombas in the lineup, the iRobot 694, doesn’t have mapping features. It also doesn’t offer zoned cleaning. What it does instead is zigzag around your space where it bumps into obstacles and reroutes until the whole floor is clean.
As for the more expensive i3 series, it’s able to map your home in neat rows. Therefore, asking how to get my Roomba i3 or j7 to map my house is the right question. The same is true for the j7 series and the s9+.
How to Create a Map with Roomba
With newer iRobot vacuum bots, you get visual simultaneous localization and mapping technology or vSLAM for short. This technology allows the device to create comprehensive maps of the floor by looking for unique areas. With that, it’s able to create markers or waypoints from which it can reorient itself and navigate to other areas of your home.
It stores this information in Smart Maps and can even store multiple maps in its memory. But how do you get this device to create new maps if you just moved or the vacuum bot is new? You can follow the steps below.
Step #1: Do a Roomba Mapping Run
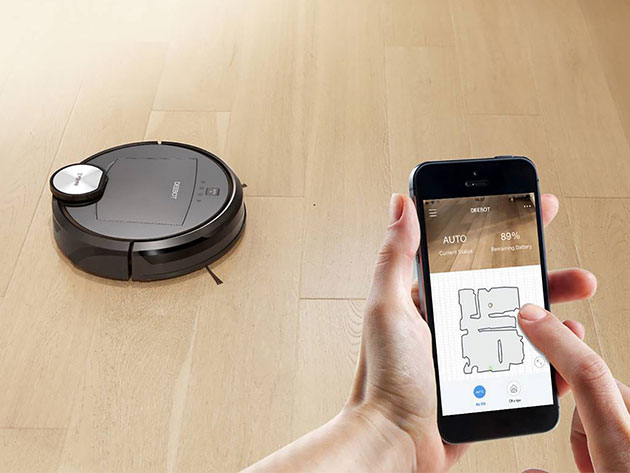
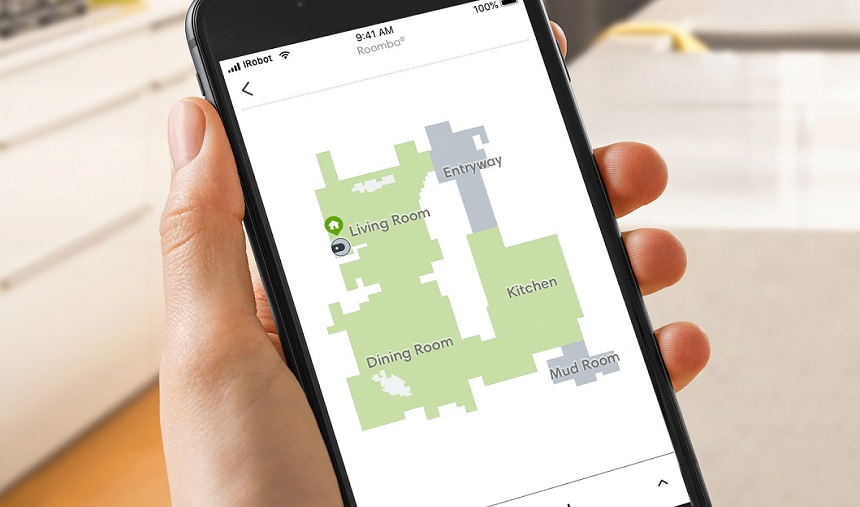
According to iRobot, to complete a mapping run, you only need to click the “Map” button on your phone app home screen. This will redirect you to the Maps list screen, which should be empty if the device is new. Click the “+” button on the top right of the screen, or you can click the “Create New Map” card.
With the mapping run, the machine doesn’t do any cleaning. Instead, it drives around your home, trying to look for unique areas it can use as waypoints while at the same time creating a map. It’s worth noting that it will explore your home using the charging station as a home base. As such, only use the mapping function after you’ve decided on a permanent spot for the charging station. Moving it later may confuse the bot and will likely need you to remap your home.
At the end of the run, the Roomba app should provide you with a clean map of the floor. According to reviewers, the Roomba with the best mapping must be the Roomba j7+ since it detects and avoids obstacles before adding them to the map.
Notably, if you have pets, you may want to consider the best robot vacuums for pet hair before even considering whether they can map your home.
Step #2: Send the Vacuum Bot on Multiple Clean-up Jobs
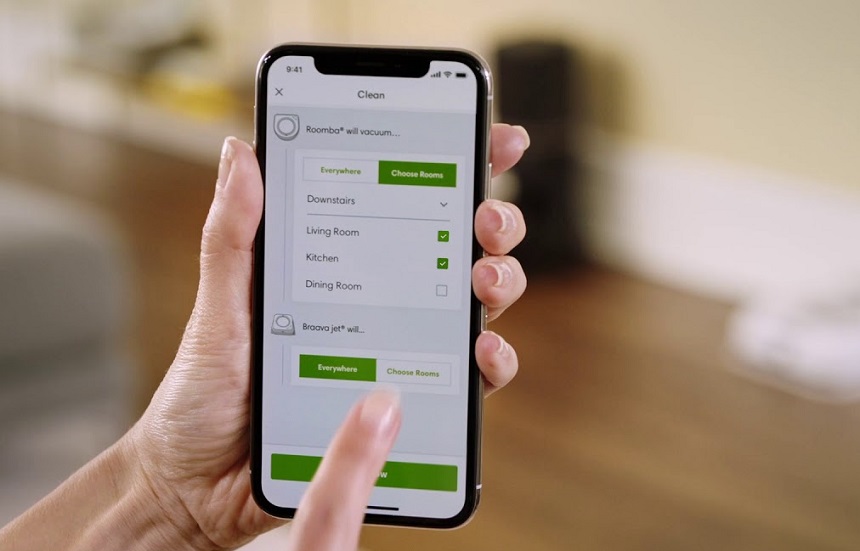
If you don’t want to do the mapping run, you can choose to have the machine kill two birds with one stone. This is where it cleans the floor while at the same time creating a smart map. However, it takes several runs for the device to complete the map, so you might have to wait a few days if you schedule it to clean in the morning.
If you’re impatient and have a particularly dirty floor, you can opt to send the machine out on multiple clean-up runs a day. Be sure to leave all but the outbound doors open so the machine can map the entirety of the house.
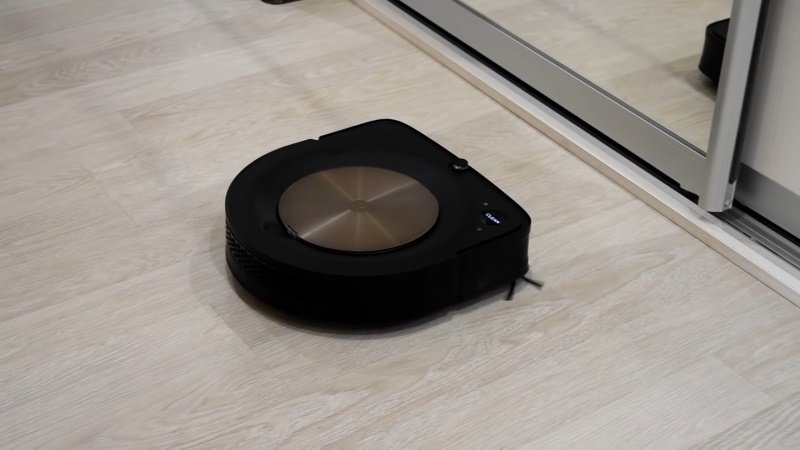
That said, reviewers have noted that the Roomba with the best combination of mapping and cleaning features must be the Roomba s9+ which, in addition to having “careful drive,” also has a self-emptying function.
Ultimately the Roomba is an excellent automatic vacuum for different types of floor surfaces. That said, you may want to consider or compare other brands as well if you’re trying to find the best robot vacuums for hardwood floors.
How to Customize a Map
Once the initial map is done, you can customize it as well with the steps below.
Step #1: Name the Map
As mentioned above, you can create multiple maps of your home. As such, it’s better to name them, so they’re easier to identify on the list. Ideally, you pick a space that identifies the map. For instance, if you have a home with multiple floors, you can name the maps as ground floor, first floor, basement, etc.
Step #2: Choose the Orientation
The orientation of the original map will depend on the location, and this may not work well for you. Fortunately, you can rotate the map using a 90-degree button on the map. Once done, click the ellipsis icon, which should open the map management options. You can then click the “Save Map Orientation” option.
Step #3: Set Up the Different Rooms
You can then choose to add, adjust, or delete room dividers to differentiate the various rooms in your house. The app offers guidance on how to set up the dividers with options such as rotate, move, or delete. There’s also the save button for when you’re done. If there are any changes to your room setup, you can also edit the room dividers at some point in future.
Step #4: Name the Rooms
Follow up by naming the rooms for an easier time reading the map. This should also help when you use the directed room cleaning function.
Check out some tips and tricks for Roomba j7, i7, and s9 series in the video below.
How to Remap Your Home
If you’ve moved around some furniture and installations in your home, you’ll likely have to remap the whole house. This, however, depends on the size of the installations moved. Small chairs, for instance, are not a problem for the vacuum bot, and it should be able to work around them. However, if it’s a couch, refrigerator, or some other major installation, the Roomba is likely to get lost, especially if it used the furniture as a waypoint.
Find the Reset Map Button
Open your phone or tablet app and locate the settings button. Once there, navigate to the “Advanced Settings” section, and you should be able to see the reset map button. Once pressed, you either do another Roomba mapping run, or you opt to send it out on multiple cleaning sessions until it has the lay of the land.
How to Clean Your Roomba Memory
Notably, the Roomba tends to collect more information as it’s cleaning your house and uses it to be more efficient. However, if you move, this information becomes useless, and you may have to clean the device’s memory.
In older models, you press and hold three buttons simultaneously. These include the home, clean, and spot clean buttons. For newer models, you can do a hard reset. This includes opening the phone app, going to the settings, and tapping the factory reset option.
Specifics of Roomba Map Updating
While you may expect your Roomba to keep updating the map in real-time, this doesn’t happen. The device will only update the map once it’s done cleaning. Also, as mentioned above, the device needs at least a few mapping or cleaning runs to give you a comprehensive plan of your home. From there, you can make some customization adjustments.
Furthermore, it’s possible for the device to update minor changes as it works. That said, if you make too many abrupt changes, the Roomba may lose its waypoints, necessitating that you do a hard reset of the whole map.
Of course, it also needs to be connected to a network for updates, and if your Roomba is not connecting to Wi-Fi, you may need to troubleshoot it.
Final Thoughts
The above is a step-by-step explanation of how to get your Roomba to map your house. It should be easy even for first-time robot vacuum users, and the best part is you might not have to do it more than once. After that, you set your cleaning schedule and can expect to come home to a vacuumed floor. With the higher-priced models, you may even get extra features like avoiding pet poop.