A bathroom fan will help to improve the air quality of the bathroom. This device is for ventilation, and it works to remove indoor air from the outdoors through a flexible tube or metal duct. It is not only good to install it, but many building codes require its installation for new construction or remodeling. When installing a bathroom fan, it is easier to do this via the attic. However, you might not have access to the attic. We discuss how to install a bathroom fan without attic access in this article.
Here is an entire process that will help you get the results you want, even if you don’t have access to the attic. This guide provides all the steps and information required to set up the device successfully, even when circumstances aren’t all that favorable.
Can You Install a Bathroom Fan by Yourself?
 Yes, you can. You can set up a bathroom fan yourself without calling the services of a professional. However, if you plan to do it yourself, you should have all the necessary equipment for installation. You also need to have the DIY expertise to set up the equipment. You need to follow the instructions for installation. Guides like this also contain information that can assist you in installing the bathroom fan.
Cost of Hiring a Professional
It is only normal that certain jobs require more expertise, skill, and confidence than other jobs. After all, not everyone can carry out a task like this, especially when you consider that there is no attic access. If you fall in this category, then you need the help of a professional.
How much will their help cost?
The cost of installing a new exhaust fan in the bathroom varies depending on the professional and the fan’s model to be installed. The cost ranges from between two hundred dollars to more than five hundred dollars.
Installation costs might be reduced or higher depending on the professional that you hire. Overall, we recommend that you have about four hundred dollars handy if you want a well-done job.
Things to Consider Before Installation
As with any other device or equipment you want to install, you will need the right tools and do the right things before you begin. This section covers all of the important things to consider before you install the bathroom fan.
Housing
Before you change the fan, you have to check out the housing of the pre-existing fan. Therefore, use the measuring tape to measure the dimensions of where the new fan will go. If the fan you are buying is smaller or bigger than what you currently have, you will need to make adjustments.
For smaller fans, you might not have a lot of issues as the space will contain the new fan. But larger fans will require that you cut out more space. Sometimes this isn’t practical and you might have to cut out a brand new spot for installation.
The keyhole saw will come in pretty handy in such situations.
 Size of the Fan Duct
 Size of the Fan Duct
As with the size of the housing, you also need to think about how the fan duct size measures up. If the unit you have and that you want to install are from the same manufacturer, chances are that they will have the same fan duct size. This is great and will not require any modifications on your part.
However, if it is from another manufacturer, then you will likely need to keep this factor in mind. In cases where the fan duct differs in size, you will need to buy an adapter.
Size of the Fan
If there isn’t enough space in the ceiling level, you might have to adjust the type of fan you buy. It would be best if you considered buying a low-profile bathroom fan. These are excellent for this purpose as they are smaller in size and thickness than the regular options.
If the size is not correct, perhaps it is smaller, you will lose efficiency and the extra space might result in rattling, which will cause plenty of disturbance to you.
Wall Switches
Another thing that anyone installing the bathroom fan needs to consider is the wall switches. If the fan you have already has switches, you will likely not require new switches.
However, if the model you buy comes with more features like a heater, humidity sensor, or others, you might need another set of switches to control it.
Additional Fan Features
You should also think about the extra features that might come with the new fan. Before buying the new fan, consider the extra features that you might want the fan to have.
As we pointed out, some models have humidity sensors. These sensors can be switched on and off depending on the moisture level and humidity in the bathroom. You might not need this feature if you are the only one using the bathroom. However, it comes in pretty handy if you have other folks that don’t use the fan. It also comes in useful if you are not looking to reach for the fan every time you enter the bathroom.
Exhaust fans make your time in the bathroom even more enjoyable as they come with Bluetooth speakers. One of such is the Delta BreezIntegrity exhaust fan. It is excellent as a fun option and comes with Energy Star certification too.
What You Will Need
 Before you set up the bathroom exhaust fan, there are several materials that you will require. If you are installing the fan yourself, these are the things that you will require for a successful installation.
- Bathroom exhaust fan
- HVAC tape
- Pencil
- Drywall
- Safety glasses
- Knife
- Duct clamps
- Insulated duct
- Lumber
- Vent cap
Installation Step by Step
If you have all of these materials available, then you are ready to begin the installation. Here are the steps required to succeed in setting up the exhaust bathroom fan without attic access.
Removing the Old Fan
Before you begin your installation of the new bathroom exhaust fan, you need first to remove the old fan. Here are the steps to removing the old fan.
Step 1 – Turn off the Circuit Breaker
The first thing you need to do to remove the old fan is to turn off the circuit breaker. The reason for this is obvious. Water and electricity are dangerous combinations, and nobody is looking to get shocked for a bathroom fan. So, check out the breaker at the panel box and make it inactive.
The light and bathroom outlet will not have power, indicating that you have successfully switched off the correct breaker. If you aren’t sure about whether it is switched off or not, you could use a non-contact tester to check the wiring. Switch on the tester and touch the wiring. If there is still power, the tester will begin beeping.
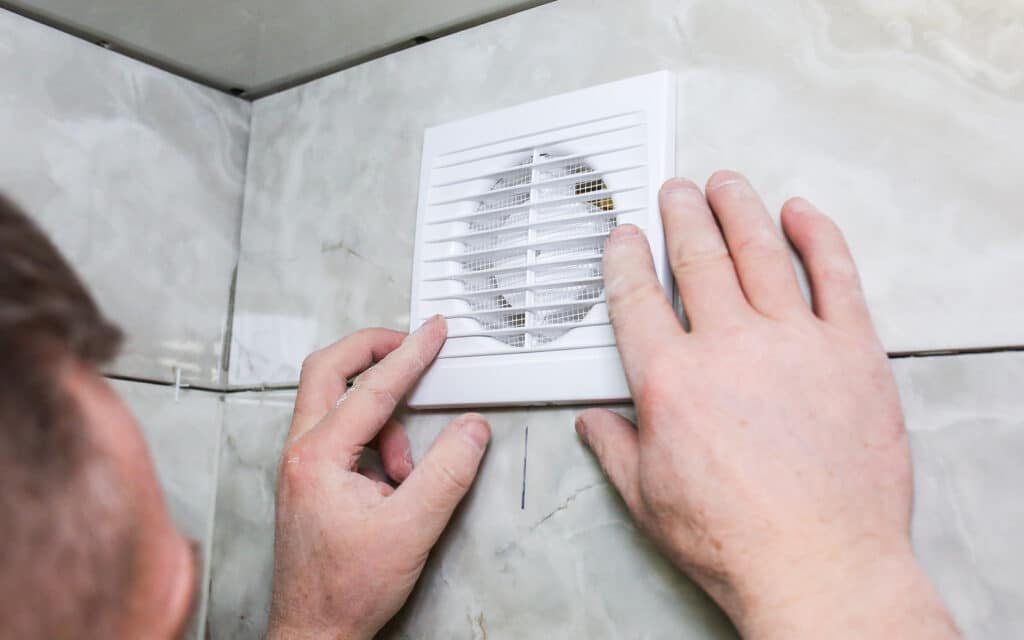
Step 2 – Detach the Cover on the Fan and the Fan Motor
 The next thing to do is remove the fan’s cover. Simply pull down the over and remove the metal clips that attach the grill or plastic cover to the housing.
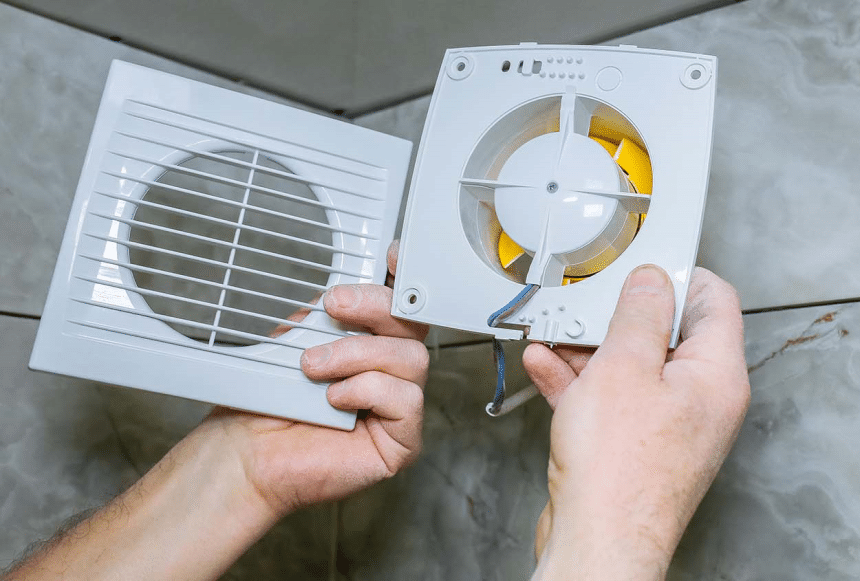
The fan motor will usually require separation from the main housing. This housing is attached to the ceiling joists. Most of the time, all you need to remove it is a screwdriver. You can thus easily remove the motor from the housing.
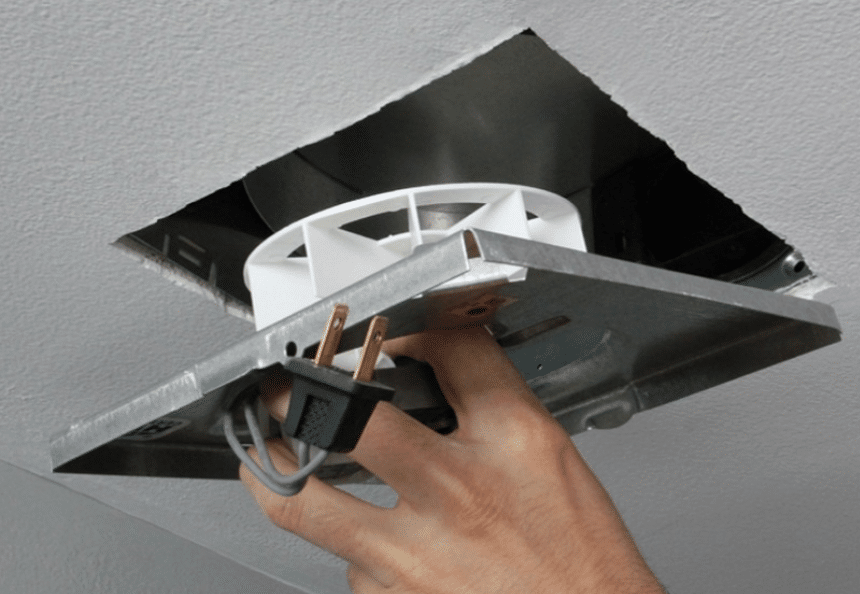
Step 3 – Remove the electrical plug
Some models have an electrical plug in the housing. If this is the case with the old fan you are dealing with, then you will need to unplug the fan before removing the motor.
On the other hand, if there is no electrical plug, you can manually disconnect the wiring by unscrewing the nuts.
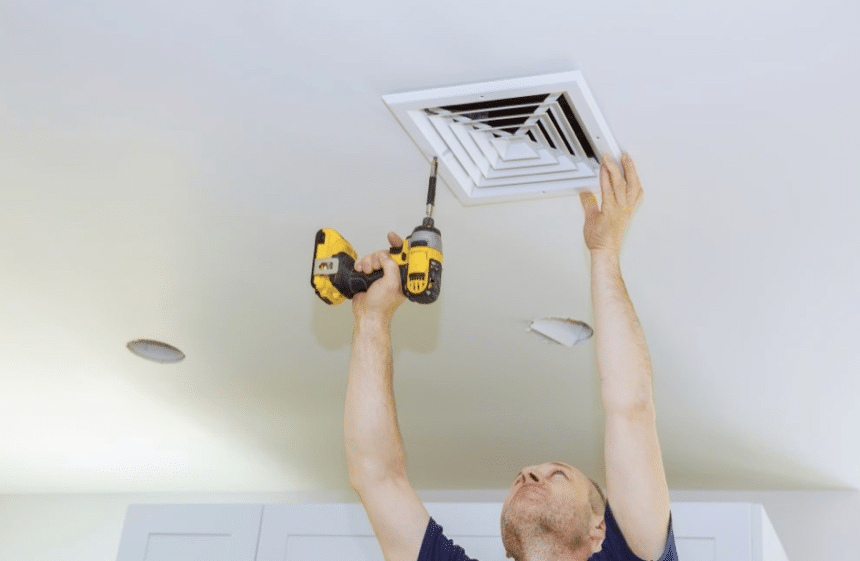
Step 4 – Detach the Main Fan Housing from the Ceiling
In this step, after disconnecting the electrical plugs of the fan, you will remove the fan housing from the ceiling. This is necessary if you are installing a different model of bathroom fan. However, if the model you are installing is the same as the model you are removing, you will not need to remove the main fan housing.
If you need to remove it, then here are the things you need to do. You will need to remove the metal jacket and any screws used to hold the fan housing to the ceiling.
Step 5 – Remove Duct and Wiring from the Housing
The duct and wiring are the final pieces that need to be removed from the housing. These are easy to remove as long as you have the correct tools. Use the knife to cut the zip tie holding the duct, and then use the screwdriver to remove any nuts or screws.
Once the wiring and ducts are removed, the housing should come off pretty easily.
In summary, all you have to do to remove the old fan is to:
-
- Turn-off the circuit breaker
- Use a tester to ensure that there is no more power in the circuit
- Remove the fan and all components
- Leave the ductwork and your existing wiring.
Installing a New Fan
After removing the old fan, you can then install the new fan without plenty of fuss. This section is concerned with helping you correctly set up the new fan.
Step 1 – Pull in the Home Wiring
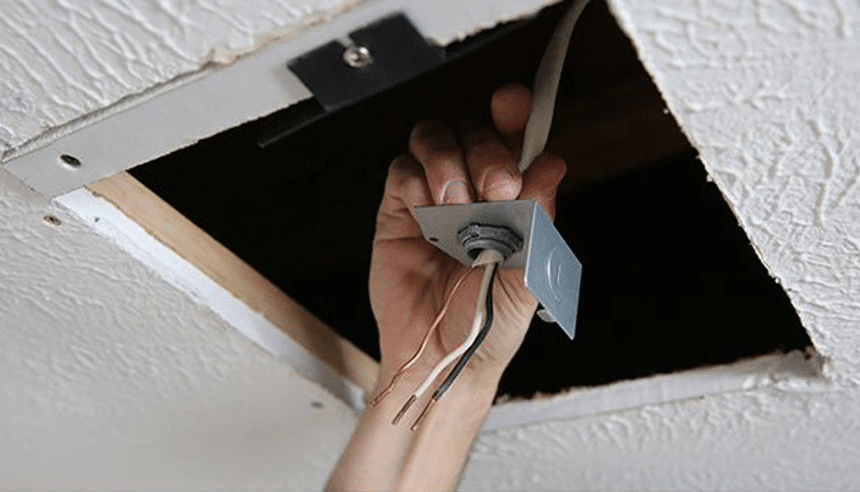 After checking that the fan is the correct size with the housing and the duct, you can now take steps to connect the wiring of the home with the new fan. If the model has a junction box, you will connect the wires to the appropriate ports. If not, then there is no need to pull in the home wiring.
Step 2 – Connect the Duct Connector to the Fan Housing
You will need a duct connector. Reviews indicate that the Broan-NuTone Wall Ducting Tape offers you good value for money.
There are two main installation methods. First is to attach the duct connector with foil tape, then lining up the assembly into the flapper after securing the housing to the joists. You could also connect the flapper right to the housing and connecting the duct before securing the housing.
Step 3 – Secure the Housing to Wood Joists
This is a fairly complex step. If the model you have has hangar bars, then slide the bars on the metal housing. If you don’t have hangar bars, then screw in a side of the housing to a wood joist. With the right tools and instructions, you can get this part over with quickly.
Step 4 – Connect Your Home Wiring and Set Up the New Fan
This involves connecting the fan to electricity. Pull your home wiring and connect it to the exhaust fan. When connecting, connect the wires according to color.
To prevent leaks, apply caulking or foil tape to the edge of the housing. Replace the cover or grill of the fan. Lastly, turn on the power to confirm whether the fan is working correctly.
Exhaust Fan vs. Dehumidifier in Your Bathroom
Using a dehumidifier Trusted Source Dehumidifier - Wikipedia A dehumidifier is an air conditioning device which reduces and maintains the level of humidity in the air. en.wikipedia.org is a good option for solving humidity problems. It removes moisture in the air and returns it as clean, fresh, and dry air. The exhaust fan, on the other hand, only circulates air through the bathroom and does not change the humidity.
Therefore, the main difference between them is how they work. So which is better?
Well, if you don’t want the stress and want something that will help with humidity, then the dehumidifier is best for you. Check out the best dehumidifiers for the bathroom.
Final Thoughts
So there you have it – a simple guide on how to install a bathroom fan without attic access. It is a relatively complex process, but with the right tools and information, you can set it up without hiring a professional.
We hope that this comprehensive guide helps you to get the best from your time in the bathroom. Check out the different models on the market today and choose the best one that meets your needs.