So you finally decided to get that new projector for the cinematic experience. However, you might have overlooked something in that your living room doesn’t look good with both the TV and the projector in place. Consequently, you may now be wondering if you can get rid of the TV and only remain with your projector.
You can, but then you’ll have to grapple with another question: how to watch TV on a projector? It should be relatively easy if you consider current technologies in the market. Nevertheless, if you’re unaware of the steps involved, we will be happy to help you out.
This knowledge also helps anyone who wants to skip buying their first TV in favor of a high-quality 3D or 4K projector.
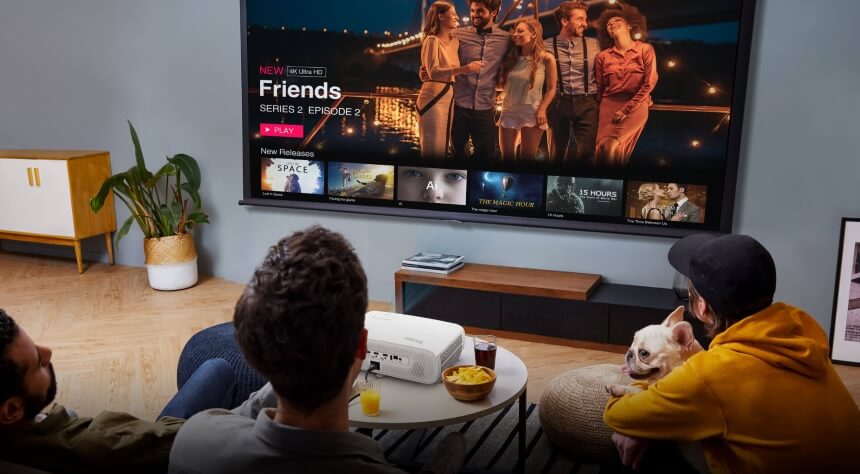
Cable boxes have been quite popular in the past although they are often paired with a TV. However, they can also be used with your projector. One example of this is most modern Set-Top, and cable boxes come with HDMI-out ports. This will work just fine with the HDMI-in port on the projector.
Notably, the cable box can access TV signals Trusted Source Set-top box - Wikipedia A set-top box (STB), also colloquially known as a cable box and historically television decoder, is an information appliance device that generally contains a TV-tuner input and displays output to a television set and an external source of signal, turning the source signal into content in a form that can then be displayed on the television screen or other display device. en.wikipedia.org using a satellite dish, broadband power cables, Ethernet, Coaxial cables, UHF/VHF antennas or telephone lines. As such, you’ll have your choice of options to pick from depending on your needs. Consequently, all you’ll need to do after your TV provider has set up the cable box for you is to connect the device to your projector via HDMI.
In case a cable box doesn’t work for you, there are other options to consider. Direct connect devices, for instance, could be your saving grace. Examples of these devices include Apple TV, your PC, the Amazon Fire Stick, the Roku Streaming Stick and Google Chromecast.
With Google Chromecast, you can connect your smartphone or tablet to the projector. This will allow you to wirelessly broadcast whatever is on your mobile device to the screen. As such, if you can access TV programs on your phone or tablet, you can watch them on the projector without much fuss.
These two may be from different companies, but their offerings are almost the same. Both will easily plug into your projector and give you access to various TV streaming services. Some examples include Amazon Prime, Netflix, HBO, Hulu, Disney+ and more.
Do note that the streaming services offered by the two devices vary slightly. As such, it might do you good to confirm the availability of your favorite streaming service on these two Sticks before committing to the purchase.
Like the two other options mentioned above, you can get an Apple TV device that will take a few seconds to connect to your projector. In addition to Apple TV, you’ll also get access to Netflix, Hulu, YouTube and a few other apps. However, the device is relatively large compared to the Chromecast device, the Amazon Fire Stick and the Roku Streaming Stick.
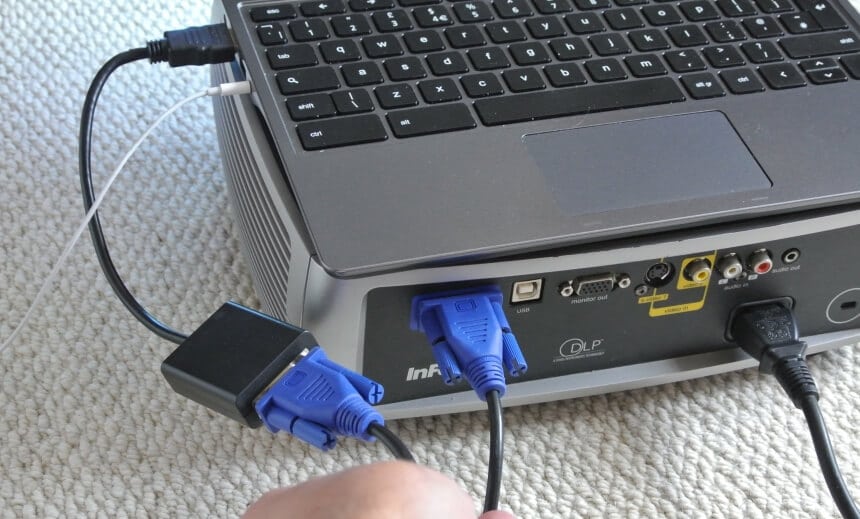
Admittedly, the long HDMI connection between your computer and the projector may be an inconvenience. However, chances are that you already own a laptop and as such, this option may be cheaper than the others mentioned above.
Additionally, you can forego the option of downloading the apps onto your desktop altogether. Most of these TV services have websites on which you can easily access their shows. If you already have a stable internet connection, taking advantage of this option should be easy enough.
Aside from the direct-connect devices mentioned above, you have Wifi compatible projector models like the Epson EF-100, which allows you to stream YouTube, Netflix, Hulu, and more.
If you really want to enjoy your TV-watching time using a projector, then you have to answer this question: what type of projector would be ideal for my home theatre setup? Since living rooms and home theatres are different, you might come up with a different answer to this question as compared to your friends and family.
So that you don’t buy a projector that you don’t like we have given you some pointers on how to select the ideal device below.
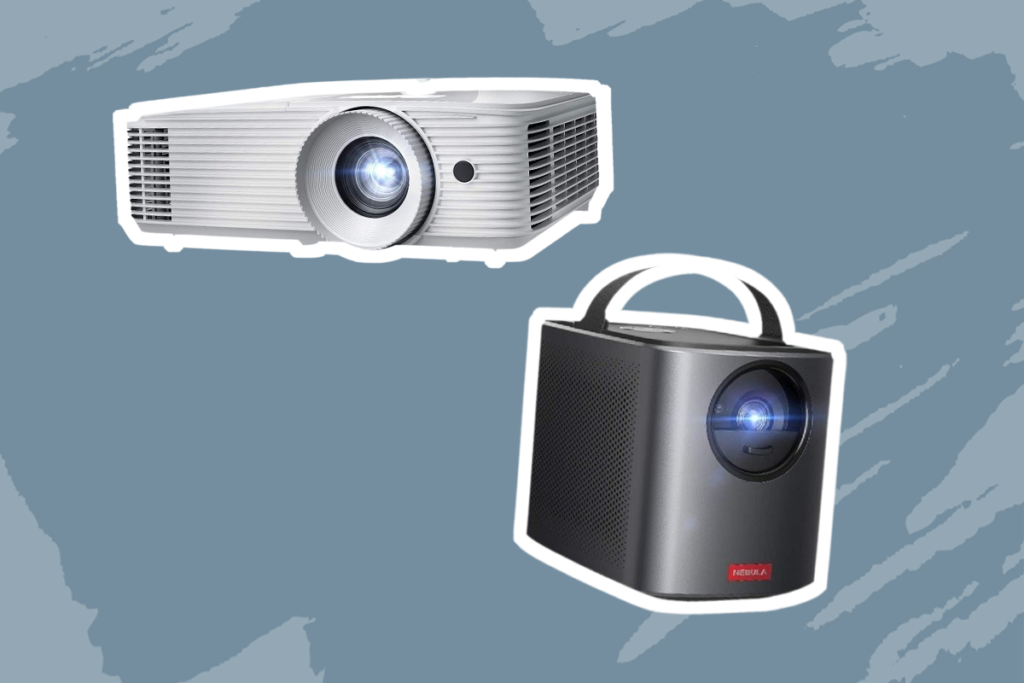
You should start with determining the type of projector you want from the three primary options available. These three include LED, LCD and DLP projectors.
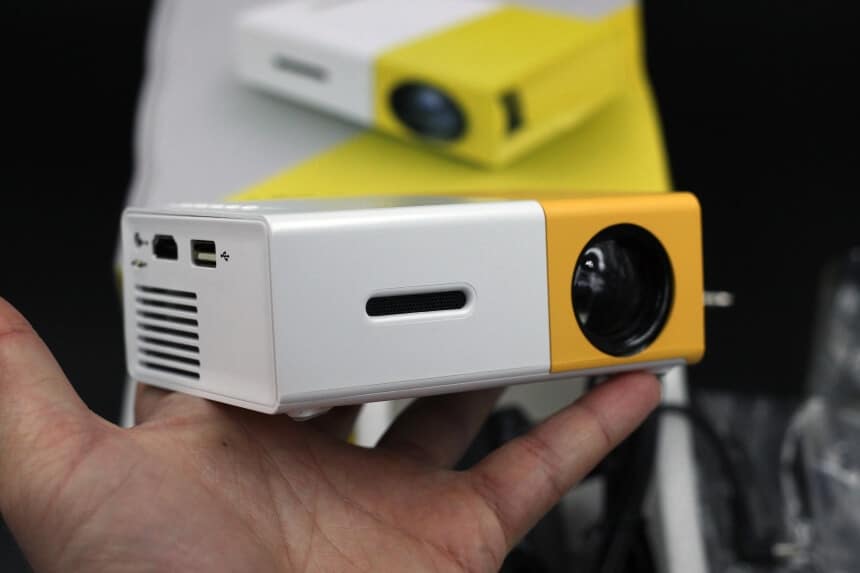
That said, they do have a significant drawback in terms of the images produced. They are relatively dim, and you might not see your TV shows and movies clearly. There is a solution to dealing with the dim images which should be investing in blackout curtains. These should stop light from coming into the room, allowing you to see the images in the highest definition and highest brightness possible.
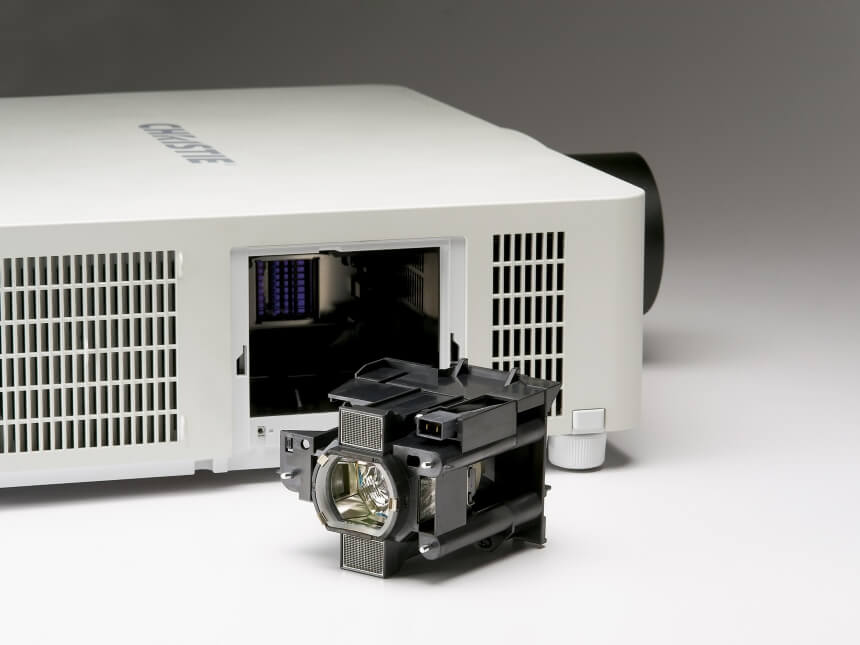
These devices and their components also have a relatively large life span, although it doesn’t match the LED option. As such, you won’t deal with constantly having to replace some of the parts. That said, you do have to clean the filters on the machine regularly, which can be tedious.
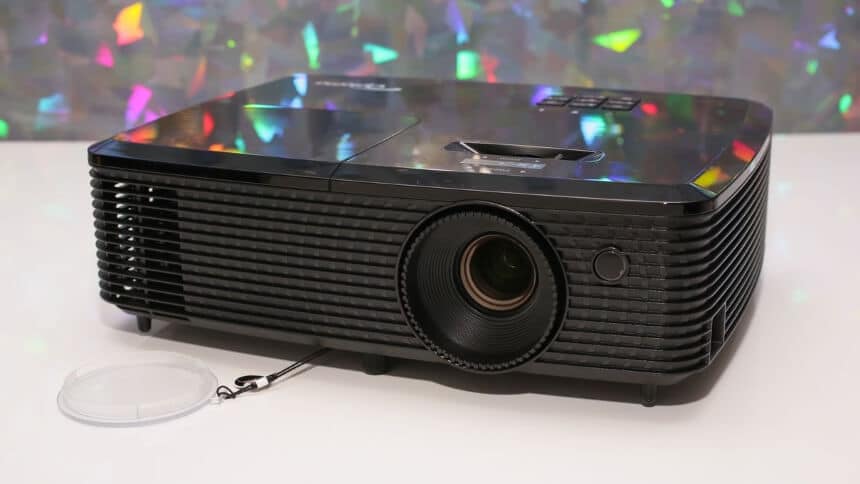
You will get a machine that seems superior to the others in image quality, brightness and contrast. As such, you’ll find the projector to show decent images even in relatively bright lit rooms. However, there are some costs to the DLP projectors as well.
One cost is the relatively short lifespan of the DLP lamp. That said, you can replace this component as much as you need to so you can keep enjoying the projector. You can also sometimes see what looks like a rainbow in DLP projector images.
According to reviews, one of the best projector options is the Optoma HD142X Which thanks to the DLP technology will have some of the brightest images in the market. The extended lamp life could also be handy for a DLP machine.
In terms of resolution, all three projector types mentioned above are capable of the same stats. However, the resolution will vary from projector to projector so you would do yourself some good by always confirming this before making a purchase.
Also, seeing as though we’ve listed the various types of projectors and their benefits we are confident we can leave you do decide what type of projector is best for your home theatre. Remember to consider your needs and the setup in your home before you choose.
Next, we go through the actual steps to take when setting up your projector to improve your TV viewing experience. They are as follows:
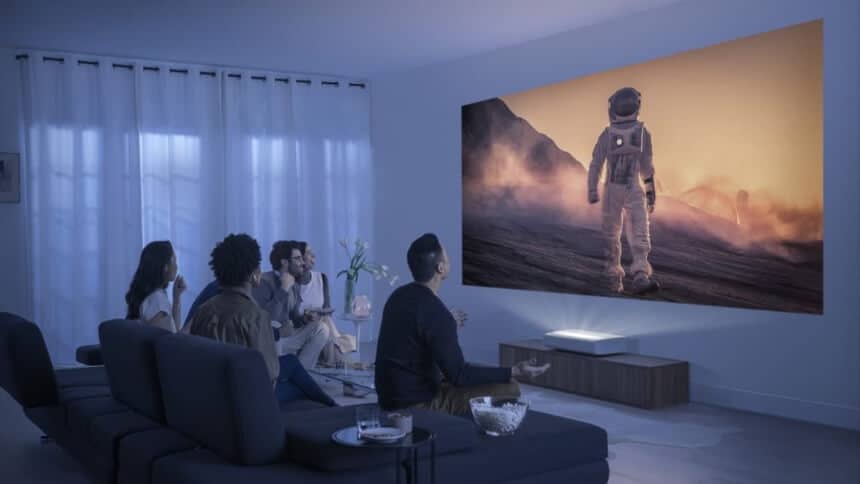
There should also be enough space between the projected image and where you intend to sit as you watch TV. So you can see the images clearly without damaging your eyes, you should ensure you calculate the right viewing distance Trusted Source Projector Calculator | Projector Screen Calculator | Aspect Ratio Calculator | Screen Size Calculator | Distance Calculator - Projector Screen | Projection Screen With our free projector screen calculator, you can find the perfect screen size for your needs by calculating viewing distance, aspect ratio, and more. Get started today! www.projectorscreen.com to work with.
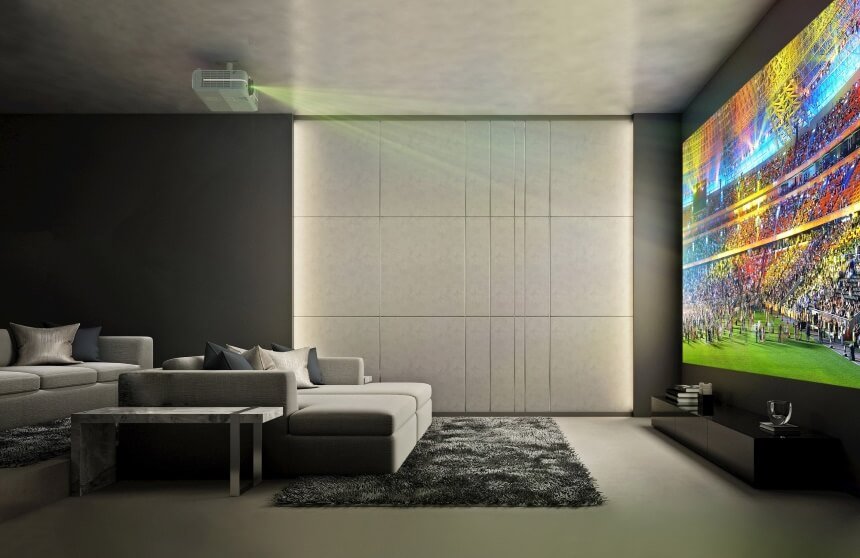
Living rooms are quite popular for the installation of a projector. However, they are often brightly lit, which might not work so well with the machine. Instead, you can put it in a dedicated theatre in your house or that man cave you are so proud of in the basement.
You can still put it in the living room if you want to but consider buying blackout curtains to improve the experience.
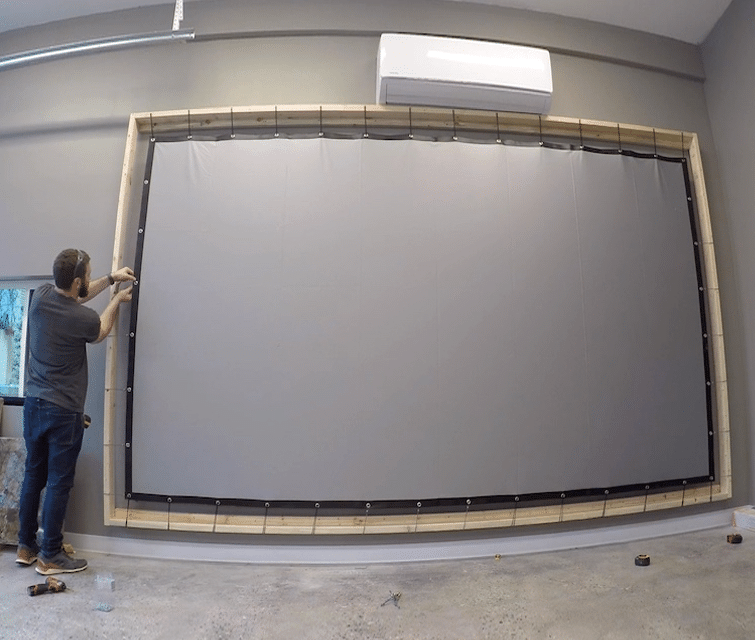
Set up the screen on a wall. You may opt to hang it or use the provided stand to hold it in place. Either way, this step should be relatively easy to finish up.
Remember that for every foot of viewing distance you should have 10”-12” of diagonal screen size. As such, where you have a four-foot viewing distance, you should have a 40”-48” screen.
Most projectors have a similar design in that the middle of the lens is usually flush with the bottom of the image produced. Using this information, you need to determine an appropriate height for the installation of the projector.
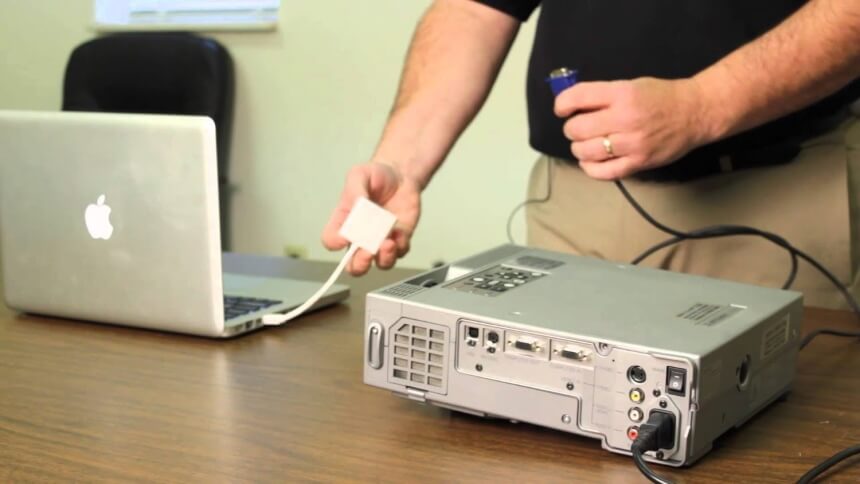
Right after the projector is connected to the input device, you should then ensure the image is aligned correctly with the screen. Some projectors will display a grid pattern as soon as you turn them on, which should help you with the alignment.
If yours doesn’t have a grid pattern for the same, there is a workaround. Select the input option that allows you to watch TV and pause an image. Then use this image as a reference point as you’re aligning the projector. Once the image fits the screen and is upright without any distortion, you can move on to the next step.
You can even adjust the focus to ensure optimum image quality. The adjustable legs that are common in most projector models can help align the image and set up the appropriate height of the projector.
Next, select the picture mode that is right for your viewing situation. Darker environments like your theatre or basement, will work best with cinema and movie modes. Conversely, in a relatively bright living room movie mode may not work and as such, you may need to cycle through your options until you find the right one.
Also, sound may affect your viewing experience as well. Notably, some of the projectors on offer come with built-in speakers which can be nice. These, however, don’t offer the kind of sound you find in cinemas. Nonetheless, your speaker system might.
You can connect your projector to the speakers using Bluetooth for those with the feature. However, if yours doesn’t have Bluetooth, you can connect the projector and the speakers using an auxiliary cord.
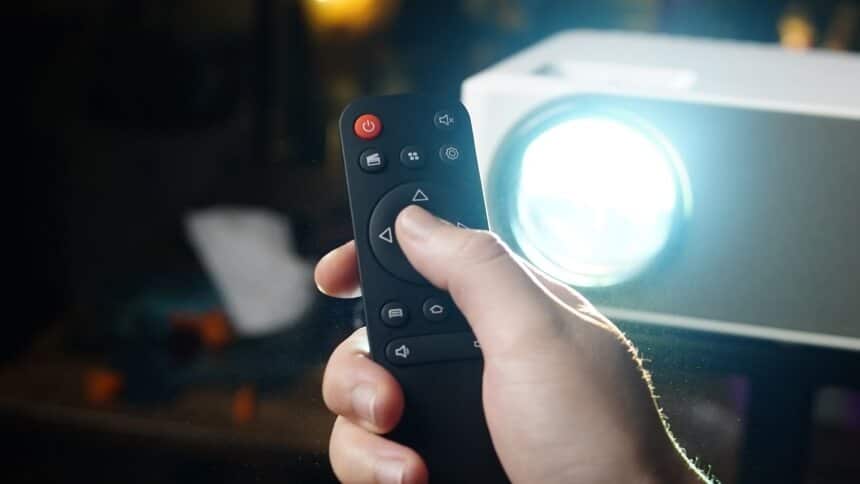
With Netflix as one of the most popular streaming services, it works well as an example of how to turn on a TV show. We’ll also use the Amazon Fire Stick example since it is quite a popular direct connect device.
We’ll assume that the projector is connected to the internet and the Fire Stick is connected to the projector as well. After you turn on the projector, you can use the remote to set the input as HDMI on your projector. Doing so will reveal the Amazon Fire Stick interface on your screen.
You then use the Fire Stick Remote to navigate to the Netflix option from the list of streaming services displayed. Once you select the Netflix option, you will be prompted to enter your login details. After you do that you can then watch select the Netflix TV show to watch on your projector. Most of the other direct connect devices work almost the same way as well.
While seemingly popular in the past, we’ve already established that you don’t need a cable box to watch TV on your projector. These are the alternatives you have at your disposal:
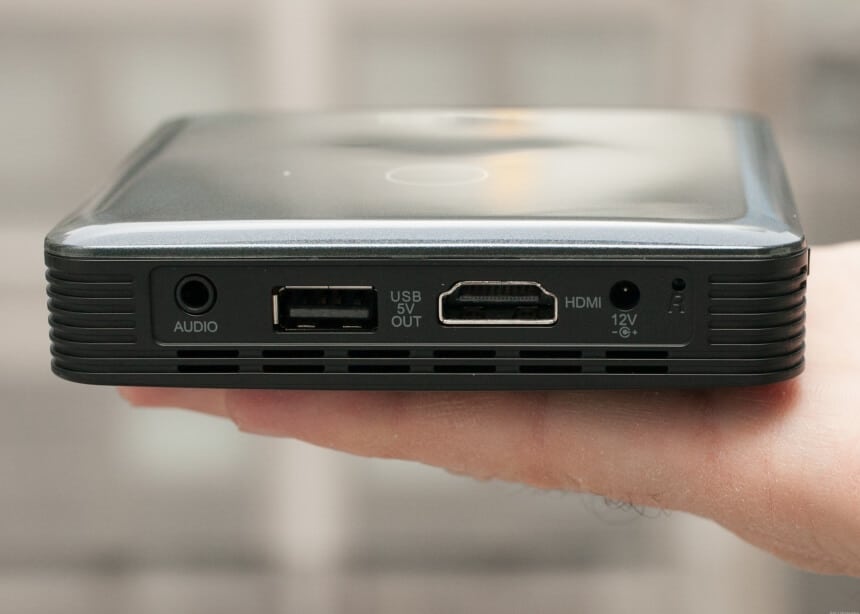
The Fire Stick, Chromecast device and Roku Streaming Stick are all small, and you can barely notice them as they are plugged onto the projector. In the case of your computer, you might need to buy a HDMI cable. The length of the cable will vary according to your needs. However, this should allow you the same TV-viewing capabilities as the other devices.
The cable box option is the only one that can function without a high-speed internet connection. All other streaming options access the TV programs in their catalogs via the internet. Examples include Netflix, Hulu, Amazon prime video and more.
Admittedly, the higher the internet speed, the better your viewing experience. Lower speeds can frustrate you with the constant buffering and the low-quality images. As such, you’re better off getting an internet speed of 25Mbps or higher in your connection.
Once your home is connected to the internet, you’ll now have to decide whether your projector will access the web through Wifi or through a wired interface. Both are options that could work for you, depending on the situation in your home.
If you decide to go with Wifi, you might not need a cable to connect your streaming device with the projector. As such, you eliminate a potential trip hazard and end up having a cleaner area around your projector.
This will also work quite well with projectors that are ceiling mounted. After all, now you won’t have to deal with getting a stand and physically connecting a cable to the device on your ceiling every time you need to watch TV.
That said, if anything is inhibiting the line of sight between your Wifi router and the projector, you might experience some connection problems. These connection problems could wholly be avoided if you opt for a wired connection instead.
If you decide wired is the way to go, you now have to deal with an extra cable in your setup. This could leave a section of your viewing room looking messy. Also, your kids could trip on the wire as they run around the house.
As you can tell by now the question of how to watch TV on a projector isn’t that hard to answer. Consequently, it shouldn’t be something that stresses you out. You can read the guide above as many times as you need to and if you find something to be unclear, you can ask questions in the comments section.
Finally, we wish you all the best as you transition from a traditional TV experience to setting up your home theatre with a projector.

