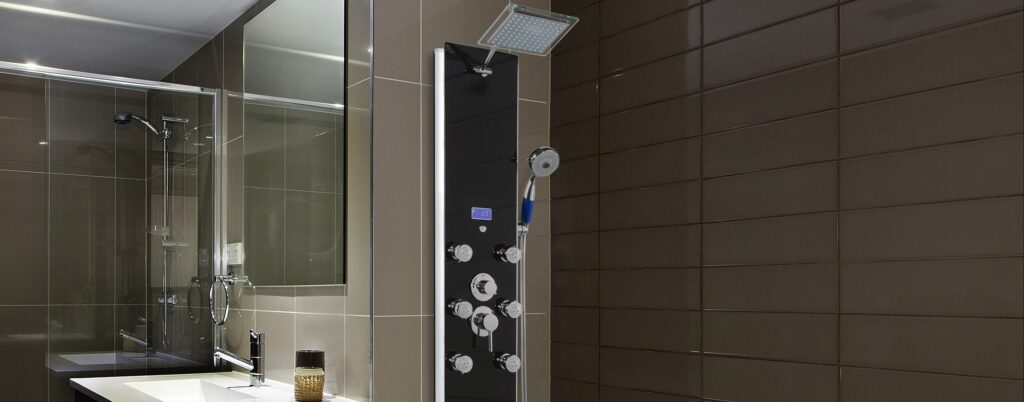
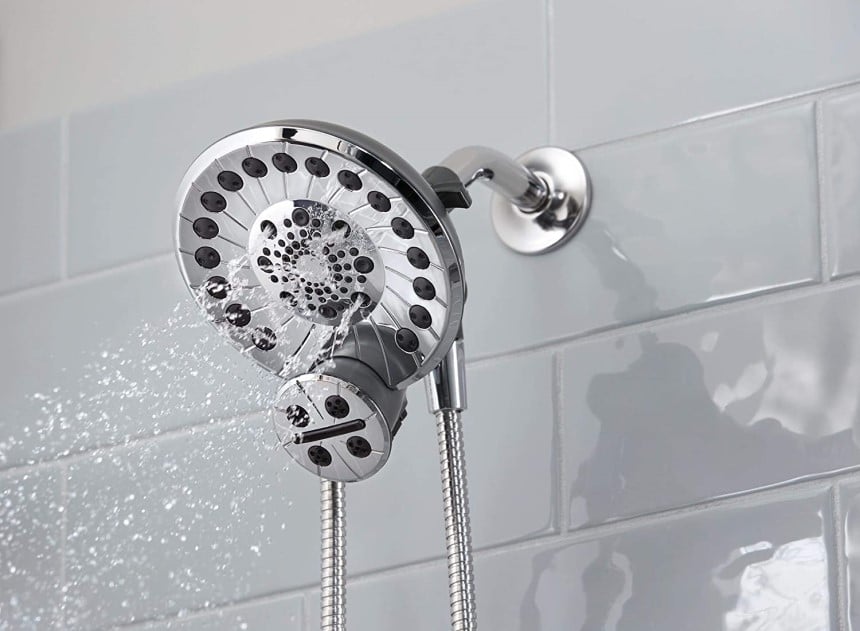
Flow restrictors are part of showerheads that we use daily in our bathrooms, through them, we enjoy an effective usage of the flow of water. It, however, may have some problems which will require its removal for supervision. The low water pressure won’t be resolved by buying the special showerhead. Thus, it becomes very important to know how to remove the various showerheads by ourselves instead of buzzing plumbers to come over anytime we encounter some challenges.
In this article, we discuss what flow restriction is and how to remove shower heads depending on their types. Also, we list out the tools you’ll be needing for the process. This article is replete with all you need to know about removing flow restrictors from showerheads.
What is Flow Restriction?
 Flow restrictor is a device that is used to restrict the
flow
Trusted Source
Fluid dynamics - Wikipedia
In physics and engineering, fluid dynamics is a subdiscipline of fluid mechanics that describes the flow of fluids—liquids and gases.
en.m.wikipedia.org
of a
fluid
Trusted Source
Fluid - Wikipedia
In physics, a fluid is a liquid, gas, or other material that continuously deforms (flows) under an applied shear stress, or external force.[1] They have zero shear modulus, or, in simpler terms, are substances which cannot resist any shear force applied to them.
en.m.wikipedia.org
, in general; a gas or liquid. Many shower heads are fitted with a flow restrictor in an attempt to save water and energy.
Flow restrictor is a device that is used to restrict the
flow
Trusted Source
Fluid dynamics - Wikipedia
In physics and engineering, fluid dynamics is a subdiscipline of fluid mechanics that describes the flow of fluids—liquids and gases.
en.m.wikipedia.org
of a
fluid
Trusted Source
Fluid - Wikipedia
In physics, a fluid is a liquid, gas, or other material that continuously deforms (flows) under an applied shear stress, or external force.[1] They have zero shear modulus, or, in simpler terms, are substances which cannot resist any shear force applied to them.
en.m.wikipedia.org
, in general; a gas or liquid. Many shower heads are fitted with a flow restrictor in an attempt to save water and energy.
Tools You’ll Need
While removing a flow restrictor specifically the water restrictor for showerheads, you will definitely require some tools that can make removal effective. Some of these very vital tools are:
- Adjustable wrench.
- Paper clip.
- Cloth or towel.
- Plumber’s tape.
- Needle-nose pliers.
When you have the tools mentioned hereinabove, you are now ready for the removal process.
How to Remove Flow Restrictor
 Firstly, check your owner’s manual to see if the manufacturer has highlighted where the flow restrictor is located. This could save you time having to disconnect two different places to check.
Fixed Head
-
-
- Disconnect the shower from the sun.
-
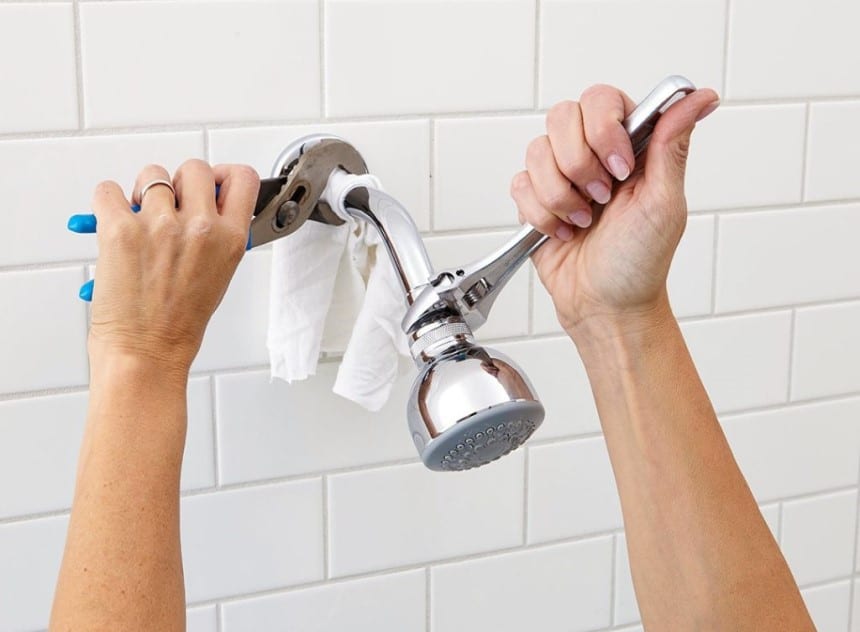
The first process of removing a fixed shower head is by unscrewing it; the head should be severed from its arm pipe that connects it with the wall. It can be done by hand or with a wrench tool. You can also use:
- A cloth: To protect the finish on the arm or showerhead, use a cloth or towel wound around it.
- The nut: You can also protect the nut using a wrench. This makes re-screwing also easier subsequently.
- Unscrew: To unscrew, turn the head anticlockwise.
-
-
- The shower screen should be removed.
-
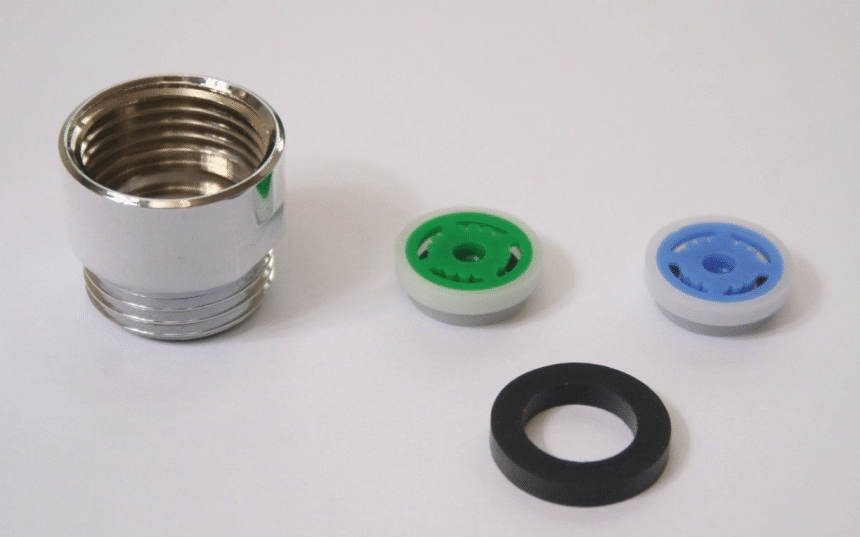
In some cases, the showerhead may contain mesh screens to enable it to grab any impurities or sediments in the water. Carefully check to confirm your showerhead has too, and carefully remove it. Furthermore, you may need to gently tap the showerhead to displace it, or better still, use an alternative needle-nose plier.
-
-
- The o-ring should be removed.
-
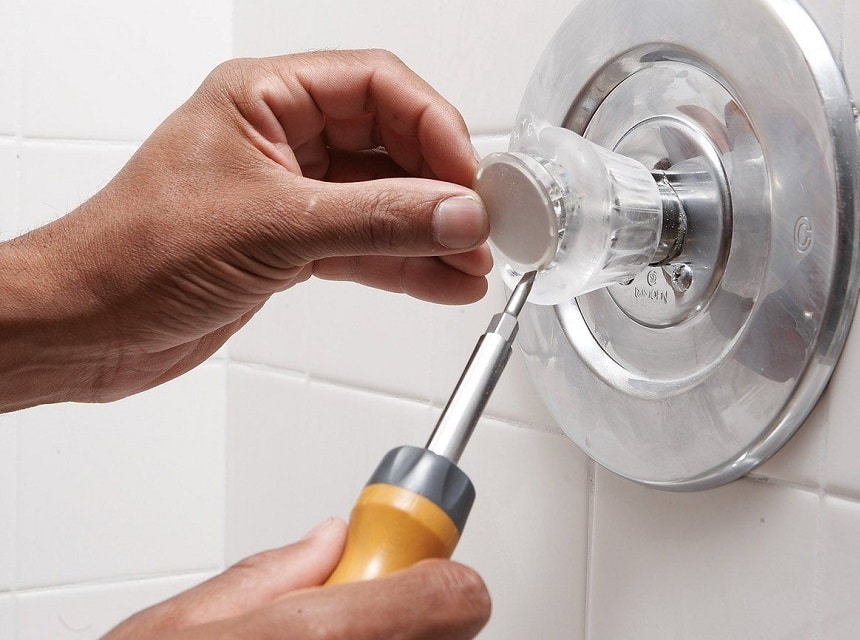
The showerhead contains an O-ring also known as the gasket; it should also be removed with a paperclip by unbending it.
-
-
- Remove the flow restrictor.
-
Oh yes! Gently take out the flow restrictor which is star-shaped, twist it with an unbent paper clip, screwdriver or needle-nose plier and it will pry open, then, remove it.
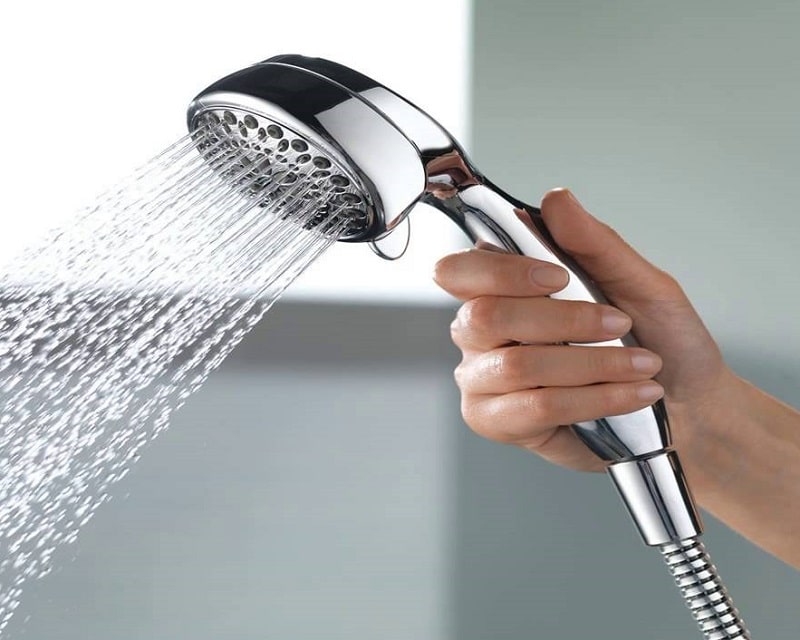
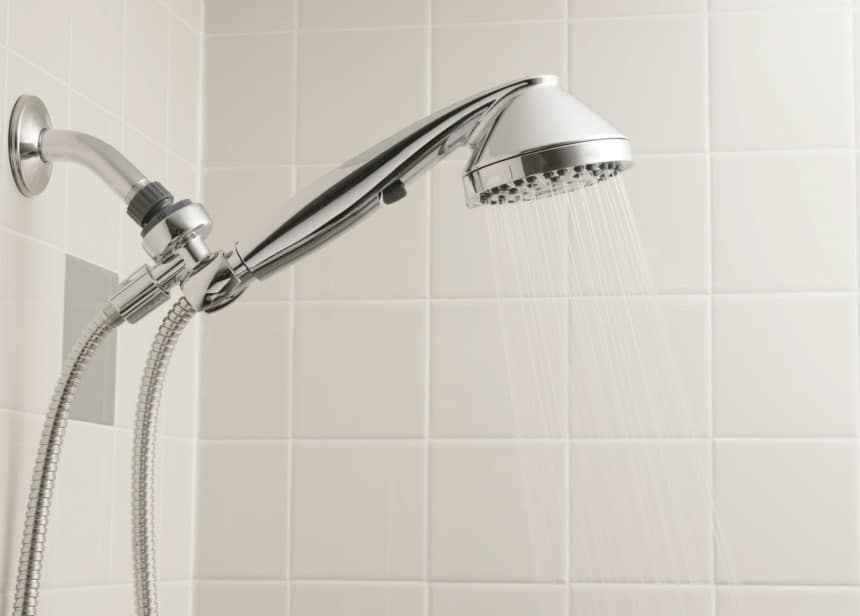
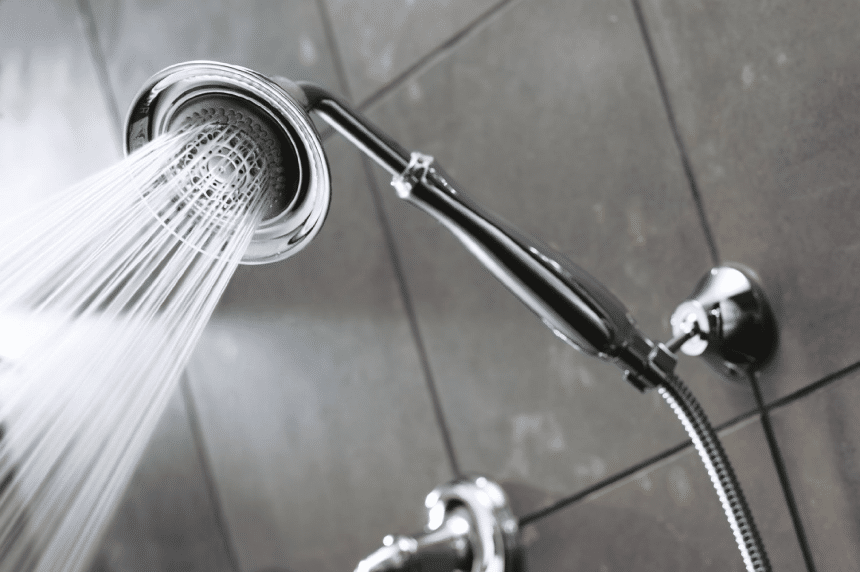
Handheld Head
-
-
- Remove handle:Use a wrench by covering the nut with a piece of cloth, unscrew the handle from the hose.
- Remove components and replace handle:Following steps 2–6 listed above, remove the shower screen, O-ring, and restrictor, then replace the handle.
-
How to Remove Flow Restrictor by Brand
A flow restrictor is produced by different brands and there are distinct ways to remove these flow restrictors depending on the brand type. The removal process for each brand will be discussed. Each brand may have its own removal method.
Moen
-
-
 Remove the showerhead
-
 Remove the showerhead
With a rag cloth, hold the showerhead with one and the wrench with your other hand. Try fixing the wrench on the covered shower to free your first hand then use the same hand to grab the pipe on the showerhead wall. After this, twist your wrench clockwise till you remove the head.
-
-
- Remove the O-ring gasket
-
Now you can notice the O-ring basket Trusted Source O-ring - Wikipedia An O-ring, also known as a packing or a toric joint, is a mechanical gasket in the shape of a torus; it is a loop of elastomer with a round cross-section, designed to be seated in a groove and compressed during assembly between two or more parts, forming a seal at the interface. en.wikipedia.org which is made of pure rubber. You can choose to remove it with your fingers or a screwdriver. Using your finger is best recommended since screwdrivers can cause damages.
Take the screen off and shake till it is refreshed a bit. Now you can remove the basket from your hand.
-
-
- Remove the flathead screw
-
In the restructor head, there’s a flat head screw, use an adjustable screwdriver to remove the flat head easily. The screw comes in several perforations and is usually plastic.
-
-
- Separate the flow restrictor
-
This step requires maximum concentration because it involves several minuscule threads in the shower. Now, using the screwdriver again separates the showerhead from the flow restrictor. Turn the screwdriver slowly as rapid twisting can cause damages.
-
-
- Insert screen and gasket
-
The gasket should be very clear already. You can double-check to be sure too. You can insert it back into the shower head carefully as it was. Also, you can fix your O-ring gasket to check for proper alignment to ensure free movement.
-
-
- Put back the showerhead
-
Inputting the shower back, you can apply the plumber’s tape to wrap around the whole area. Now easily put the Moen showerhead back. Always beware of threads since contact with them causes cuts.
-
-
- Thread the pipe with the connection
-
With a very soft cloth, hold the valve or connection tightly. Then thread the shower pipe with connections more than three-quarters. By the way, the wench does not need firm tightening to prevent damages.
Delta
-
-
 Position a rag in your drink drain to soak small droppings from the sink.
- Wound a masking tape around the delta’ base. The aerator is a piece of the base sprout.
- Take gold of the aerator with joint pliers and twist clockwise. After this, you should be able to twist it with your hands.
- Using your fingers, detach the washers in the aerator. There is a flat object with a single hole in the middle, this is the water restrictor, pull it out and clean it with water and vinegar. Better still, get a new one.
- Now you can reassemble the washer and the rubber into the aerator.
-
 Position a rag in your drink drain to soak small droppings from the sink.
Waterpik
-
-
 Remove the showerhead: using a soft cloth, gently remove the waterpik showerhead from the shower pipe attached to the wall. You can also use a wrench wrapped in rags too so you do not get scratches.
-
 Remove the showerhead: using a soft cloth, gently remove the
 -
-
- Extract the washer: remove the black rubber washer from the shower. You can find this between the shower arm and the showerhead.
-
-
-
- Extract the flow restrictor: gently take out the restrictor from a showerhead using a Phillips screwdriver. Place the screwdriver in the star-shaped hole in the spray nozzle. Twist until it is loose.
-
-
-
- Protect the shower arm: wrap the threads on its arm with plumber tapes. By doing this, you will prevent the thread from rusting when attached to the showerhead.
-
-
-
- Reassemble and reinstall the bathroom fitting: try returning the rubber gasket and the showerhead. Tighten the head with a crescent wrench.
-
Peerless
 1: Remove the showerhead from the base
As you would expect, removing the peerless shower head first is the best. It is important you remove the head of any shower whatsoever. Once this is done, you can clean the showerhead a bit to finish faster. However, if you experience difficulty removing the showerhead, you can use an adjustable wrench. Turn it clockwise and disconnect it from the base.
2: Examine the Peerless shower head
You will now need to plug in your screen driver to remove the screen filter from the showerhead. Locate a line connecting both together then use your screwdriver.
3: Gently poke the rubber gasket and filter screen.
Using a screwdriver is important here as you will need to party the flow screen, detaching it from the showerhead. After this, the screen restrictor is visible.
4: Pinpoint the flow restrictor
The flow restrictor is a small part of shower and it is usually in the middle of the showerhead. Once you can locate the flow restrictor, you can gently twist it to remove it.
5: Press a side of the restrictor with a screwdriver
Using the screwdriver, press it on the flow restrictor to pop it out. If proving difficult, keep pressing till the flow restrictor lifts up.
6: Detach it slowly from the base of the Peerless shower head
Now you can remove the flow restrictor. It is critical to know that in removing the flow restrictor, you do it gently as it is a very delicate and clean break.
7: Put filter screen and the gasket rubber
Once you have all this, you’re ready to put everything back into their place. First thing, put the rubber basket and the screen filter into their place. Ensure you do it carefully so you do not damage them.
8: Reassemble the Peerless shower head on the base
As you assemble the parts together, ensure you tightly fix it to prevent leakage. This part is really easy to do.
Kohler
-
-
 To detach the aerator from its faucet, you can either use your hand or a wrench. To use your hands, you can twist it clockwise and with a wrench, you can use a rag to prevent scratches on the faucet.
- Locate the flow restrictor, remove it either by your hands or a screwdriver. The flow restrictor is located between in the aerator and with little force, you can easily remove the flow restrictor.
- Reassemble the aerator even while the flow restrictor is removed. When the flow restrictor is removed, the aerator still disperses it after and allows for the quiet flow of water.
-
 To detach the aerator from its faucet, you can either use your hand or a wrench. To use your hands, you can twist it clockwise and with a wrench, you can use a rag to prevent scratches on the faucet.
Final Thoughts
You don’t have to be a professional before fixing your shower head flow restrictors. Not only does it save you money, it also equips you with the knowledge in case of other times. Depending on your type of showerhead, there are different methods of removing flow restrictors. Following the steps we highlight in this article will ensure a seamless process that produces the desired results.
Also, because there are small parts in the showerhead, it’s advisable you keep them in a safe place. Doing this will prevent you from replacing the whole shower head if you misplace them.