Creative minds have made a lot of things easier in this generation. You can easily make a version of almost everything you need from your home once you have the right instruments and knowledge. It also extends to how to project a mobile screen on a wall without a projector.
Most homes, educational institutions, and offices make use of the conventional way of creating an enlarged image for a large audience i.e., the use of projectors and related apps, which costs quite a lot. This makes learning how to project a mobile screen on a wall without a projector app very important as it will help you reduce your budget, and you’ll get quality views.
So, in this article, we will be explaining to you, the step-by-step procedures on how to project a mobile screen on a wall without a projector. We’ll also be sharing with you some tips and tricks to make the most of this. Stay tuned!
What You Will Need to Make a Projector
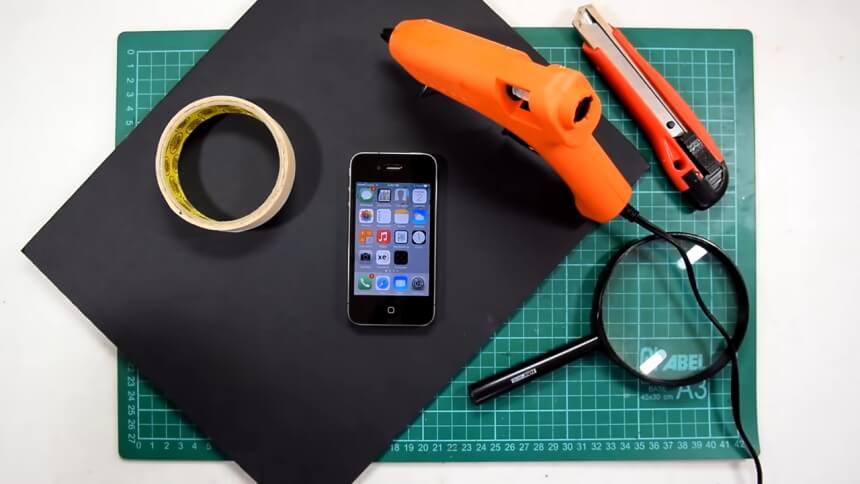 To project images on the wall from the phone, the first thing you need is a homemade projector – you don’t need to go to the market to buy one, you can make it yourself in the comfort of your home. The most fascinating thing is that the materials you need are at your disposal and the few that might not be are very cheap. At the end of it all, you’ll spend little to nothing on making your projector.
Below is the list of materials you will need.
- Shoebox
- Magnifying lens
- Pencil
- X-acto knife
- Black tape
- Black paper/ black paint
- Glue stick
- Mobile phone
- Small and big binder clips
All the listed materials above are very important in making a DIY projector that will reflect your mobile screen on the wall.
You’ll be starting with three of the materials – shoe box, magnifying lens, and pencil. It’s advisable that you get a black shoebox. If you can’t place your hands on one, don’t fidget, there’s an easy way of turning it black. We’ll disclose that as we continue.
Your magnifying lens must be in good working condition. Most experts have recommended the United Scientific LCV108 Double Convex Lens as it allows you to view anything; it acts like a telescope.
Your pencil must be sharp and bold as you will be using it to make some markings. Get a pencil that won’t give faint markings.
You will need an X-acto knife to make some cutting. As you are aware, this is a sharp object, so you must be careful with its handling. Don’t allow kids to play around it.
You’ll need black tape to join some of these materials together when constructing your projector. Also, you’ll need it to cover some edges of the box that are opened. It’s compulsory that it’s black tape because other colors tamper with the quality of the image you’ll get.
If your shoebox is not black, you’ll need black construction paper to cover the interior of your box, and to do this, you’ll apply a glue stick on the black paper just before you put it in the box. If you don’t have black paper, there’s an alternative – get black paint to color the inside of the box.
A mobile phone was listed amongst the needed materials because it’s the one you’ll be showing an image you want to project from. Your present mobile phone will do. Your mobile phone will need to be in a standing position for easy navigation. To do this, you’ll need binder clips Trusted Source Binder clip - Wikipedia en.m.wikipedia.org to hold it in place. According to most reviews, the DSTELIN Binder Clips are the best kind of clips on the market as they provide a strong grip to hold your phone.
Step-by-Step Guide
No doubt, you can get one of the top outdoor projector screens with fantastic image quality or great projector screens for offices, home cinemas, or outdoor movie nights on the market. But with learning how to project a mobile screen without a projector, you won’t need to buy a projector screen as you can easily make use of a wall.
In this guide, we will be explaining to you the step-by-step processes of doing all these. In the end, you would have known how to project an image on the wall from your phone.
Step 1: Trace around Magnifying Lens on the Box
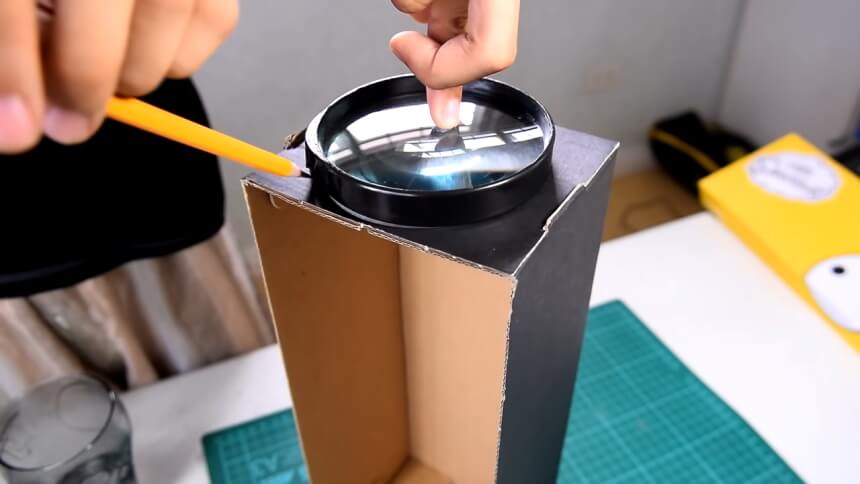 Firstly, remove the handle of your magnifying lens. You can easily unscrew the handle to take it off.
Then, flip the shoe box and make the small side to be on the table, set the lens to be on the other side. After this, pick up your pencil and trace around the edges of the lens on the box. Make the marking evident as you’ll be making further decisions based on this.
Step 2: Cut the Traced Edges Off
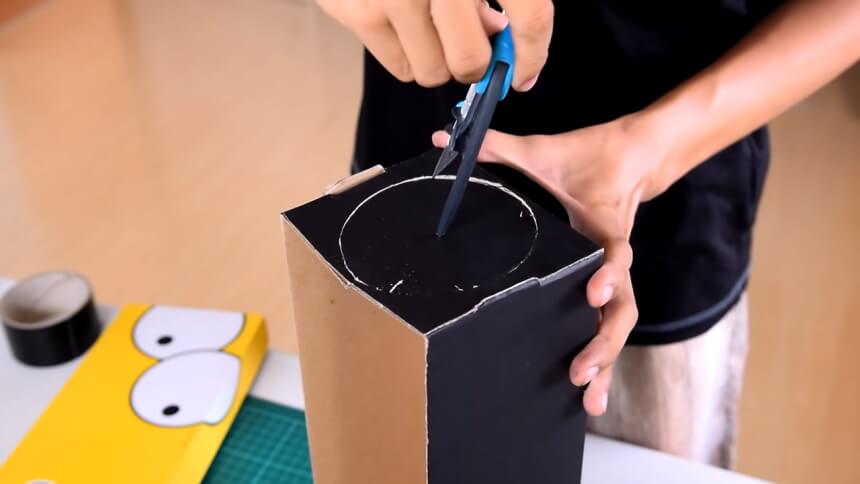 After you’ve traced the edges of the lens on the box, pick up your knife and cut off the marked part carefully. It’s compulsory that you do this accurately. If you have shaky hands or you’re not confident enough to make a flawless cut, call someone to help you.
Step 3: Insert the Magnifying Lens into the Hole
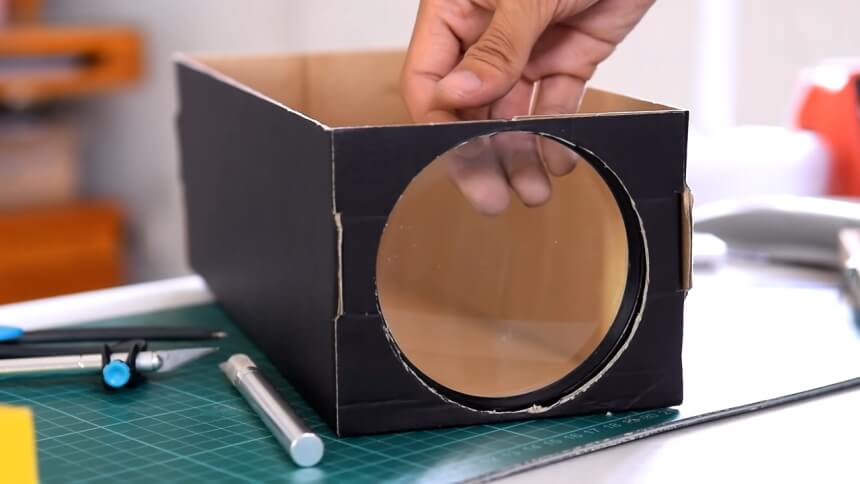 After you’re done cutting and removing the hole you made, place the magnifying lens into the hole. Ensure the lens is firmly in position and that the inside of the lens with which you can see clearly is inside the box, while the other blurry side is outside the box.
Step 4: Cover the Edges with Black Tape
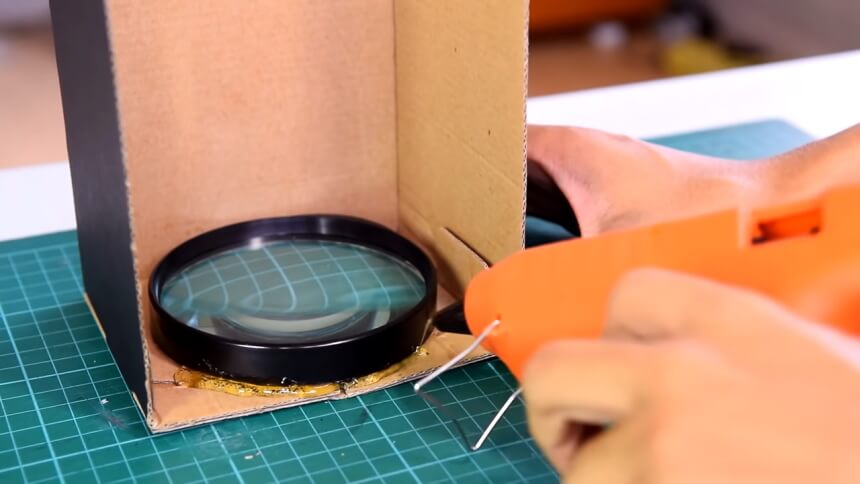 You need to cover the edges of the hole you made with black tape as you shouldn’t let any ray of light shine into the box.
Step 5: Cover the Box Interior with Black Paper
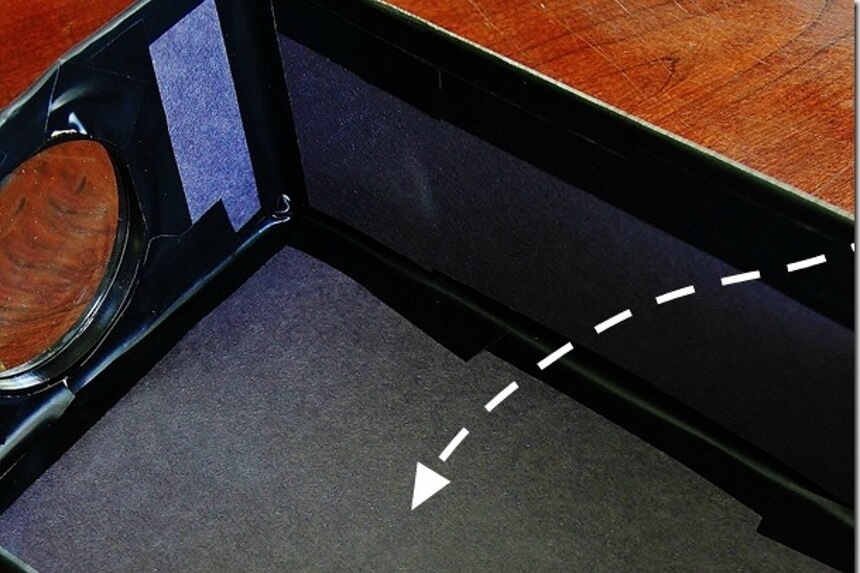 Get your black paper and cut it into sizes to fit into the box appropriately, making sure to cover every nook and cranny. To make the black paper stick to the box interior, apply the glue stick on the black paper before placing it on the box.
If you can’t place your hands on black paper, get black paint (a poster color will do). Color the box interior with black paint, ensuring that every single corner is covered in black color.
Step 6: Place Your Mobile Phone at the End of the Box
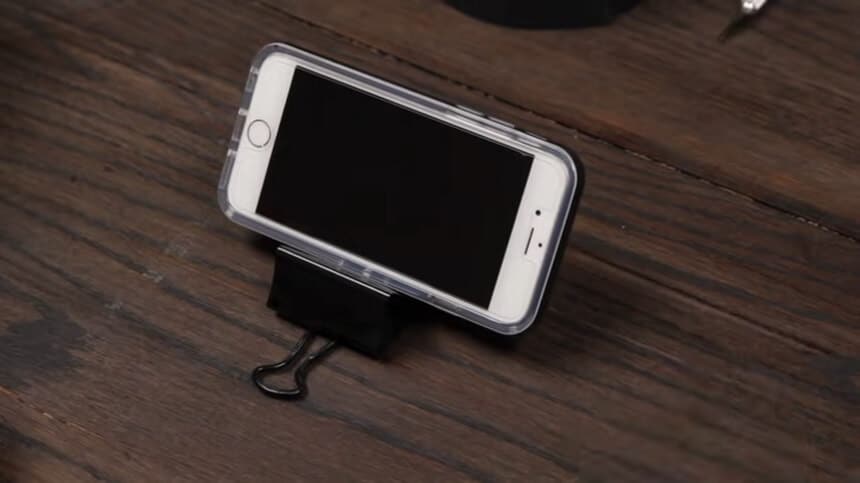 You have to make your mobile phone stand. This will allow you to view and adjust the phone as needed. Since you have gotten two binder clips – small and big, you’ll put the smaller one in the middle of the larger one.
When you’ve finished clipping both of them together, raise one of the binder clips up and place your mobile phone in position.
With this, you’re done with the construction of the projector, and we will now move to the part you must have been waiting for – having images on the wall.
Step 7: Project Images on the Wall from Phone
 First and foremost, you must adjust your mobile phone screen. If you’re using an iPhone, you’ll need to go to the phone settings, to general, then accessibility, click on assistive touch, and then device. After this, adjust the screen to your liking.
If you’re using an Android phone, you’ll have to download a rotating app from “Play Store” to aid your screen positioning. However, if your phone has the capacity to rotate, you’re ready to go.
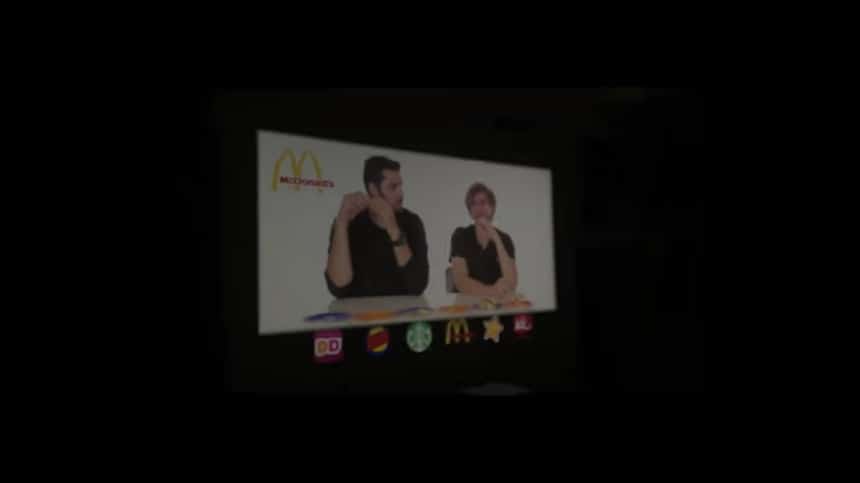
After this, all you have to do is to concentrate your images on the wall. This may be accomplished by shifting your mobile phone around until you find the ideal spot for your images to be positioned accurately and in the manner that you choose.
Do all these, then you can start watching your movies and shows directly from your phone on the wall or white sheet screen. With amazing projector screen paint, you can create your own projector screen on the wall.
Tips and Tricks
Light reflection into the box will cause image noise Trusted Source Image noise - Wikipedia en.m.wikipedia.org , which will make your projected image to be of poor quality. This is why you must cover the box interior with black paper or black paint.
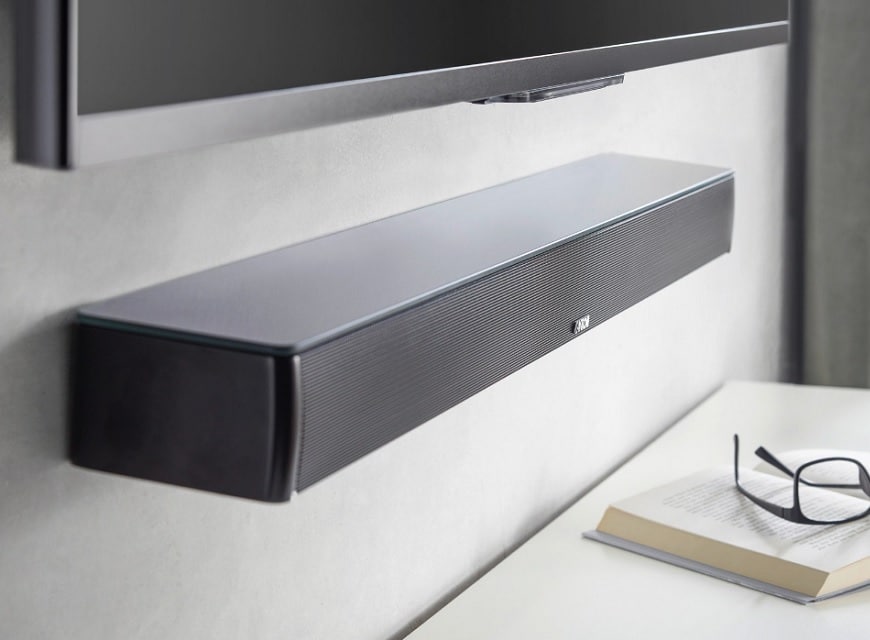
Also, after you’ve started using your phone to project on the wall, you’ll notice that the sound quality is bad. You can remedy this by using an external speaker. It’s advisable that you use a speaker that requires wireless connectivity. You can easily connect the speaker to your phone through Bluetooth to have good sound as you’re watching your movies and favorite shows.
Final Thoughts
Nowadays, you don’t need to spend a lot of money before you have a projector. You can easily make one for yourself from your home. All you will use in doing this is available at your disposal and the few that are not, are not expensive. With little to no cost, you would have your projector ready.
This article has revealed that how to project a mobile screen on a wall without a projector is not hard. All you need is the knowledge of how you’ll combine the needed materials to have your expected result.
Follow the steps explained in the article and you’ll be able to project images from your phone on the wall successfully.