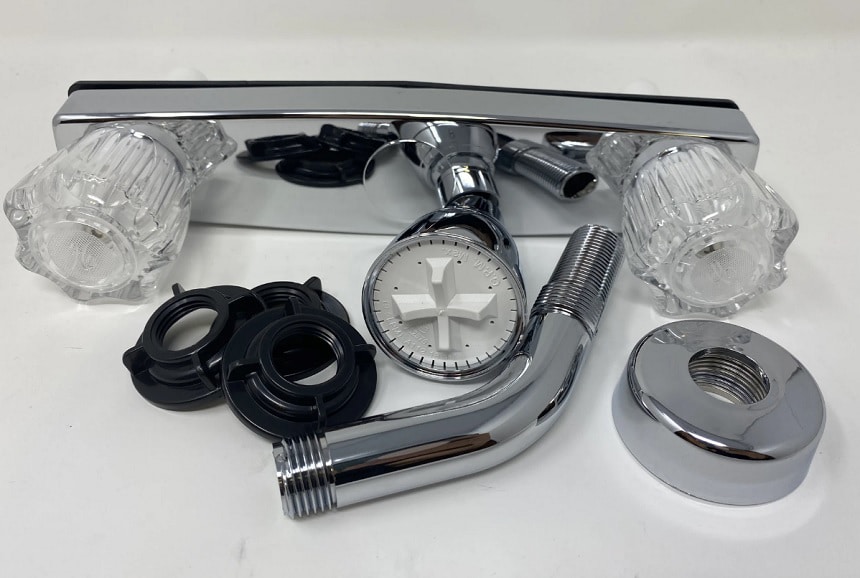
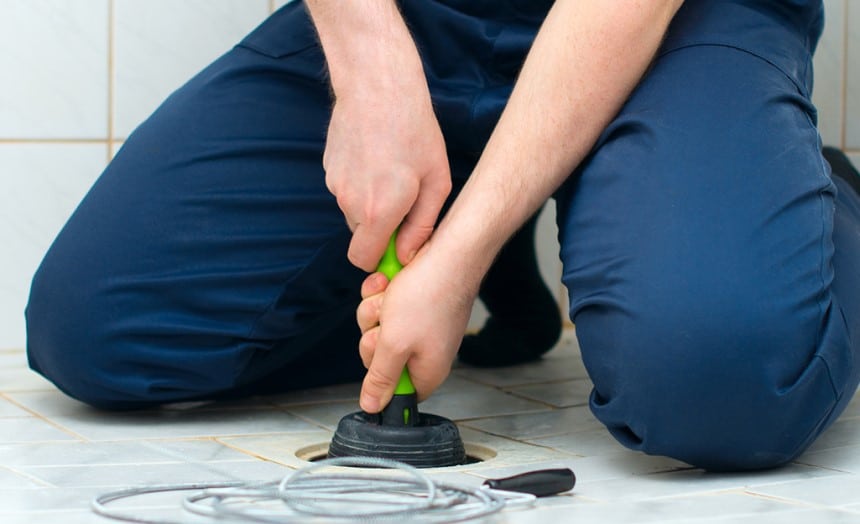
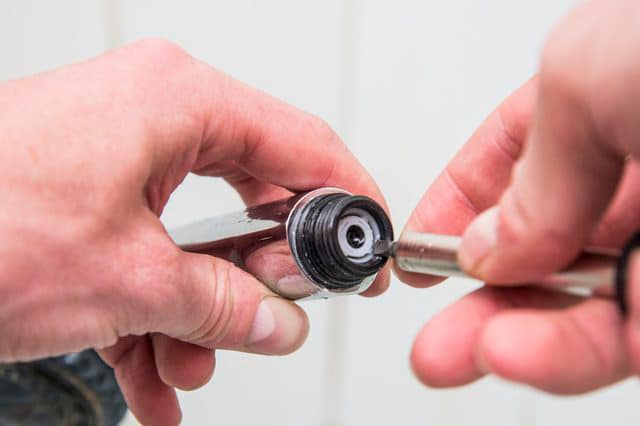
A two-handle shower valve is a welcome appliance when you want to effortlessly regulate the temperature of the water as you shower. The appliances are usually stylish, but also very durable, being so designed to handle rough treatment, attrition by water, and natural elements. However, the two-handle shower valve does break down or start leaking from time to time. When this happens, it is not always necessary to have your plumber replace them, especially since it is tedious and expensive to do so. We will explain how to replace a two-handle shower valve on your own using simple tools that you have at home.
There are several reasons why you may want to change or replace your two-handle shower valve. For instance, you have undertaken major repairs, and the shower valve has received a knock. You need to assess the extent of the damage if any so that you can make an informed decision.
Or you may be looking to invest in the best smart shower and want to find out if it will work with your current shower valves. In other cases, the shower valves do break, needing to be repaired, or even replaced. If the two-handle shower valve has been around for too long, the parts needed to fix it may be no longer possible in the market. In other instances, the long service may have caused some irreparable damage to the valve. This may necessitate its replacement.
A two-handle shower valve can also be the victim of corrosion, mainly encountering water that has a higher-than-normal pH Trusted Source pH - Wikipedia In chemistry, pH is a scale used to specify the acidity or basicity of an aqueous solution. Acidic solutions (solutions with higher concentrations of H+ ions) are measured to have lower pH values than basic or alkaline solutions. en.wikipedia.org . When this is the case, and when there are available shower valves that are resistant to this chemical composition in the water, it is better to replace them. Repairing some parts that will eventually break down will obviously make you incur more expenses.

Before anything else, first, identify the kind of two-handle shower valve that you have. This will ensure that you identify the right one that you need to buy, should you have to replace the existing one due to damage or obsoleteness. Some of the important instruments that you will need include;
You can use the screw driver to drill through the holes or better yet, find the best impact driver if you want to drive screws faster and more efficiently. You will need a range spanner, or a pair of pliers too, depending on the availability and the nature of your valve. Depending on the nature and extent of the breakage, you will also need new knobs, and a new valve if necessary. Before proceeding, some good plumbing skills are necessary, lest you leave the problem looking as bad, if not worse than it already was. The jigsaw is quite important, especially if it be necessary to saw off some parts of the wall to broaden the hole that leads to the valve. DEWALT DCS334B has top reviews if you are looking for an efficient jigsaw that runs for long. This jigsaw is quite compact for the best grip and has a dial to offer precise speed control.
Before anything else, disconnect the main water supply.
Remove the shower valve by first unscrewing the knob using the range spanner or pliers. The unscrewed valve, once removed, will then make it possible for you to remove the trim plate. The trim plate is usually fastened by the knob, and will usually come apart easily once the knob has been unscrewed.
In some instances, the hole that is exposed by removing the trim plate is too narrow. If this is the case, the jigsaw is deployed for its main task. It will primarily be used to broaden the hole, and therefore make it possible, if not easier, to reach and remove the valve.
Even though broadening the hole may be necessary, ensure that it is well within what is required, to avoid leaving an unsightly mess once done.
Having done this, the next and main step is to remove the two-handle shower valve. The valve is usually fastened with a clip and a retainer nut. You will need to remove these two items before anything else. Afterward, remove the valve using the range spanner. It is instructive to remember here that even before the process began, we had already disconnected the water supply of the entire house.
Having removed the valve, it is easy to see what the issue could be. If the issue is a leak, it can easily be fixed using a soldering rod but you have to do it properly and have the right soldering torch. According to most top reviews, Dremel 2000-01 VersaTip is the most reliable product in the market thanks to its variable temperature control, integrated ignition trigger and its safety features.
Connect the main water supply and check the water flow.
In other cases, however, the valve will have run its course. If you are satisfied that this is the case, you will need a replacement. The replacement needs not to be identical to the valve that has been removed. However, it needs to be compatible with the plumbing already in place, and the size of the area where it will be placed. It should also be compatible with your shower faucet. You can easily find the best shower faucet in the market that will be compatible with your new two handle shower valve.
If you have removed the old two handle shower valve and ascertained that it is broken, it is time to replace it with the new one. To do so, fasten it to the retainer nut, to ensure it is held in place. Then, fasten it with the clip, before using the range spanner to affix the valve to the existing plumbing works.
Once you have fixed the valve, examine the space and see if it will work properly, by switching on the water supply. Observe for any leaks or other issues.
If satisfied with your handiwork up to this point, it is now time to move to the next step. Fix the trim plate, and finally, the knob. The two-handle shower valve is now ready for use.
Before putting the valve into use, make sure that the area around the new valve has been cleaned properly. This is the one chance you will get in a long time to clean the area around the valve of soap scum, as well as calcium residue in instances where the local water supply has significant amounts.
In some cases, you may be more interested in replacing the two-handle shower valve with a single handle unit Trusted Source Why A Single Shower Valve is Best for Your Bathroom Remodel Bathroom remodels bring up several design decisions. Find out why a single shower valve is a great choice for your indoor plumbing! plumbingdynamicsdallas.com . There are several reasons why you would want to, though we will not delve into that here. Besides the materials already discussed before, you will also need a conversion plate and a drill. The conversion plate will cover the two holes left by the two-handle shower valve.
You will first need to remove the existing two-handle shower valve as described above. Thereafter, you will drill a hole in a way that will connect the existing piping to the new valve. Fasten the existing valve using the same nut that had held the two-handle Trusted Source Why do homes in the UK have separate hot and cold taps? British homes have certain quirks which can puzzle people from overseas. Why are there separate taps for hot and cold water? Why are there pull cords instead of light switches in bathrooms? And why are there wheelie bins outside front doors? We asked the experts to answer these questions from curious visitors. www.bbc.co.uk valve in place. Thereafter, connect to the pipes supplying water. After testing whether the replacement Is working properly, you are good to go.
Two-handle shower valves are a must-have in most homes today. They are convenient, easy to use, and have the touch of luxury that many people want their bathrooms to have. In most cases, the appliance is highly durable and is expected to last at least for a few years before you undergo the hassle of repairing or replacing one. The two-handle shower valve’s replacement is easy, as we have discussed. Before you engage in this Do-it-yourself (DIY) exercise, a little information on how plumbing works is essential. You also need to have the necessary tools close by, since you don’t want to keep rushing to the store to get something you forgot while leaving everything back in the house in a mess.
IN several instances, you might find that having the contact of a qualified technician is essential. Things might not go as planned, and you might need additional information on how to replace a two-handle shower valve. A backup plan is therefore necessary, especially if you are doing this on your own. Generally, however, it should not be too hard learning how to replace a two-handle shower valve. Same case, too, in learning to replace a two-handle shower valve with a single-handle unit.


