A water-efficient toilet without noisy leaks after flushes could be the surprising mood booster you need in your bathroom. In addition, fixing a running toilet lowers your water wastage and water bill. In this article, we untangle how toilets work for beginners and several reasons your toilet won’t stop running. We also help you determine which solution works best for your running toilet.
How a toilet works
If you’re wondering what to do when your toilet won’t stop running, we recommend first understanding how a toilet works Trusted Source Toilet Parts Diagram | Toilet Replacement Parts | Toilet Tank Parts | Fluidmaster Easy to understand diagram of parts of a toilet and Fluidmaster parts identified for you. www.fluidmaster.com . In this article, we focus on the toilet tank, which is the main culprit for running toilets. There are two components – the fill valve system and the flush valve Trusted Source The 5 Different Toilet Flush Valve Types This tutorial describes how to identify what type of fill valve or ballcock you have in your toilet tank. www.thespruce.com .
Fill valve system
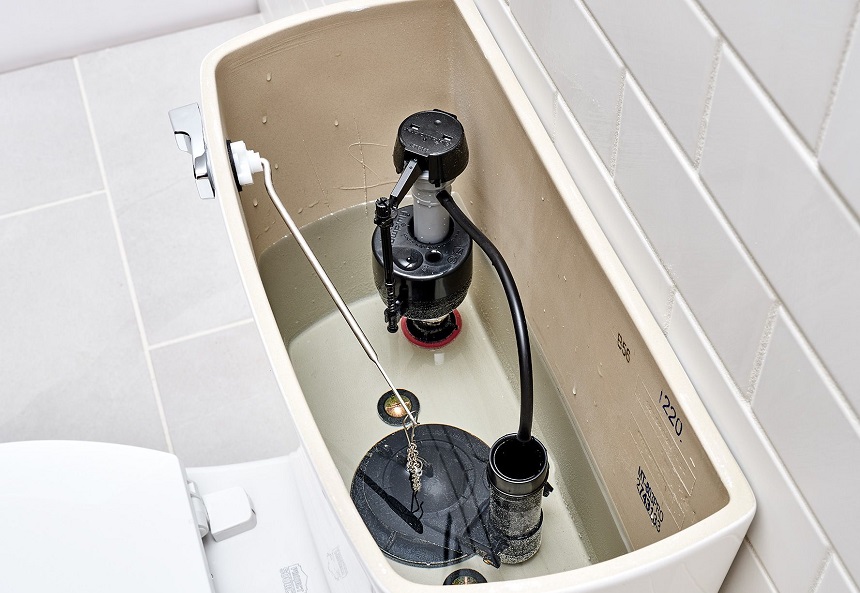
The fill valve system fills the tank with water. At the top of the fill valve system is a labeled cap containing the valve seal and a valve arm that connects to the adjustment screw for the float. The filler also has a refill tube with a clip at the end to secure it to the overflow pipe.
The fill tube is a vertical pipe that runs from the fill cap to the water supply line. It has a critical line (CL) label just below the cap. There’s a float around the pipe, which is then connected to the adjustment screw.
Further down the pipe, the fill tube has the lock ring, fill ports and a gasket that creates a watertight seal between the fill tube and the tank. At the bottom exterior of the tank below the fill pipe, you’ll find a lock nut that secures the fill valve to the toilet tank and the threaded end of the fill tube.
You’ll also find a connector, hose or tube, and water supply valve to your toilet tank.
Before a flush, water sits in the tank at a level approximately one inch below the top of the overflow pipe. The water level lifts the float, which lifts the adjustment screw and valve arm, and seals the valve.
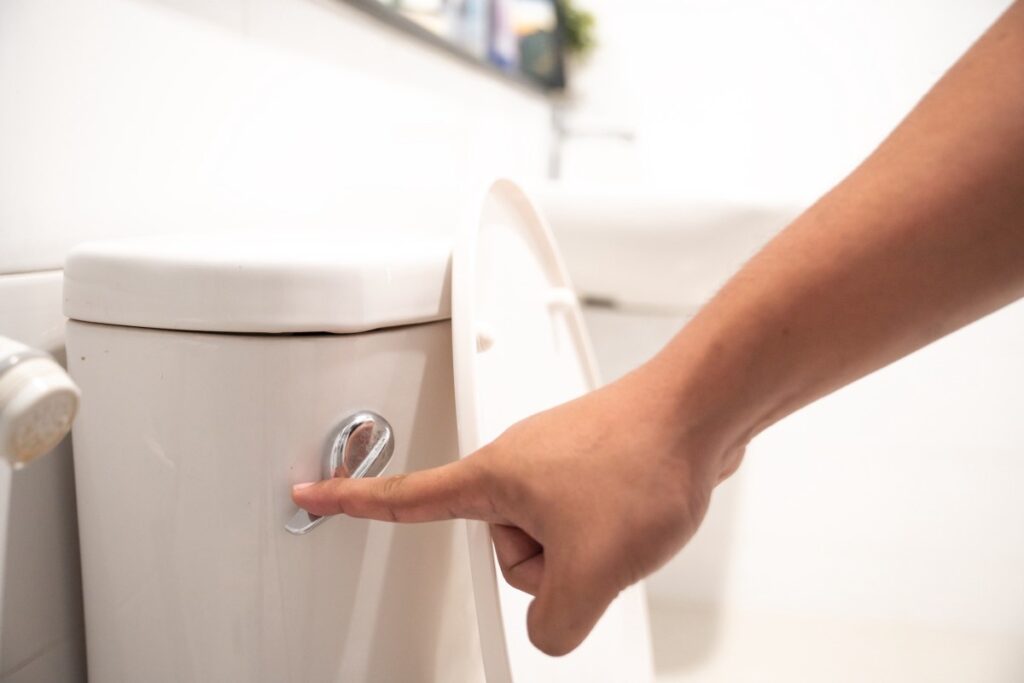
When you turn the handle to flush the toilet, it lifts the lever and flapper. The water rushes out into the bowl through the valve, and the water level slowly drops. The float, the adjustment screw, and valve arm level drop, forcing the fill valve open.
Supply water flows up, through the center tube (inside the fill tube), passes through the fill valve, down the outer tube, out the fill ports and into the tank. Water fills the tank and lifts the float. The float lifts the adjustment screw and lifts the valve arm, which seals the fill valve.
You can use the adjustment screw to adjust the water level in the tank. Turn the adjustment screw clockwise for a higher water level and counterclockwise for a lower water level.
As water fills the tank, some water flows through the refill pipe and into the overflow pipe to refill the toilet bowl. You’ll notice there’s an air gap between the refill tube and the overflow pipe. This is a safety feature that prevents water from siphoning back through the refill tube into the fill valve, and into the drinking water in the supply line.
The second safety feature to protect the supply line in case of fill valve failure is the critical line. The height of the CL needs to be set at least one inch above the top of the overflow pipe. If the fill valve fails to close, the rising water flows into the overflow pipe, through the flush valve, into the bowl without reaching the fill valve.
The flush valve
The handle on the water tank is connected to a lever, which is attached to a funnel-shaped flapper by a chain between the lever and the flapper. The flapper sits on the flush valve and is hooked to the overflow pipe. In addition, the flush valve has a gasket that creates a water-tight seal between the flush valve and the toilet tank. On the exterior bottom of the tank, below the flush valve, there is a lock nut that locks the flush valve in place.
Before a flush, water sits in your tank on top of the closed flapper, waiting for the next flush. Pressing the handle down lifts the lever, which lifts the flapper. The water in the tank rushes out through the flush valve and into the toilet bowl. Air in the flapper helps it float, and the flapper gradually lowers as the water level drops. The flapper eventually falls and sits on top of the smooth flush valve seat to form an airtight seal. Then, water from the fill valve slowly refills the tank until it’s approximately an inch below the top of the overflow pipe.
The overflow pipe has two functions. First, it prevents a flood if the fill valve refuses to close. The rising water overflows into the pipe and flows down through the flush valve and into the toilet bowl. The overflow pipe also refills the bowl. Water from the fill valve flows through the refill tube into and down the overflow pipe, through the flush valve and into the bowl.
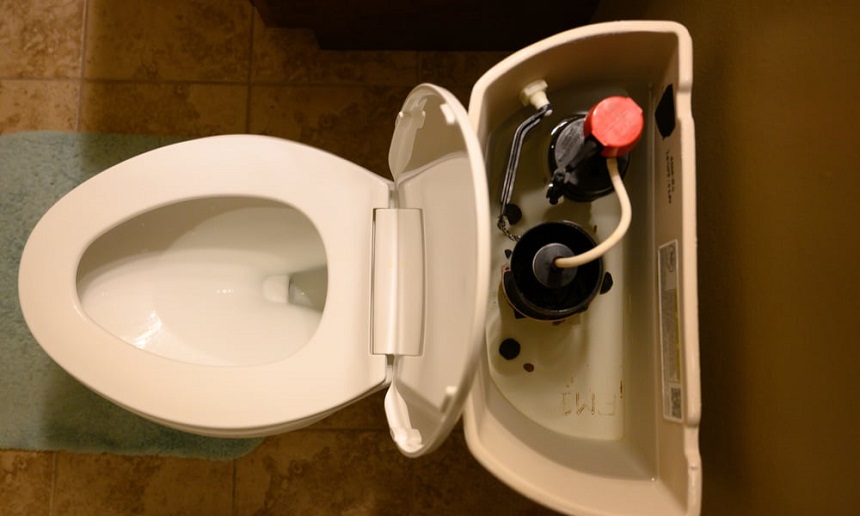
Why does it keep running? Possible reasons and solutions
Whether you are replacing your flapper, flush valve, or fill valve, you should do the following to prevent water spills.
- Switch off the water supply at the bottom of your toilet.
- Take the lid off and place it in a safe place.
- Place a bucket or towels at the bottom of the toilet to absorb any water spilling from the tank.
- Loosen the connector at the bottom of the tank to remove the supply line.
- Flush the toilet, remove as much water as you can from the tank and either spill the rest or absorb it with towels or sponges.
Damaged or old flush valve
If your toilet bowl won’t stop running, you may have a problem with your flush valve. First, lift your flapper and check the rim around the flush valve. See if it has any cracks or if it’s uneven. If the rim is damaged, it can’t form a watertight seal. Therefore, you need to replace the flush valve. As you shop, compare brands and pick the best toilet flush valve for minimal noise and an efficient flush system.
- First, unhook the flapper at the overflow pipe and the lever arm.
- Then, check the bottom of your tank for some nuts. Most toilets have two to three tank-to-toilet bolts that you need to loosen to take the toilet tank off. You’ll need a screwdriver for this. Place the screws in a secure location for later use.
- Remove the tank and now observe the bottom. There’s a gasket between the bowl to tank connection that seals the connection and a large plastic nut at the bottom of the flush valve. Loosen the nut to remove the flush valve from the tank.
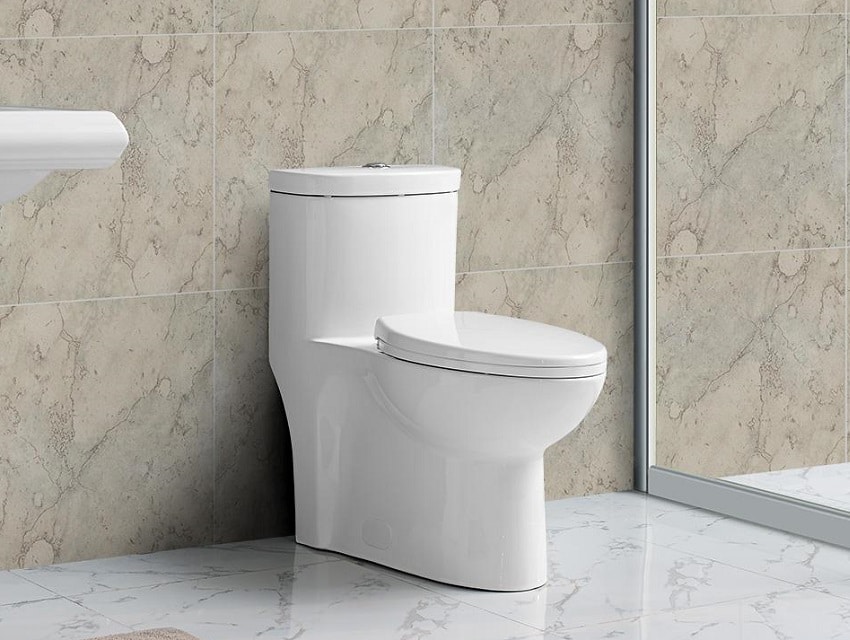
- Peel off the gasket and remove any dirt or grime around it, before replacing it with a new gasket. Note: if you have a broken gasket between the water tank and the toilet, water leaks along the bottom and sides of the toilet, causing floor spills and damage. You can permanently eliminate leaks between your water tank and toilet bowl by selecting the best one-piece toilet for you. One-piece toilets have one mold, preventing leaks along connections.
- Stick in the new flush valve, and screw on the lock nut at the bottom of the tank. Be careful not to overtighten the nut, especially when using a channel lock.
- Place the new gasket below the lock nut and make sure it seals around the bottom properly.
- Then, pick up your tank-to-toilet bolts for reconnection. Remember, the rubber gasket around the bolt goes on the inside of the tank to seal the connection. The steel washer and the nut go to the exterior. Make sure the tank is in the correct position before securing it with a screwdriver and nut runner.
- Then, hook your flapper back to ensure it sits perfectly on the flush valve and that the chain doesn’t lift the flapper open when it should be closed.
- Then, test your new flush valve and enjoy!
Damaged or poorly positioned flapper
If you’re wondering why your toilet pump won’t stop running, a damaged flapper is a possible reason. A broken flapper allows water through the fill valve, causing the fill valve system to run continuously to fill water in the tank.
Ensure your replacement fits your toilet design.
To replace the flapper, unhook it from the overflow pipe and the lever arm. Then, hook the new flapper into place and test it.
When you hook the flapper, make sure the chain has a slight snag when the flapper is closed. The flapper should rest on the flush valve seat to create the seal. If the flapper is open, loosen the chain.
A broken or old fill valve system
If your toilet doesn’t stop running after a flush, you may have a broken flush valve system. Fortunately, you can replace it with a new system.
According to reviews, the 400CR Toilet Fill Valve and Flapper Repair Kit from Fluidmaster is the most reliable option out there for fixing an American standard toilet. This model works for 3.5 gallons per flush (GPF) toilet or larger. However, if you have a 1.6 GPF toilet (or less), the 528MP QuietFILL Platinum Fill Valve from Korky.
First, try cleaning the fill valve.
- Disconnect the adjustment screw from the valve arm.
- Lift the valve arm and turn it to open the cap at the top of the fill valve.
- Pull the cap apart to reveal the diaphragm valve or fill valve. Now check if both parts have any dirt or debris. Rinse the parts or wash them in soapy water to remove any dirt that interferes with the seal and causes running.
- You should also check the fill tube without the cap on. If you notice any dirt on the pipe, reconnect the water supply line to your toilet, and let the water flow to remove the dirt.
- Now close your cap with all parts in place, lift the valve arm, return it into place, and turn it.
If cleaning the diaphragm doesn’t stop your toilet from running, you’ll need to replace the fill valve. Changing your fill valve is an easy DIY process.
- First, adjust your new fill valve to the same height as the old one to fit your tank. If you can’t remember the height, then you need to measure your tank height and find the right spot that’s approximately one inch above the top of the overflow pipe.
- Once done, make sure your rubber washer is on the bottom and position your fill valve.
- Thread in the lock nut at the bottom and tighten to hold the fill valve in place.
- Clip your fill tube to the overflow pipe and check that the float and adjustment screw can move easily.
- Reconnect your supply line and let water into the tank.
- Test your new flush valve and when you can’t see or hear any running water after a flush, place your toilet tank cover and enjoy your quiet and water-efficient toilet.
However, if you’re looking to lower your water bill further, consider investing in the best dual-flush toilets that use less water per flush.
When do you need to call a professional?
You can consult a local plumber at any time you feel confused or if you feel the repairs are beyond your skill. Also, if all DIY fixes fail, it’s time to call the plumber. A professional will fix the issue and prevent further problems from developing.
Final thoughts: don’t let a running toilet stress you
If your toilet won’t stop running after a flush, you can fix the problem. First, inspect the toilet tank to find the issue. If the fill valve is always running, you may have an open flapper, a damaged flush valve, or a broken fill valve. You can adjust the existing flapper and fill valve or smoothen the flush valve seat. Alternatively, insert a new fill valve system, flush valve, and flapper. Be sure to also check the gaskets around the pipes and the tank. Finally, you can replace the toilet entirely with professional help.