Are you among the 71% of Americans who value quality over price? Do you consider the DIY approach to be a creative experience rather than a stressful one? Then this is the post for you. We’ve compiled a comprehensive list of five DIY smoker ideas based on your grill of choice. The supplies required are not difficult to obtain. Some of them may be laying around your house, waiting for you to use them. Those that you would not find in your home can be found in multipurpose retailers.
However, keep in mind that building your DIY smoker requires a level of skill that the average person might not have. Despite this, don’t give up just yet. We made sure that both novice and experienced DIYers were covered in this article. This article also includes a hint on the kind of expertise you could need to complete your DIY smoker BBQ.
DIY Barrel Smoker
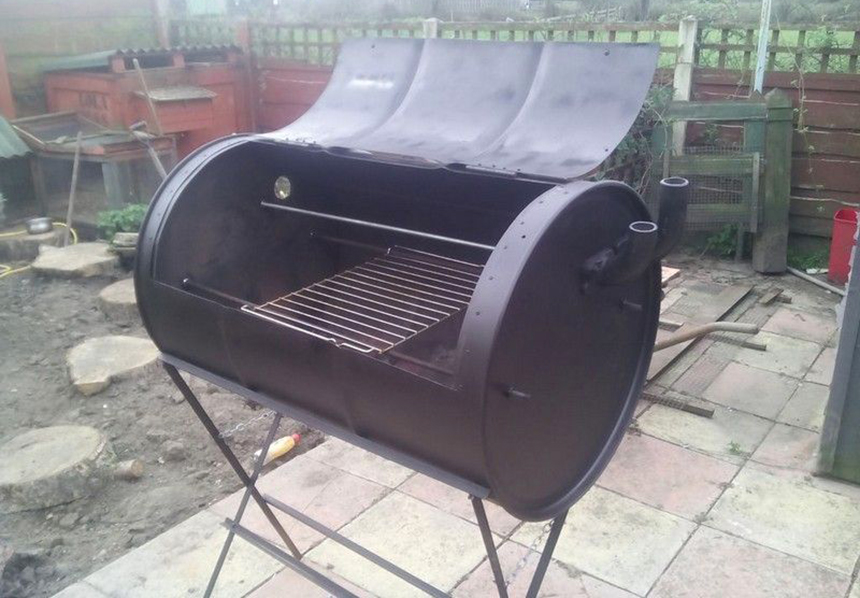
The well-known drum smoker is the source of inspiration for a DIY barrel smoker. With a short cooking time and a large capacity, this kind of charcoal smoker delivers excellent results. A drum smoker is your best option whether you’re cooking smoked cheese dip, quick and easy pulled pork, or smoked corned beef.
Even though a DIY drum smoker is meant to resemble the real thing, it cannot always appear exactly like it. As a matter of fact, no two DIY barrel smokers can be alike.
This is so because no two individuals’ levels of creativity are even comparable. But if you have the fundamentals down, you may build a homemade smoker that stands beside the best charcoal smokers ever made.
Materials and tools
Below are the things you’ll need to make a proper DIY grill smoker with a barrel.
- A 55-gallon drum with no special lining (preferably an open lid)
- A ruler
- A painted tape
- A 1/8 by 3/4 by 12 inches handle
- Bolt and Nut of the following measurements;
- 2 pieces of 1/4 by 0.75 inches
- 12 pieces of 1/4 by 1.5 inches
- 2 pieces of 3/8 by 0.75 inches
- Threaded pipe with a valve
- Elbow pipe
- A 24 by 24 inches expanded metal sheet
- One 18-inch weber charcoal cooking grate
- A drill
- 4 pieces of 22 inches weber grills
- One 16-inch terra-cotta dish
For a closed lid drum, add:
- A colored marker
- A saw or any other cutting tool
If you want an automatic drum smoker, you could purchase an automatic temperature control device (also called an ATC system for short). Also, especially at the beginning of your cooking experience, you may need one of the best meat thermometers so that you can control the cooking process.
Required skills
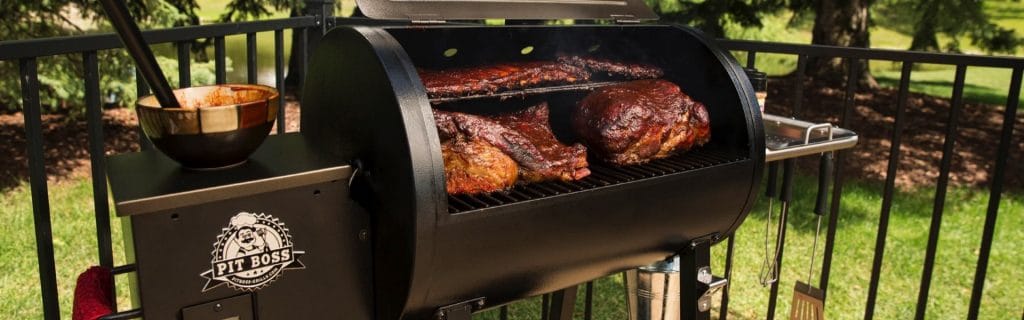
You need a few abilities and understanding to construct an excellent DIY barrel smoker. You are at an advantage if you have some knowledge of steel fabrication. Additionally advantageous is expertise in welding. If you don’t have any of these, though, just being able to tighten nuts and bolts would suffice. However, you can check Camp Сhef PG24DLX for a high-quality and reasonably priced item if this DIY process already sounds like a lot of work.
Guide
It all boils down to getting the drum, drilling holes in it, building the charcoal basket, setting it within the grilling plate, and adding the valves. While building the drum smoker yourself, feel free to get creative, but keep to the prescribed steps.
STEP I: Preparing the drum
You can move directly to step II if your drum has an open lid. Your DIY project would start here, though, if you could only get a closed-lid drum. Mark off a consistent distance from the top of the drum around the circle using the ruler and a marker. After completing this, join the marks you’ve made so that a connected line is visible around the drum. To create an opening in the drum and a lid, carefully cut through the drum with the cutting tool.
STEP II: Assembling the fire basket
A welder is necessary to make this operation simple. No worries, though, if you don’t have one. All you need is an hour of your time. If you have a propane tank, wrap the thin metal sheet tightly around it. The expanded metal sheet should now be a ring or at least circular. Use your bolts, washers, and nuts to secure the ends of the ring. Get the cooking grate and secure it with the long bolts so that it resembles a stand on all four sides. The basket and the grate you have constructed are then connected using your bolts and nuts. Your charcoal or fire basket is set!
STEP III: Drilling the holes
Instead of drilling in the holes haphazardly, it is preferable to do it strategically. Put painter’s tape on the drum from the top to the bottom (vertically). Next, mark a position on the drum with your ruler that is 7 inches from the top, 12 inches from the bottom, and 3 to 4 inches from the bottom. Then, around the three markings you have created, drill four evenly spaced holes. The grilling grate will be supported by the first marking, which is located 7 inches from the top. The charcoal basket will be positioned on the second level, which is 12 inches above the ground. The air intake or valve holes make up the third level. Drill four-square-like holes at the drum’s mid-vertical distance, then cut out a square opening if you desire an ATC system. The cables for the ATC and the meat probes should be inserted here.
STEP IV: Making the handle
Making the lid and handle requires moving away from the drum, the main system. Drill 8 holes around the lid with an inch or two between each one. After that, drill two holes through the center of the lid to mount and bolt in the handle as well.
STEP V: Assemble all components
By using the holes you’ve made, secure the basket inside the drum. After placing a heat separator, place your grilling rack on top of it. It’s finished when you cover your drum with your lid, which should include punctured holes on the top to control heat.
DIY Smoker Box
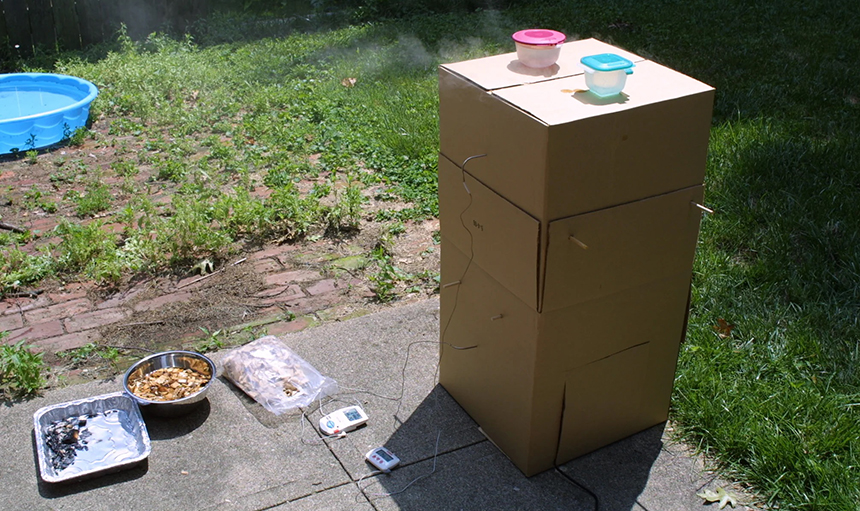
The DIY smoker box can give you the barbecue flavor you want, whether it’s made of wood or cardboard. To reach the right temperature for smoking or grilling, however, the DIY wood smoker might not be sufficient. Even so, since you have saved a ton of money from some pricey smokers, you can always continue cooking in the oven.
Materials and tools
You’ll need the following tools;
- Big cardboard or wooden box with a lid, 4 feet high would do
- One appropriate Cutting tool based on the material
- A marker
- 1 cooking rack
- 4 wooden dowels about 5 feet long.
- A disposable baking rack
- One hot pot
- Cast iron skillet
- Wood chips
- Probe thermometer
For a wooden box
- A drill
Required skills
Perhaps no woodworking expertise is required unless you use a wooden box. However, if you chose the wooden box (which is stronger and more durable), you would need some carpentry and woodworking abilities.
Guide
Below are the processes of making your DIY smoker box.
STEP I: Preparing the Box
You can use the same instructions of a cardboard box that will soon be discussed to construct a DIY wood smoker. For a DIY smoker cardboard box, obtain a clean cardboard box that is 4 feet high and around 2 feet wide. The box must resemble a square and must not be rounded in any way. Mark a point 2 feet high and 1 foot wide from the box’s bottom up. Connect the dot to form a square that should be centered at the bottom of the box. Cut out this square so you can see the box’s interior from the outside of the box. Your cooker will stay in this location. Please take note that leaving the cover on the cut-out would allow the box to remain closed, trapping heat so don’t cut it out.
STEP II: Add Supportive Dowels
For a wooden box, you would have to drill in the holes but for a cardboard box, a simple puncture will do fine. Adjacent to where you have cut out, measure a distance of 1.5 feet from the base of the box. Mark out two points evenly spaced beside each other on the 2.5ft measurement you have taken. Make sure that this measurement aligns with the opposite side and then push two wooden dowels through. This pair would support the drip pan. Do the same procedure 1 foot from the top of the box on the side where the cut-out was made. This pair of cross-wooden dowels would support the cooking rack.
STEP III: Assemble the Features
Place the disposable baking pan inside the box as it will serve as your drip pan. Then put the cooking rack on top. After this, place the cast iron skillet inside the box through the square cut-out you have made in the beginning. Fill it up with wood chips and place your hot pot beneath. Insert the thermometer probe through the box (close to where the cooking rack is placed), and that is all to it.
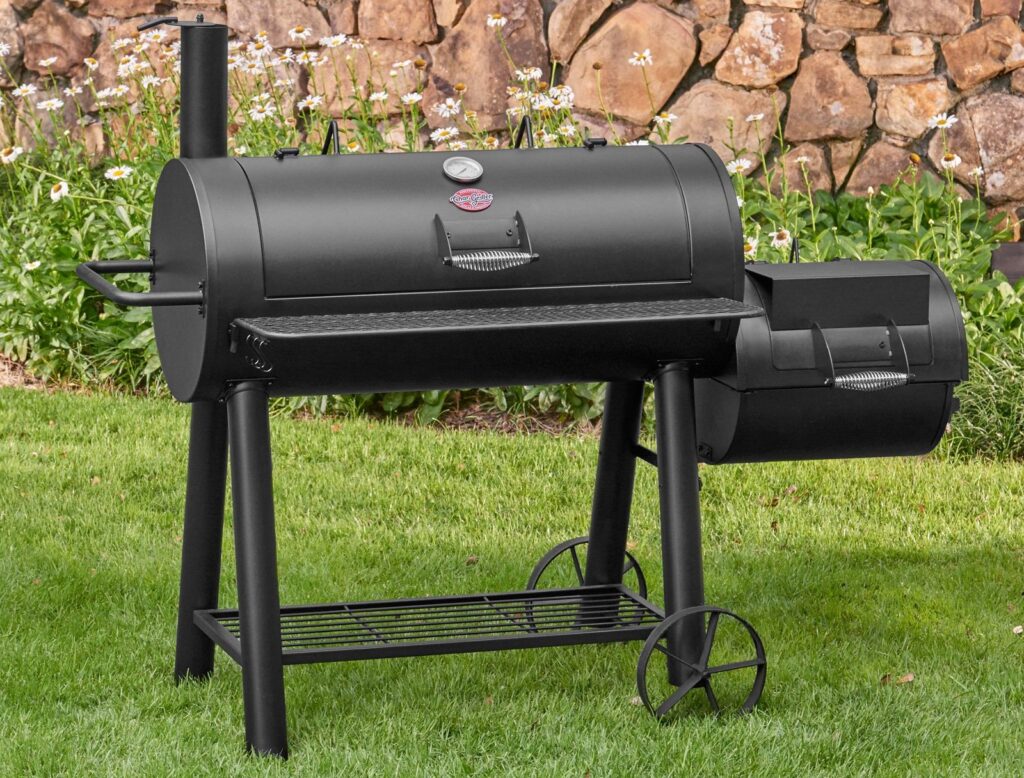
DIY Offset Smoker
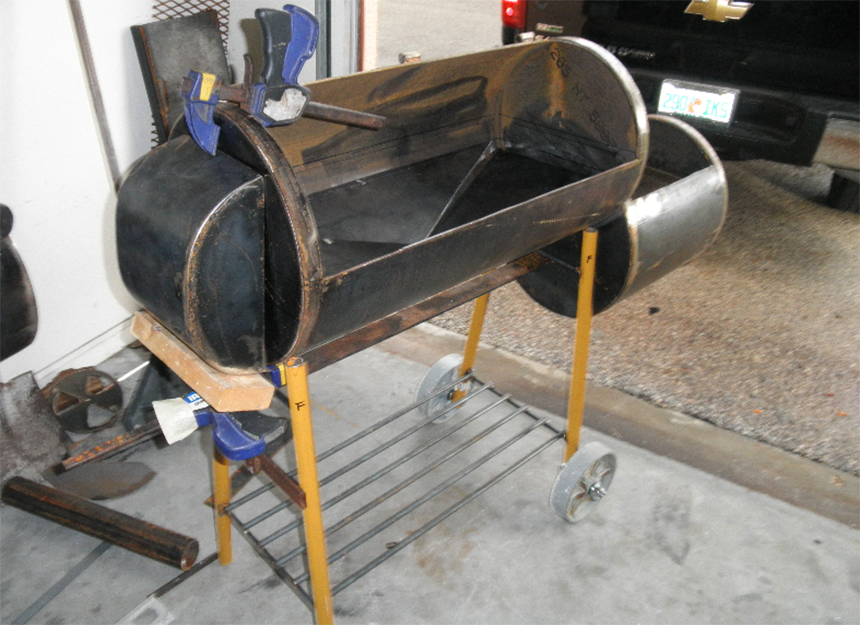
The best offset smokers are great for cooking with indirect heat. It also produces a meal with that incomparable smoking taste and classic braise without needing to wait for too long. A DIY offset smoker is created to replicate that characteristic. So carry on with the guide to your very own homemade offset smoker.
Materials and tools
Below are the things you need to have ready before you can make a DIY offset smoker.
- 250 Gallon propane tank
- Square tubing
- Expanded metal
- Angle iron
- A welder tool
- An angle grinder
- Cut off wheels (as many as you can find)
- Abrasive wheels
- Clamps
- Welder’s kit
- A thermometer
- A large pipe
Required skills
You need welding capabilities, skills, and knowledge to make a DIY propane smoker. Without this knowledge, it can be difficult to build your DIY offset smoker. Instead, you can opt for a more affordable option like the Weber Smokey Mountain Cooker. However, if you have welding skills, and can continue with this project, follow up with the guide below.
Guide
Here are the things you should do to make your DIY propane smoker
STEP I: Cutting the Doors
Mark the location of your doors, which should be quite wide and a few inches from the top of the tank. You can make two doors by making these dots on the other end of the tank with a slender space in between. Next, weld the hinges to the door to prevent the doors from falling out of position. Then, weld the door again after sliding the round bar pieces into the tube. Now, you can begin to cut. However, it can be extremely risky and life-threatening to cut a propane gas tank ordinarily like that, so we strongly urge that you seek a professional for help.
STEP II: Fixing the Door Handles and Seals
Bend two pieces of round stock and add a tube to make the handles. Then use the flat stock and clamp them down while welding them to the door to make a curve seal.
STEP III: Start on the Smokestack
Cut a hole onto the top of the propane tank (further going to be referred to as the cooking chamber). Weld another long pipe into the hole – make sure that this steel pipe is about 5 to 10 inches in diameter). Mark where you would prefer the opening to be and ensure that it is wide enough. Then use the angle grinder to cut this opening so that you now have an open space. Notch the steel pipe at the point where the opening is, then pick up the sheet, the bottom plate, the pipe, the side pieces, and the top piece while welding them all together in place nicely in your DIY smoker.
STEP IV: Making the Cooking Grates
As with the DIY smoker box, weld metal supports directly into the tank as with the wooden dowels. Then simply place the expanded steel on top. Making the cooking grates removable allows for easy cleaning after cooking. Note that these metal support bars must be parallel to each other and perpendicular to the door of the cooking chamber. Before welding, measure the right size you’ll need, cut them out, place them in the chamber to see if it fits then weld them in.
STEP V: Building and Attaching the Firebox
Using the steel pipe, thick steel plate, and ceramic insulation, your firebox is easy to make out. Join four sides of the steel plate until you have a well-welded box. Cut out the opening for the door (as you did with the cooking chamber) and then insulate it properly. From the side of the cooking chamber, cut out an opening where the firebox will be placed – make this opening like a moon shape that is almost crescent, then weld the box to the chamber properly.
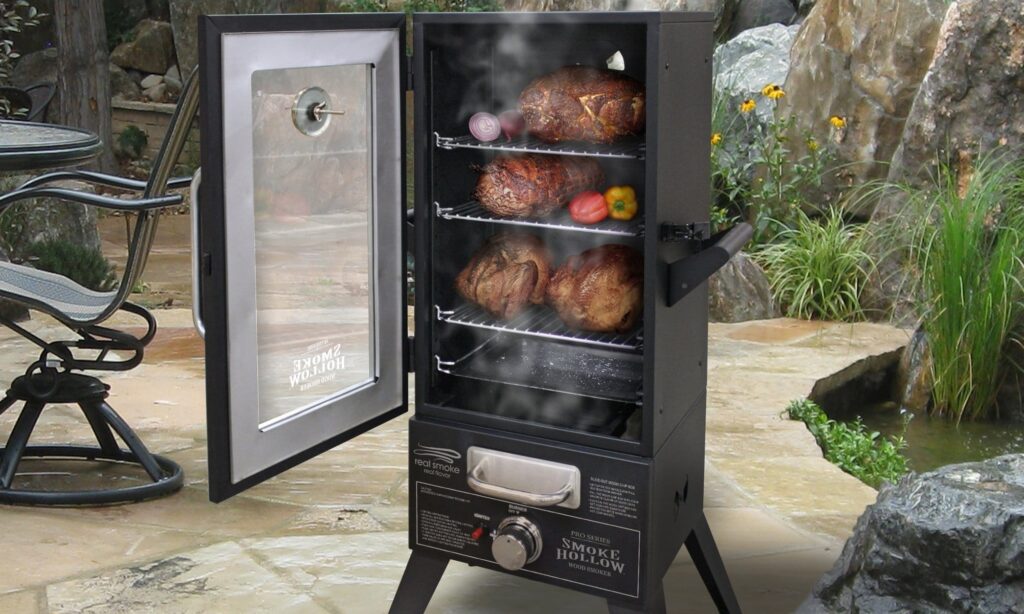
DIY Vertical Smoker
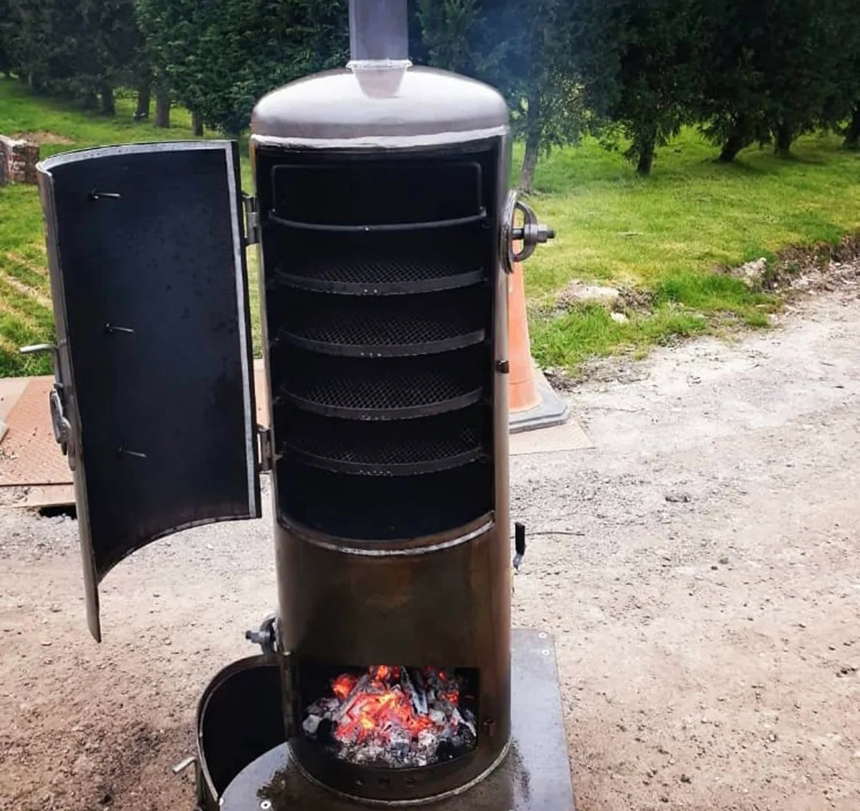
You can make a DIY vertical smoker from any material as with some of the ones used on these top pellet smokers. Just like the cardboard or the barrel idea, the smokers were vertical. But what about a smoker with a vent? Where you don’t continuously need to regulate the temperature but can regulate itself as with those DIY electric smokers? That’s where DIY vertical smokers come in.
Materials and tools
The following are the things you’ll need to get started.
- 14 & 16 gauge metal sheets
- Square tubing and angle steel
- Expanded steel metal sheet and steel mesh
- Welding tools and full kit
- Heavy duty casters
- Misc bolts and nuts
- Thermometer
- Hinges
- Welding magnets.
Required skills
You need welding skills just as with the DIY offset smoker as you might not be able to make one without this knowledge. You might also need the welder’s kit with hammers, some basic hand tools, and a welder inclusive.
Guide
Follow the guide below to make your DIY pellet smoker of vertical shape.
STEP I: Making the Walls
Use welding magnets to keep the box square while trying to weld the three steel plates together to make the chamber’s walls. The heavy-duty casters should also be welded in and reinforced with angle steel for more stability. Cut out the top of the frame and add some of your little kitten litter or clay to the fabrication. You don’t need to weld it all at once, do so in small sections to keep warping to a minimum.
STEP II: Adding the Doors, Air Intake, and Chimney
Divide the full length of your DIY vertical smoker into two making the top section for the cooking area and the lower part for the fire. There will also be two doors for this purpose. Using the square tubing, cover it with sheet steel and then use a latching mechanism to weld them all in place. Cut a hole in the bottom door and then make the side of the air intake using angle steel. Install long bolts on the sliding chokes and those will make for the chamber’s handles. Mark out a hole on the top of the chamber and cut it out. Then bend a metal flange until it fits into the hole and weld it in place.
STEP III: Installing the Cooking Grates and Fire Basket
The cooking grate is made up of two layers, one to collect dripping oil and the other to cook the food. Simply weld a wire mesh to the sides of the DIY smoker. To make the fire basket, join the expanded steel sheet until it becomes a basket and place below – where the fire is meant to go. To make your grates removable, weld in a support rail set, with two parallel rails on both sides for every cooking grate. Close the doors and it is all set.
Safety Tips When Making a Smoker

Regardless of what form of DIY smoker you have selected, you need to follow certain precautionary tips to ensure that your grilling process remains safe. Some of these safety tips are listed below:
- Use grills outside: Trying to smoke your BBQ inside the garage or the house is a no-no. You wouldn’t want to set off a fire in the house would you, or risk inhaling harmful substances? It is always better to keep the environment around your grilling free from a cluster and highly airy.
- Place your grill on a flat surface: This is also very important as it prevents your smoker from falling or tipping over.
- Check for leaks: Especially when you have a DIY smoker, you need to inspect your smoker every time before use to ensure that you don’t have leaks. If you are using a gas or a propane cooker, leaks can be highly life-threatening.
- Always have a fire extinguisher close by. A saying goes that ‘mistakes are inevitable’ but it is always best to be prepared for the worst. Keep a fire extinguisher where you can reach it in the case of a fire outbreak or a mistake.
Final Thoughts
In this article, we tried to represent multiple techniques that use different materials and require various amounts of effort. We hope that this article was useful and you were able to find the DIY smoker that you can make with your skillset. Just remember to follow safety precautions and try to have fun while working on your smoker.