Electric smokers are becoming an increasingly popular method of smoking foods, particularly meat. They are a relatively hands-off approach to making appetizing dishes and make an excellent hobby for those with an interest in the culinary world. Electric smokers are often preferred to more conventional smoking methods (for example charcoal smokers and barbeques), as they require less attention while still creating a final product of equal or greater value. In only a few hours, the user can prepare delicious, smoky foods with the touch of only a few buttons. This article will run you through the basics of how to use an electric smoker , including how to set it up, how to smoke foods, and how to maintain the unit long-term.
How Does an Electric Smoker Work?
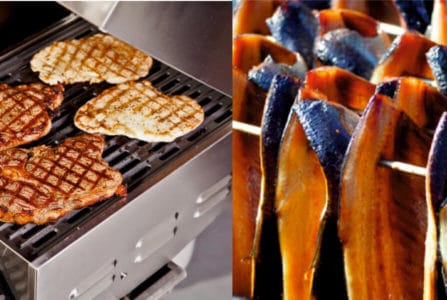
Electric smokers work by convection cooking and smoking food through heated electric rods. Electric smokers can be used to smoke a variety of different foods, namely cheeses, vegetables and meats. The addition of wood chips to an electric smoker allows the user to control and adjust the flavors of meat, cheese, or other foods to their liking.
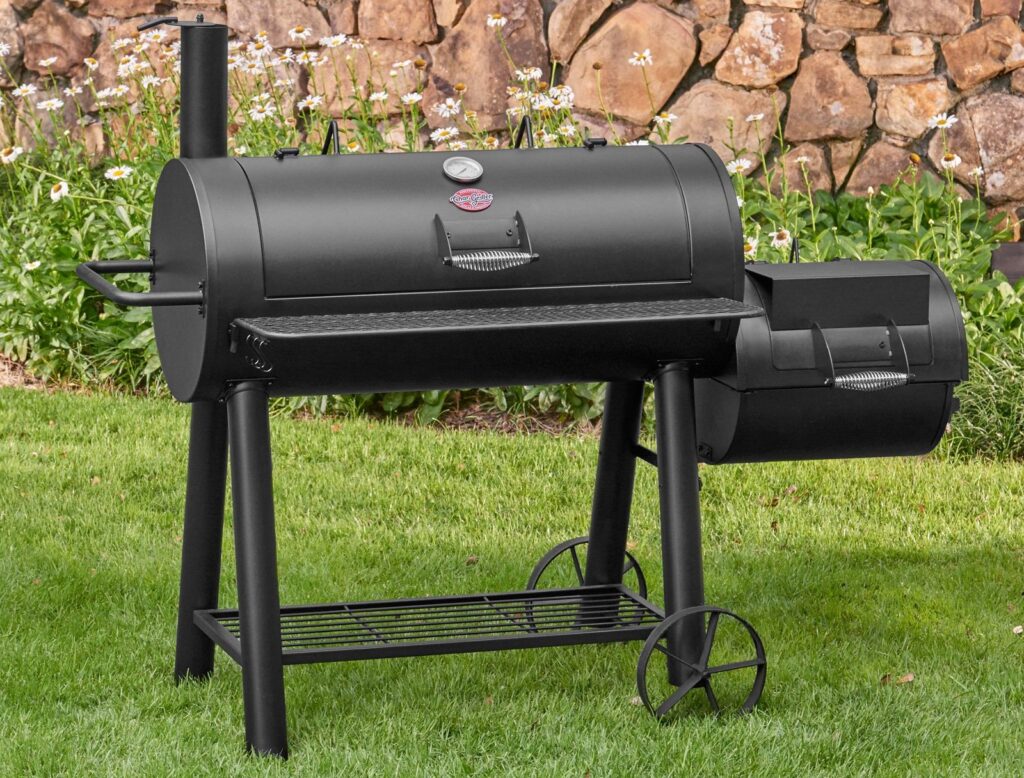
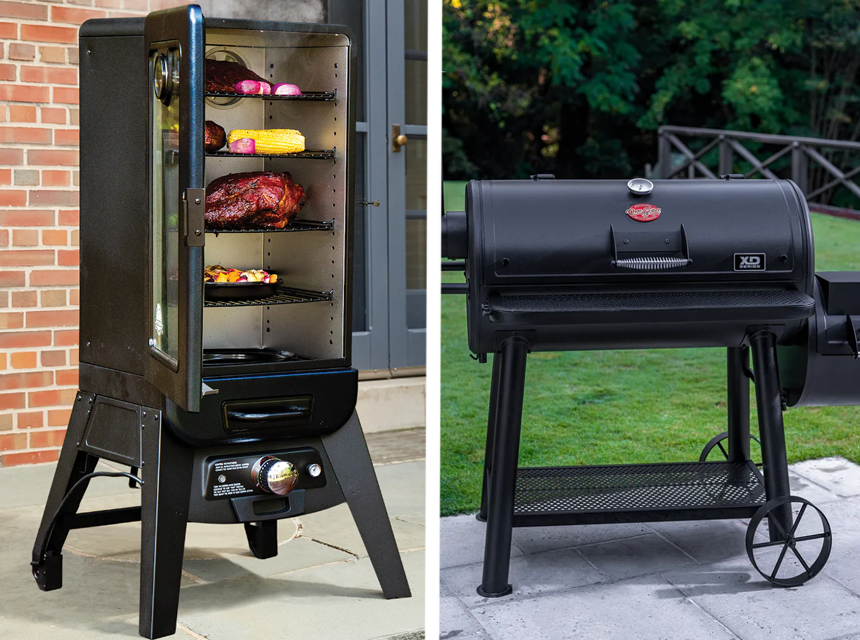
There are two main types of electric smokers: vertical and horizontal. Horizontal smokers are typically larger and more durable, meaning they can easily be used all year round. Their heating source is located on the sides of the unit. Vertical smokers, on the other hand, are heated from the bottom and intended for use in warmer months only. That said, vertical smokers are generally the most common option of the two, thanks to their compact design and strong smoking capabilities.
Electric smokers come in a variety of sizes, features, levels of complexity and prices, so we recommend doing thorough research prior to purchasing. Lucky for you, we’ve already put together a list of the best electric smokers under $200 for more budget-friendly individuals, as well as the best smokers under $500 for those with a bigger budget.
I Bought an Electric Smoker, What’s Next?
So you’ve done your research and finally purchased that electric smoker you’ve had your eye on. This might leave you wondering: What’s next? The next steps will be figuring out how your smoker works (the user manual is a great place to start), setting it up, and then finally, getting cooking!
If you haven’t bought an electric smoker yet, we’ve put together a list of the best commercial smokers.
Electric Smoker: Usage Guide
Here we will explore how to use your brand new electric smoker – from the time you buy it, all the way through to smoking foods with it. For clarity and ease of reference, we’ve broken this usage section down into 4 main topics: Setting-up, Seasoning, Smoking, and Cleaning. For the purposes of this article, we will reference the user manual for the Masterbuilt MB20071117.
Setting the smoker up
While the basics may be similar across various brands, we recommend that you consult your electric smoker’s user manual for specific instructions on setting up your unit. Be sure to set up your smoker in a well-ventilated area if indoors, and away from any potential hazards if outdoors. Plug your smoker in and turn it on using the power button. The first step is one of the most important ones – seasoning the smoker.
Seasoning the smoker

It is crucial to season your smoker before its first use, to clean it out properly prior to cooking. This involves coating the inside of the smoker with oil and running it at high heat (at a temperature of approximately 275 °F) to clear out any germs or residue left by the manufacturing procedure. After smoking, wipe off any oil residue and allow your unit to cool for the recommended period of time before using it to cook. Please note that as with each step outlined in this article, we advise that you consult your user manual for the specifications of your model since some newer units don’t require any seasoning before first use.
Smoking the meat
To begin the smoking process, first, preheat your smoker. After approximately 30-45mins, when the preheating process has finished, add hot water to the included water chamber, found at the bottom of the smoker. Additional liquids such as beer, wine or cider can also be added to create elevated flavor pairings. This liquid will in turn create steam and ensure that the food doesn’t dry out during the smoking process. Note that water will likely need to be replenished regularly during the smoking process. At this point, you should also oil the smoking racks to ensure that the food won’t stick to them during the process.
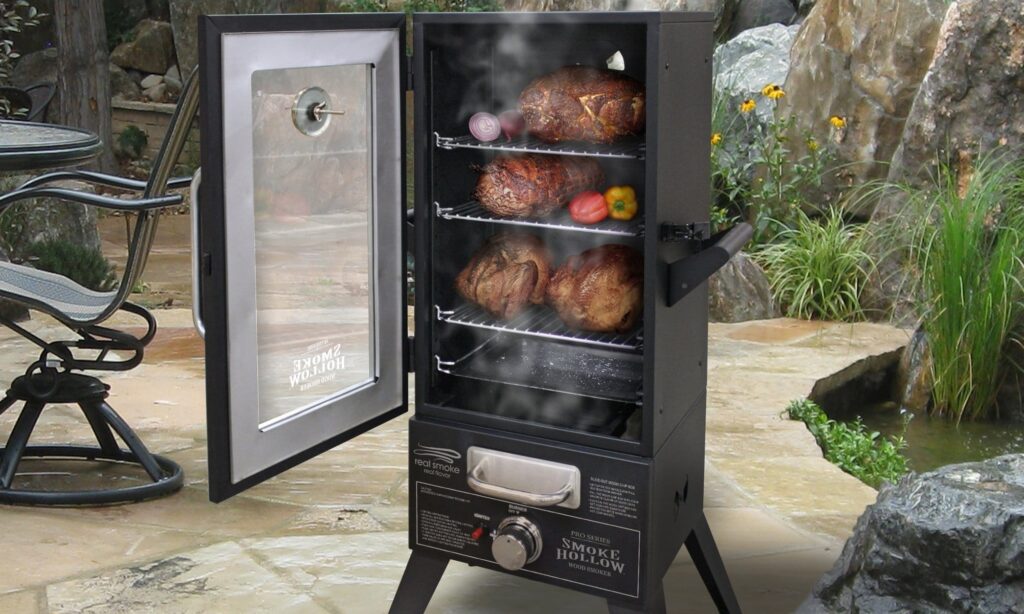
Now for the fun part! Place your prepared meat into the smoker, and onto the racks within the main chamber. This meat will have been pre-seasoned or marinated per your recipe’s directions. Bigger items should be placed on the lower racks, and smaller items on the upper racks. When closing the smoker door, ensure that it is properly locked so that no heat is accidentally lost during the cooking process.
It is important to note that different types of meat must be smoked at varying temperatures. These respective temperatures can be found within most recipes – or your smoker may even come with a paper guide. Smoking time can range from as little as 30 minutes to several hours depending on the type of food being smoked, and the way in which it is prepared.
Having an understanding of how to use an electric smoker with wood chips will open up the opportunity to prepare even more delicious dishes. Most electrical smokers will come with a wood chips bowl. To this bowl, you will periodically add wood chips which will in turn add the desired flavors to your food. Soaking the chips is not necessary when using most electric smokers. Wood chips come in a wide range of flavors, from strong deep flavors such as hickory or walnut (which pair well with all meats besides lamb) to lighter options such as maple (which pairs best with poultry and pork). Some foods like poultry and fish pair best with fruity flavors, namely cherry or apple.
Before removing meat from the smoker, be sure to confirm that it is appropriately cooked using a meat thermometer. After you’re sure that the meat has finished cooking, allow it to rest for an appropriate amount of time before serving. Typically this will be around 15-20 minutes.
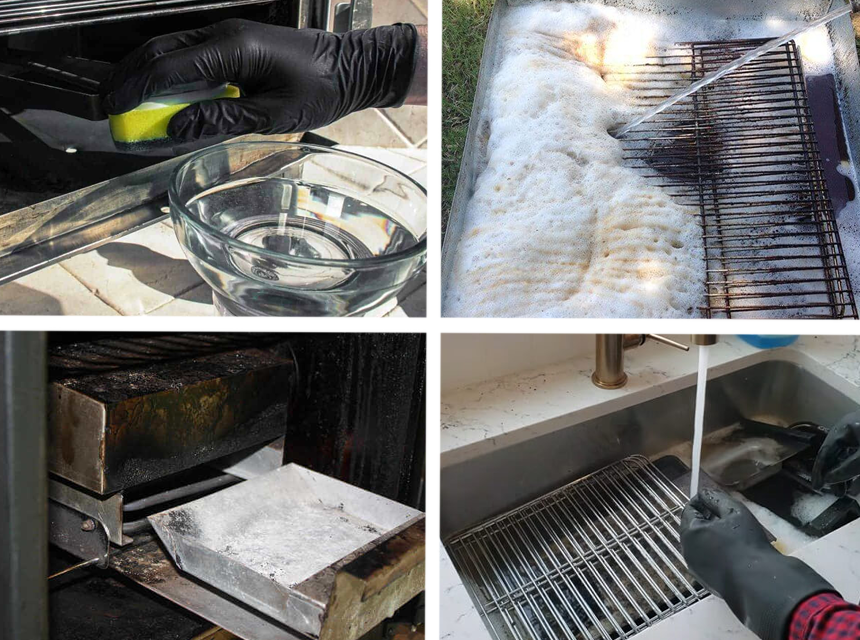
Cleaning the smoker after use
To extend the longevity of your smoker’s life, it is essential to clean the smoker after each use. Not to fret, we’re here to help! Here’s how to clean an electric smoker after use. The best way to effectively clean your smoker will vary based on your unit – we recommend consulting the user manual for specific cleaning directions. Also, ensure that the cooker is unplugged and completely cooled before cleaning.
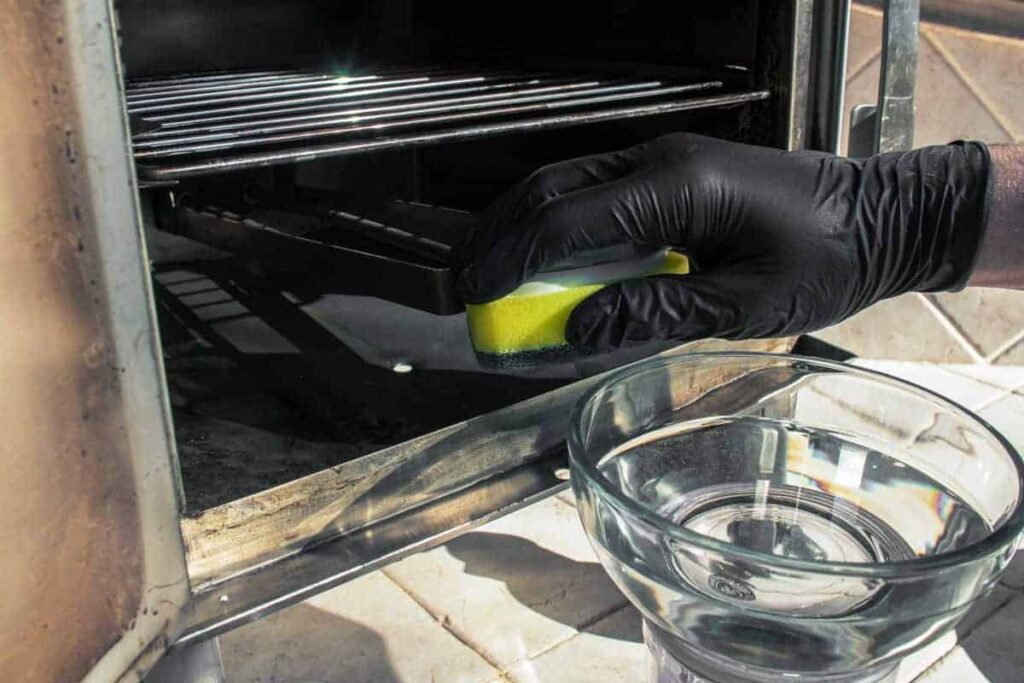
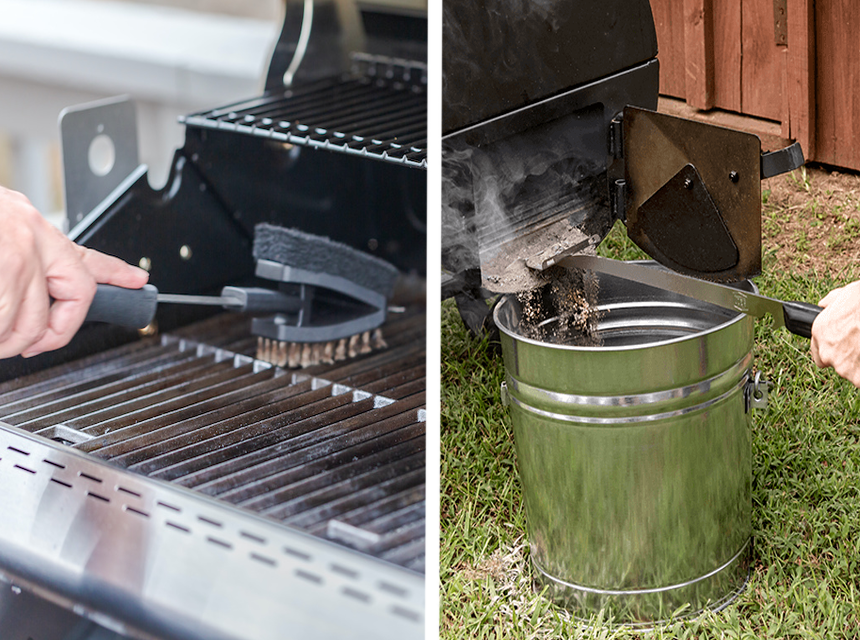
Whatever kind of smoker you have, clearing out any remaining food debris and ashes after every use is a great place to start. This means emptying the ash box and cleaning the drip tray, as any leftover ash or grease will cause the smoker’s surfaces to rust. Be cautious not to scrape off any coating from the metal surfaces of the smoker. This kind of damage may be caused by the use of metal cleaning brushes, so you may want to opt for a plastic bristle brush instead. Most components of the smoker can be washed with regular dish soap, however certain areas such as the interior and the glass on the door should be wiped with a damp cloth only. Keeping your smoker well-oiled will also prevent rust buildups from forming across various surfaces.
Long-Term Electric Smoker Maintenance
While electric smokers are fairly easy to use and maintain, it is important to protect your investment. Regular maintenance of your smoker will help it run at its best for years to come. As discussed earlier, routinely cleaning the smoker after each use will keep the smoker in its best condition, and eliminate the need for bigger cleanups down the line. It will also prevent your smoker from breaking and requiring you to buy a new unit prematurely. If your smoker is located outdoors, keeping a cover over it will also help keep it clean and protected from the elements. On top of cleaning your smoker after each use, it is recommended to deep clean your unit after every few uses. We have gone into detail about this process below.
Deep Cleaning your Smoker
Even with regular cleaning, your smoker should still receive a routine deep clean after every few uses. Begin by covering your work area to ensure that debris from the smoker is contained.
Cleaning the Exterior
To clean the exterior of your smoker, you can use a damp cloth with a small amount of oven cleaner. Even just a damp cloth and some dish soap will usually do the job. As mentioned above, a cover will reduce the frequency of which your smoker’s exterior needs to be cleaned.
Cleaning the Interior
To clean the interior, we recommend following these steps. Be sure to consult your user manual for cleaning specifications and warnings. First, locate the tray or box where ashes are collected and dispose of them appropriately. If there is leftover ashy residue, it can be washed either by hand or in a dishwasher, depending on your smoker model.
Next, remove any parts of your smoker which can be washed in the dishwasher, these will again be dependent on your smoker. The smoking racks can also be thoroughly cleaned by using the self-clean function found on most ovens. The cooking chamber does not need to be cleaned after each use, but should undoubtedly be included in your deep clean process. You can use a mild cleaning spray like a diluted vinegar and a cloth to clean the chamber out effectively.
Ensure that all components of your smoker are thoroughly-dried prior to reassembling the unit to avoid any mold forming. It is also advisable to let the unit air dry out by leaving the door propped open. In the event of mold in your smoker, heat your smoker at a high temperature for 30-40 minutes. After the smoker has cooled, use vinegar to give the smoker a good clean and remove any remaining mold.
Final Thoughts
Electric cookers are without a doubt a fantastic way to upgrade your cooking. If you invest in a high-quality electric smoker, learn how to use it properly, and clean it regularly, you’re sure to enjoy delicious smokey foods for years to come. We hope that this article has been a useful guide on how to use an electric smoker, and has inspired you to further explore this rewarding hobby. Happy cooking