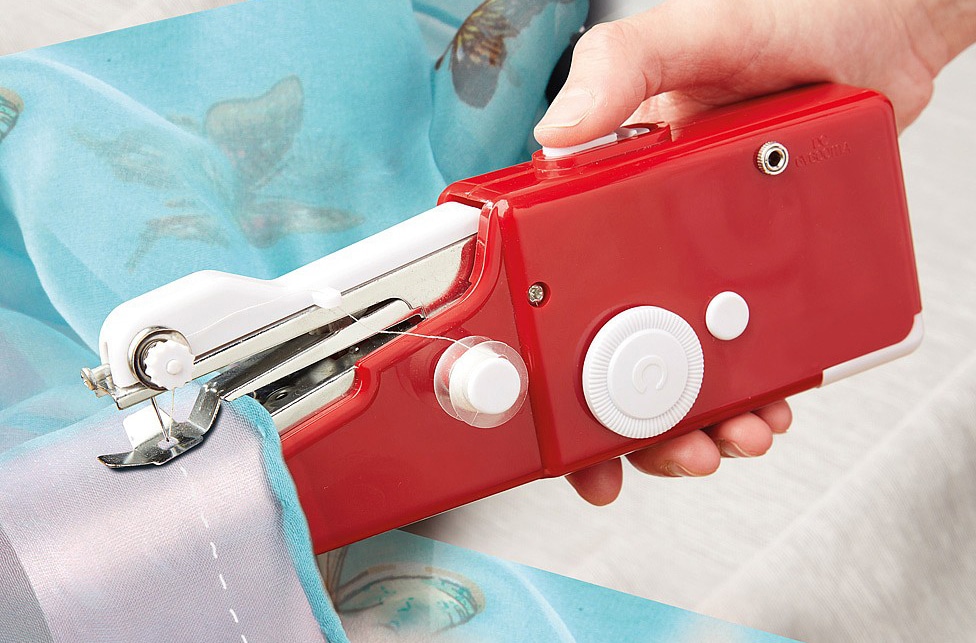
If you’ve ever spent any time sewing by hand you’ll know that it is a tedious and sometimes painful task, especially when you combine larger projects with delicate fingers repeatedly pricked by needles. Sewing machines can make this task much simpler and prevent injury at the same time. Though the first sewing machine design Trusted Source Sewing machine - Wikipedia A sewing machine is a machine used to sew fabric and materials together with thread. en.wikipedia.org became a reality in 1790, these machines have been upgraded with more functional parts and new capabilities that we now use today.
Though you may not need to actually take one apart, using one regularly may have you wondering how does a sewing machine work. These machines contain several moving parts, both inside and out, all of which work together to bring your design ideas and patterns to life. Luckily, you don’t need to be a sewing machine manufacturer or technician to learn the parts of a sewing machine and what they do.
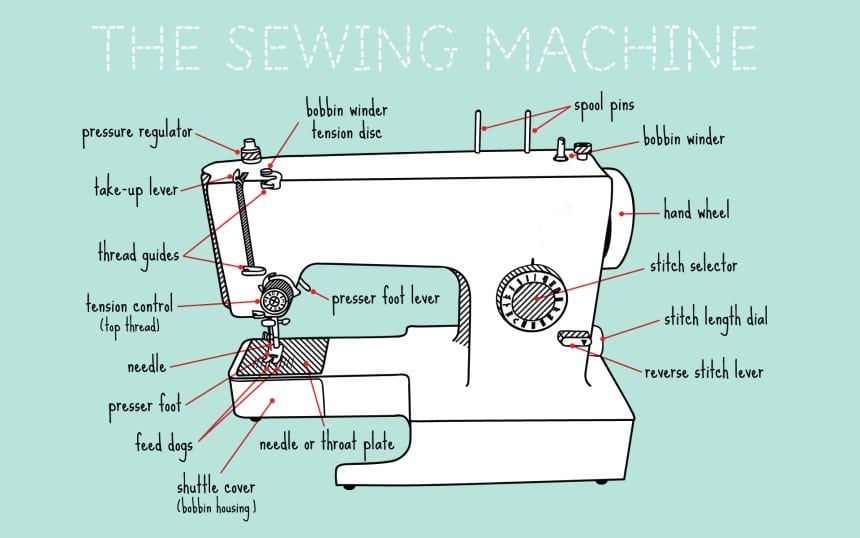
One of the most important of these moving parts is the crank since this is the piece that moves the needle in the up and down pattern that is used to actually sew the fabric you’ve placed beneath it. Another belt connects the upper driveshaft to the lower one, which moves the mechanisms in the base of the machine. These pieces mimic the upper drive shaft and belt to ensure they are all synchronized in their movement.
There are also a few other important parts to a sewing machine, including the bobbin and bobbin case, feed dogs, hand wheel, stitch control, stitch selector, thread tension control, presser foot, and a needle. All of these parts work together in perfect harmony to help you create gorgeous clothing, home décor items, and so much more.
Now that we’ve learned the main parts that this machine consists of, let’s look at how a sewing machine works, step by step.
The first thing we’re going to look at is how a sewing machine needle works. Whether you’re buying a beginner sewing machine or a more advanced model, the needle mechanism will work the same. For the needle to move in its up and down pattern, we need to first look at the other end of the machine, which is where the upper driveshaft is located. The drive shaft is connected to a motor.
When the motor is running, the drive shaft turns the wheel connected to a crankshaft, which then lifts and lowers the needle as the wheel turns. The faster the motor is running, the faster the wheel turns, which speeds up the needles up and down movement.
If you need to do some slower work, you can also turn the handwheel to your chosen speed. This allows you to perform more precise and delicate needlework.
Now it’s time to learn how a sewing machine bobbin works. The bobbin sits below the needle beneath a panel called the needle plate. It is inserted into this area before you start sewing and contains the same color of thread as what is threaded through the eye of the needle. You can also use a different color of thread in the bobbin to create some cool contrasting seams or if the bobbin thread won’t be seen anyway.
The bobbin itself doesn’t move but it is connected to the shuttle mechanism, which rotates and catches the thread on the needle and uses it to create a loop that goes around the bobbin and back up as the needle lifts.
Bobbins are made from a few different materials, including stainless steel or other metals, as well as plastic. The standard size for these pieces is 1 inch, though they can come in ¼-inch or ½-inch sizes as well, depending on the brand and age of your sewing machine. Some of them are already full of thread, while others are sold empty and can be filled with the thread of your choice whenever needed.
Whether you’re buying a Brother, Janome, Kenmore, or Singer sewing machine, they all use the same type of feed dog mechanism. The feed dog is designed to move the fabric both forwards and upwards through the sewing machine at a steady space. This ensures that the stitches created by the needle and bobbin mechanisms are all evenly spaced, no matter what speed the machine is moving at.
The feed dog does this by using two mechanisms that work together to create this movement. One of the mechanisms is a lever that moves the feed dog back and forth. The second mechanism is a crank system that lifts it and brings it down again. They work in unison to create the right movement to keep the fabric going forward through the sewing machine and creating even stitches along the length of it.
The needle, bobbin, and feed dog mechanisms work together to create a perfectly synchronized movement that allows the sewing machine to create stitches. This can be broken down a bit to show you exactly how each movement accomplishes this.
When you first place the fabric on the sewing machine, the needle is in the raised position. When you start the machine, the needle lowers, piercing the fabric and carrying the thread through it to create a stitch. There is a specific amount of tension used as well to ensure that too much or too little thread is not used.
As the needle goes through the fabric, the shuttle beneath the needle plate rotates at the same time. It hooks the thread that the needle carries through the fabric, looping it over the bobbin and the thread it contains. As the needle rises again, the loop is pulled tight, catching the bobbin thread, which prevents the needle thread from pulling back up through the fabric.
When the needle is pulled free of the fabric, the feed dog moves it forward and the entire process is repeated to create the next stitch. This continues until the entire seam is created and you remove the fabric from the sewing machine.
Though some sewing machines only have a couple of stitch options, models like the Brother CS6000i feature a couple of dozen stitch patterns to choose from. The mechanisms still work the same to create these new stitch patterns, though the needle may move a bit differently, depending on the type of stitch you’ve chosen.
Choosing a different stitch type is quite easy to do, even when there are multiple options to choose from. Mechanical sewing machines include a diagram with all the stitches displayed, with a corresponding number for each of the stitch options. There is also a dial with the numbers around the edges. To choose a stitch, you turn the dial to the number that matches the one on the stitch you want.
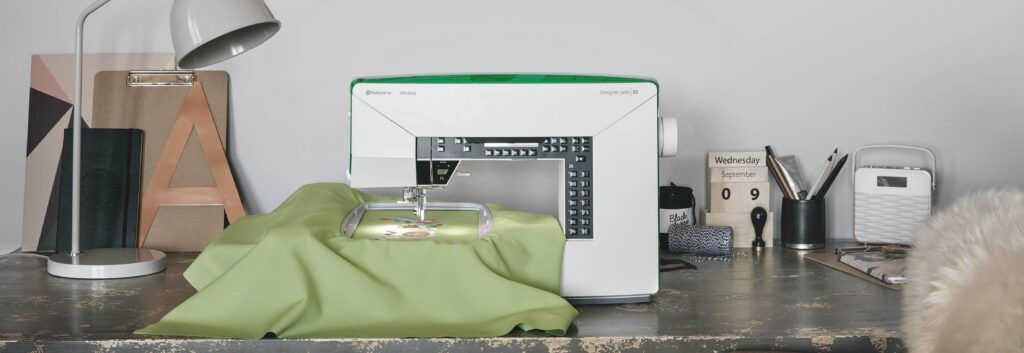
Electronic or computerized sewing machines often have a display screen instead, so you can input the stitch number you want and the machine does the rest.
There may also be a stitch length control, which allows you to adjust the length of the stitch depending on the project you’re working on. Short stitch lengths are used to lock the seam at the end, preventing it from unraveling after the fabric is removed from the sewing machine. Stitches that are medium-length are used for regular sewing, so this is the most common length used. The long stitch length is best for gathering or basting fabric, so won’t be needed for most of your sewing projects.
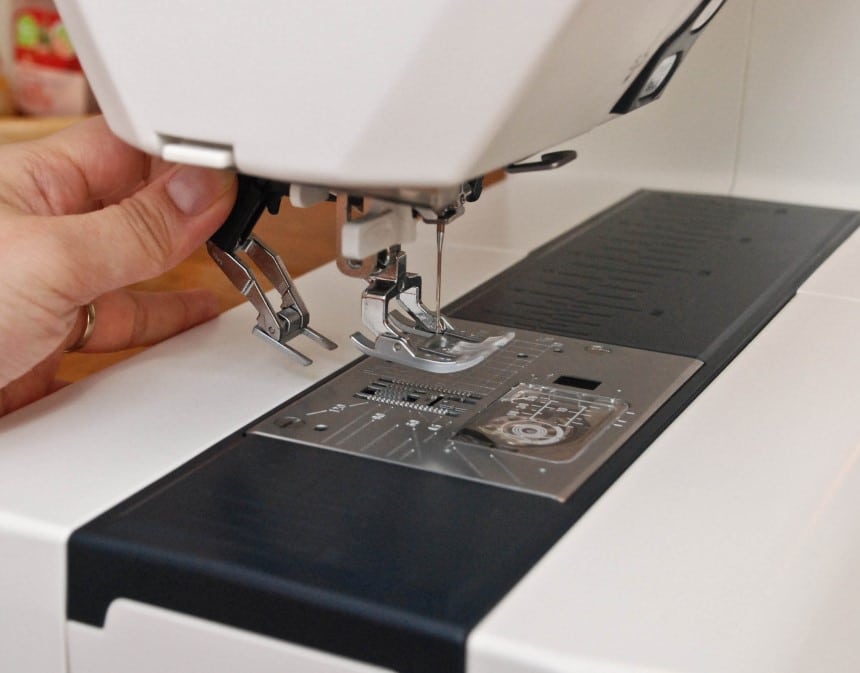
Well, first you need to remove the regular presser foot that is attached to the sewing machine and replace it with the walking foot. When it is attached properly, the walking foot moves precisely with the other mechanisms to pull the fabric into the right position for the needle to puncture it to create the proper stitches. It also holds the fabric in place as the needle raises again to ensure that the loop created by the shuttle is also well made.
The reason sewers prefer walking feet for their thicker fabric is that it moves with the fabric as the machine is running. Normal presser feet may cause thick or layered fabrics to bunch as the machine moves it forward. Walking feet prevent this from happening, so the stitches are all even and the seams are well-made when you’re finished sewing the fabric.
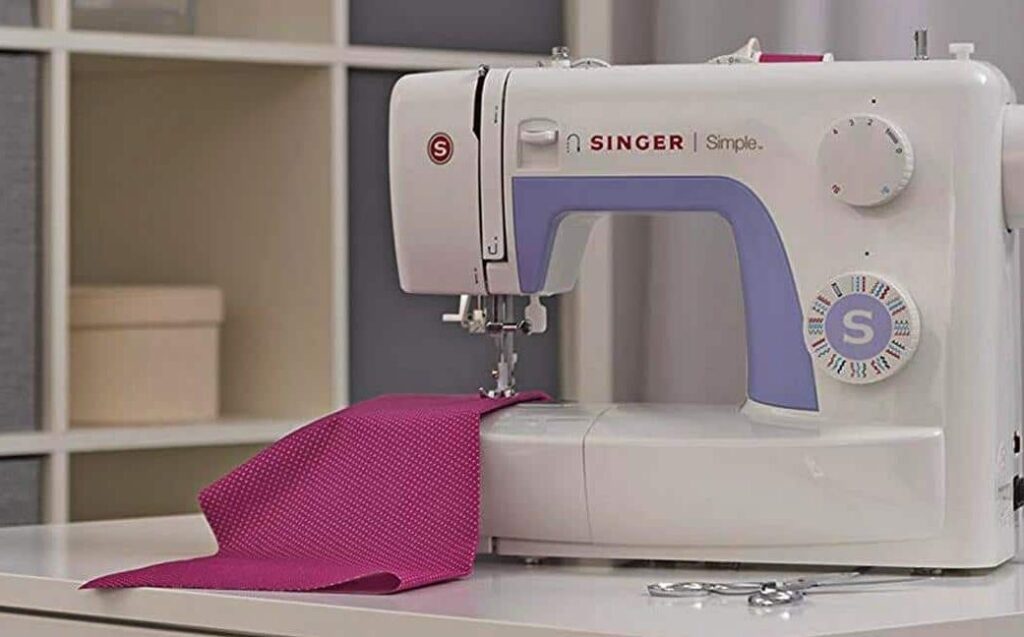
If you think you may need a walking foot for your sewing projects, machines like this one from Singer include one with the machine and its accessories. If the machine you want doesn’t include one of these extras, you can always buy it separately, though you do need to be sure it will fit with the brand and model of sewing machine you own.
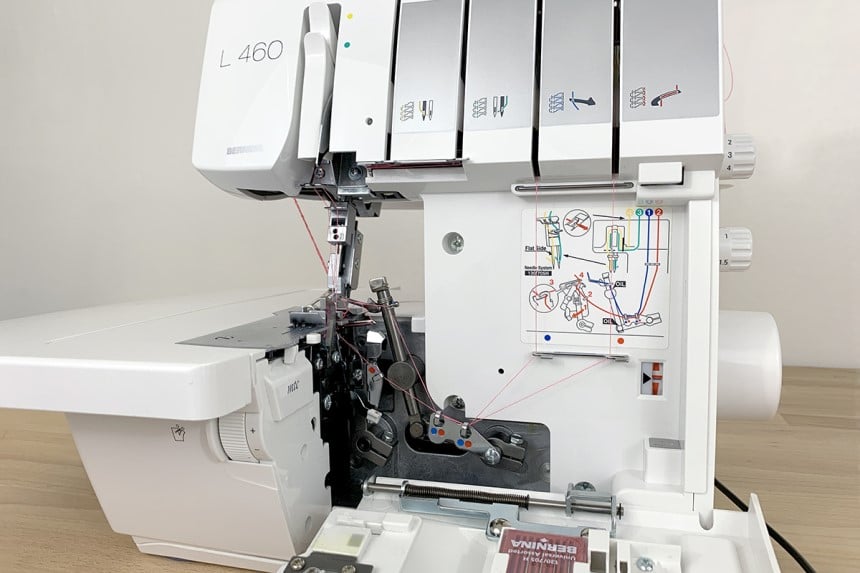
Though they are similar in some aspects, a serger sewing machine works a bit differently than a regular sewing machine. While a sewing machine sews two or more pieces of fabric together, a serger focuses more on the edges than the rest of the stitches. It gives the seams a more professional look, similar to what the clothing you buy in a store would have.
Sergers use 3 to 8 thread cones all at the same time, depending on the machine you’re using. Instead of just puncturing the fabric to create the stitches, a serger loops the thread around as well as through the fabric. Not only does this create a more professional look, but it also prevents fraying at the same time.
Another difference between a sewing machine and a serger is that the serger also includes a cutting blade that trims the edge of the fabric as it sews them together. It does these two tasks at a much higher speed than a sewing machine, so you can get those edges done in less time without needing to trim away any extra fabric when you’re finished sewing.
Sergers can also accomplish many of the same tasks as a sewing machine. It can gather the fabric when needed, plus it can do some neat piping. Sergers can also be used for narrow row hems or even hem knits.
There are some tasks that a serger can’t accomplish, though, so it isn’t necessarily a replacement for a sewing machine. Sergers can’t do zippers, buttonholes, topstitching, or facings, so if these tasks are part of your project, you may want to stick with a regular sewing machine.
Beginners may also want to get to know the basics with a regular sewing machine before trying out a serger to be sure they have the skills needed to upgrade to this more delicate machine. Once you’ve raised your skill level or if you plan to sell the items you’re making, you can upgrade to a serger to create those more professional projects.
 Final thoughts
There are several sewing machines on the market, from the simple beginner models to the more advanced machines that a skilled user would benefit from owning. Of course, even those using one of these machines should not be ignorant of the inner workings of it. That’s why it is not only a good idea to ask how does a sewing machine work but to also take the time to familiarize yourself with all the parts and what they do.
Not only will this knowledge help you understand the sewing process, but it could also help you figure out the cause if you’re sewing machine is having problems. This may also make you a better sewer since you won’t be questioning how the machine works when creating your favorite projects.
