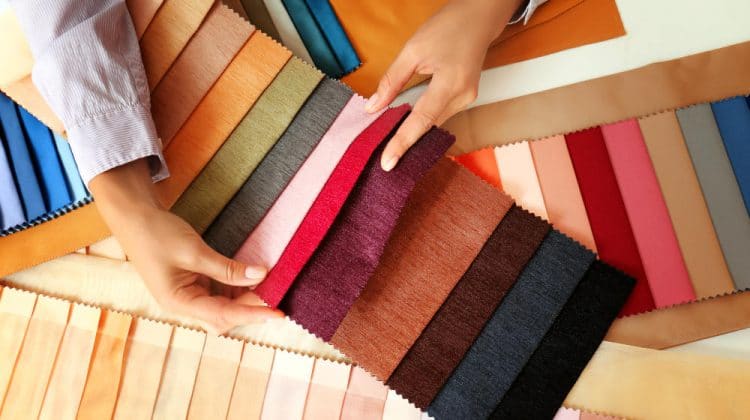
Sewing Trusted Source Sewing - Wikipedia Sewing is the craft of fastening or attaching objects using stitches made with a sewing needle and thread. en.wikipedia.org seems like the easiest thing in the world until you try it, and the resulting stitches are crooked and unappealing. Ask any expert, and they’ll tell you they encountered the same thing when they were beginners. We’re not saying it’s rocket science to learn how to sew a straight line. However, it might need you to put in the effort to learn.
This guide provides essential tips and tricks, and before you know it, you’ll be the one teaching others how to sew a straight line on a sewing machine or by hand.
How to sew a straight line using a sewing machine
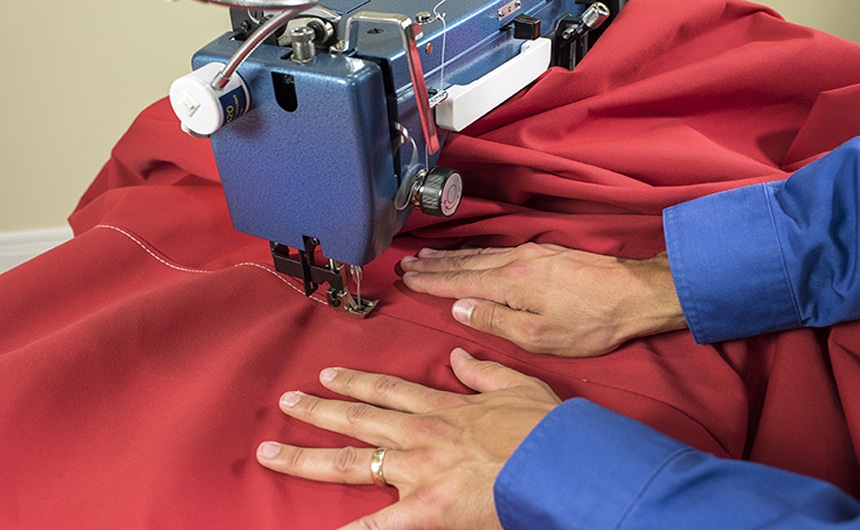
Machine stitching is remarkably easier and faster than sewing by hand. Also, most machines have mechanisms to help you sew a perfectly straight line, even for beginners. However, if you’re new, you probably won’t know what these mechanisms are and how to use them. However, the section below should prove very informative with regards to that.
What you will need
There are a couple of optional supplies you may need to ensure that your sewing lines stay straight. One is the seam guides that are likely already built onto the machine. They give you a reference point to help keep your lines straight.
The seam guides may not always be easy to see, in which case you enlist the help of other supplies such as washi tape, masking tape, a chalk pencil, or washable marker. These can help you define the sewing lines even before you place the fabric under the presser foot.
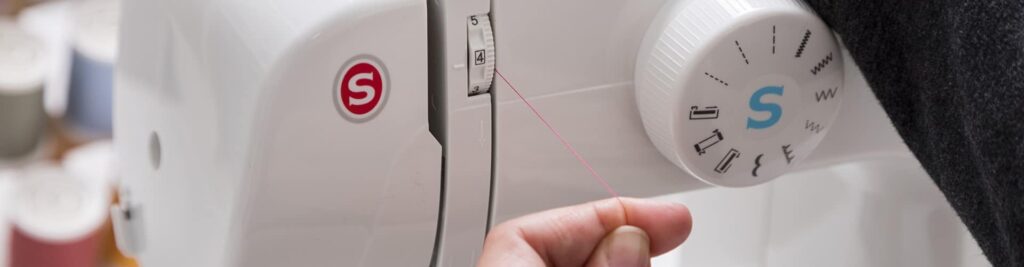
A magnetic seam guide is another tool you might want or need unless, of course, you use a computerized machine, in which case it might do more harm than good. The MSG3 Magnet Seam Guide is highly recommended by previous users for anyone who wants to sew straight lines consistently. It also has a magnet strength of about 6.6lbs and thus won’t move until you decide to reposition it.
There’s also the alternative of a sewing edge. This reusable strip can be placed on the machine to help you see the seam guides better or provide a more visible edge for the fabric. According to reviewers, the CLOVER Needlecrafts 9584 Stick ‘n Stitch Guide has the ideal shapes and edges for the job. The adhesive on the underside also helps to position and reposition the tool whenever you need to.
Additionally, you have the option of specialized presser feet. The options available include an adjustable guide foot, quarter-inch quilting foot, a border guide presser foot, and more. Lastly, we recommend you have testing fabric for practice. Once you have these accessories, you can get to stitching.
The process

Since most modern Singer, Brother sewing machines, and others from different manufacturers come with seam guides on the footplate, you can use that as a visual reference. Ideally, the edge of the fabric should be aligned with one of these guides, and you should ensure it stays that way until you’re done stitching.
Admittedly, the seam guides in question are sometimes not very clear, and it can be easy to go off the mark. This is why we mentioned additional visual guides in the above section. The washi and masking tape options, for instance, can be used as an additional markings for the edge of the fabric.
The tape options are bold, brightly colored, and cover other seam guides, so you’re only left with one edge to work with. As for the sewing edge, it works more or less the same way.
Additionally, you can use the chalk pencil or washable marker to mark the line on the fabric you intend to sow. If you stay within this line, you should sew a straight line on a sewing machine without any issues.
Remember, there is also the option of a magnetic seam guide. It works in conjunction with the seam guides on the footplate. Once you’ve decided on the seam width, you place the magnetic seam guide on the correct marker. The guide won’t move, and you can use it as a reference point for your fabric when sewing.
Alternatively, there are presser feet that can work the same way as the seem guides, and we mentioned them above. The adjustable guide foot, for instance, has a movable flange. You can move it further or closer to the needle, depending on how far you want the seam from the edge. After that, guide the fabric along the flange until you’re done stitching.
The second type of presser foot you can pick is the quarter-inch quilting foot. Admittedly it’s not made to ensure you sew straight. However, you can benefit from the fact that it is exactly 1/4” in size. As such, if you guide the fabric along the edge of the foot, you end up with a straight stitch.
Lastly, the border guide presser foot has line-markings that you can use as reference points for the stitching line. These presser feet are available for purchase if they didn’t come with your sewing machine.
Tips
First, avoid watching the needle as it has no bearing on whether the stitch is straight or not. Additionally, it will take your attention off the edge of the fabric. Also, since the feed dogs can feed the fabric through the machine, avoid pulling the fabric. Pulling will likely result in those crooked lines you’re trying to avoid.
Next, use a slower stitching speed. If the machine is too fast, you likely won’t notice a misstep when sewing and that might lead to crooked lines. However, if you’re paying attention and can see the machine at work, it shouldn’t be all that difficult to keep the stitches straight.
Make sure you’ve positioned the fabric well before you start sewing. Misplacing it means it might be pulled to one side and consequently ruin the line. Lastly, you need to practice with a testing fabric before you graduate to the materials and projects you want to work on.
How to sew a straight line by hand
To sew a straight line by hand is a totally different ball-game since you don’t have presser feet, seam guides, and the settings on a sewing machine to help you out. Nonetheless, people have been doing it for centuries before the sewing machine was invented, and you can as well.
What you will need
Requirements for sewing straight by hand include a pencil or thin washable marker, ruler, and the needle + thread combo.
The process
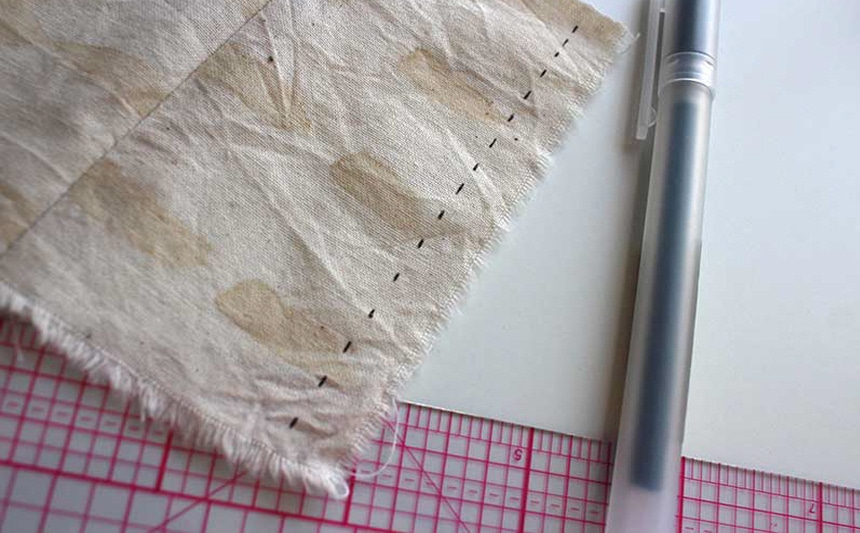
You start by drawing a line on the fabric that you want to stitch using the ruler. This line serves as a reference point for where the needled will go in and out of the material. At first, you might miss the line when pushing the needle from the underside, but you have to correct that before pushing the needle all the way through.
Practice this until you’re comfortable before moving to a dotted line as your reference point. The moment you feel you can stitch a dotted line continuously without any problems, you graduate to leaving big spaces between the dots.
The final stage is marking the start, middle, and end of the intended stitch line. By this time, you’ll have practiced enough to be comfortable stitching straight from start to finish. Remember to always tie off your thread, or else it will come undone.
Tips
The biggest tip when trying to learn how to sew in a straight line by hand is to practice a lot until you hone the skill. Also, take your time ensuring the needle goes in the right spots.
Final thoughts
Figuring out how to sew a straight line is the first thing you should do when you get that sewing machine you’ve wanted for crafts and professional jobs. It forms the basis for using all sewing machines from then on and is the most basic of skills.
It might be difficult at first, but if you take the tips and processes outlined above to heart and practice, you will soon get the hang of it. Additionally, don’t neglect learning to sew a straight line by hand as it’s also vital for those moments where the machine is not close by.