If your pants are longer than you want, you can easily hem them on your own. There is no need to pay extra money for professional hemming because the task is quite simple and you will finish it very quickly. In our easy-to-follow guide, we give you tips on how to hem pants with a sewing machine, using a durable straight stitch. With these tips, you can hem jeans, trousers, breeches and other garments with legs for yourself and your family members, friends, and clients (if you are into the sewing business). Hemming pants also has much in common with hemming sleeves, so you can expand your experience and customize long-sleeve garments. In addition, we give you key features on hemming with a coverstitch machine and coverstitching the raw edges with a serger.
Correct the pants length
To measure the adjustment, you will need:
- Pins for fixing the fabric
- A piece of chalk or another marking tool
- A see-through ruler
- An iron
- Sharp scissors for cloth
- A mirror to look at yourself
If you are correcting legs for a child, you likely won’t need a mirror. Grown-ups and teenagers usually want to see the result with their own eyes.
How to correct the legs:
- Roll up the pants to the desired length
- Make sure that the length is even from every side
- Fix the fold with sewing pins
- Turn the pants inside out, compare the length of two legs
- Iron the lower pant edge to smooth creases
- Mark a line and cut the extra fabric
When pinning the fabric, place the heads of the pins at the bottom so you can easily remove them when the pants are inside out. If the pants are already hemmed, it will be better to unpick the stitches with a seam ripper – but only in the case that you need to change the length a little bit. If the old hem will be cut away with the extra fabric then you don’t need to waste any extra time on this step.
To find your perfect length, try the pants with the shoes that you would usually wear with this look. Heels sometimes influence the length of the folded fabric. People who often wear high heels may want to make the pants slightly longer.
If you’re hemming pants for clients, always give them an opportunity to see how their legs will look in the hemmed pants – it is always better to let the client see the result before you begin sewing.
To make the job quicker, you can compare new pants with the old ones and see the extra fabric that you need to fold. This is a good idea if both of the pants are made from similar material. If one is jeans and the other is stretchy trousers, the measurement may not be accurate.
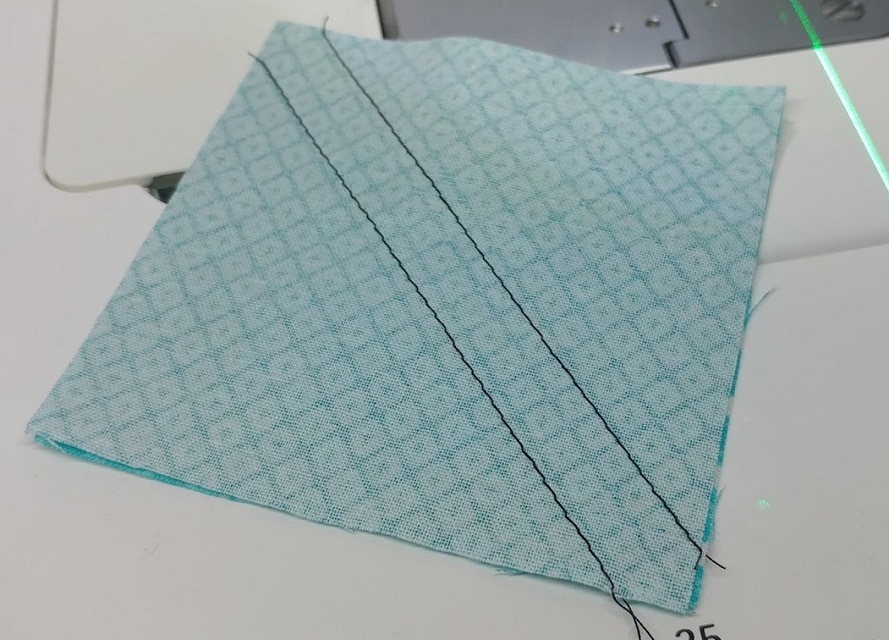
After you choose the perfect length and pin the fabric, take a piece of tailor’s chalk (or other marker) and draw a straight line below the folding crease. Beginners can use a see-through ruler or a hem gauge to work with confidence. When finished, take away the pins.
Tip: The distance between this line and the edge should be no less than 2 inches. It is enough to make an accurate seam and cover the raw edges.
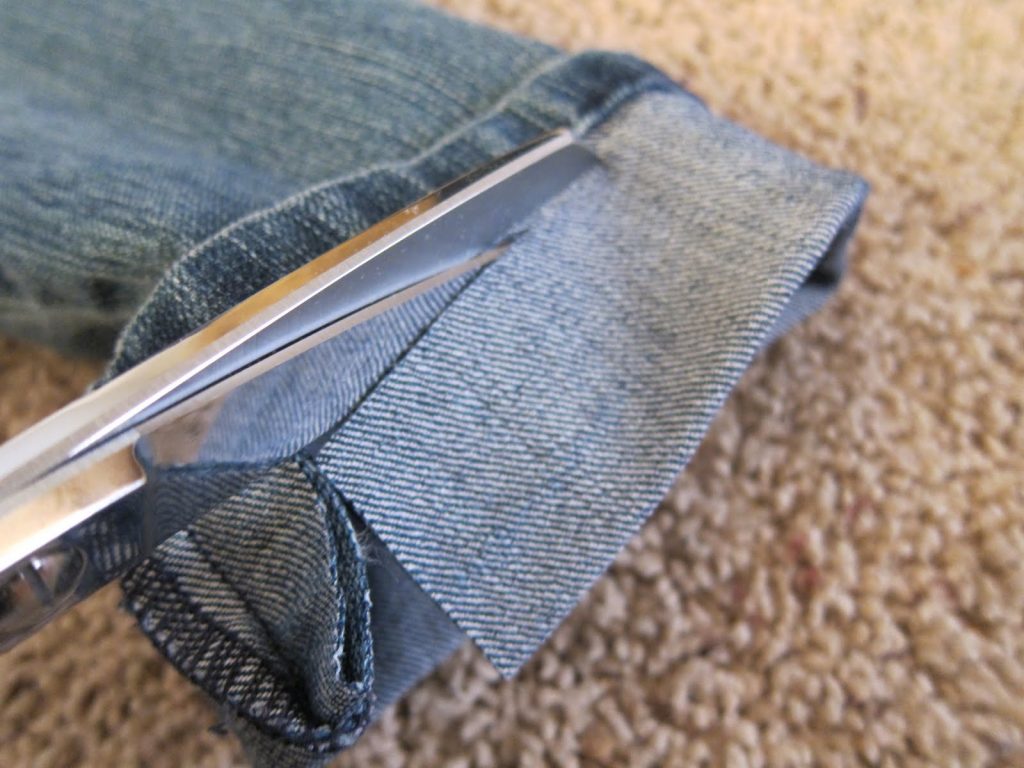
Cut away the extra cloth with sharp scissors, fold the material and iron the folded edge.
For quick and safe ironing, use these tips:
- Make sure that the iron settings are suitable for the cloth type.
- Check the ironing surface – it should be clean.
- Use a special attached panel for ironing delicate fabrics.
- Press the iron along the line with equal pressure.
- Move the pants to make the line neat all around.
When the ironing is finished, you need to fold the raw edge up, otherwise it will be fraying and falling apart. If you will use a coverstitch machine, you may keep the raw edge.
The new hem will be about a ½ inch wide, so you need to leave approximately 1 ½ or 1 ¼ inch of the material below to form a clean edge. Iron the folding creases again. To prevent unfolding, stick some pins into the fabric.
Sewing the hem
Now the future hem is ironed, fixed and ready to be sewn down.
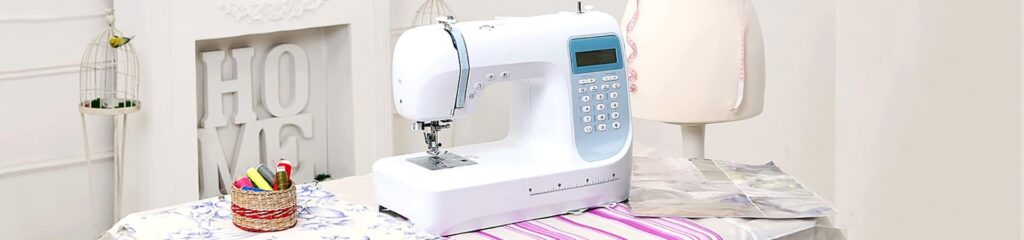
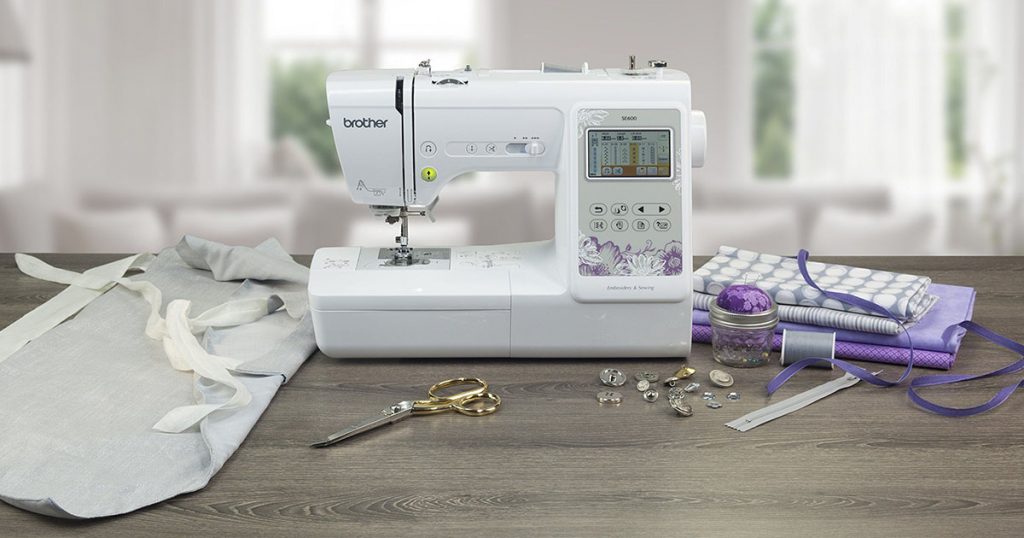
Sewing is the quickest part of the job. With a good home-use sewing machine, you can finish the job in just a few minutes:
- Remove the table to use the free arm.
- Use the thread color matching your pants.
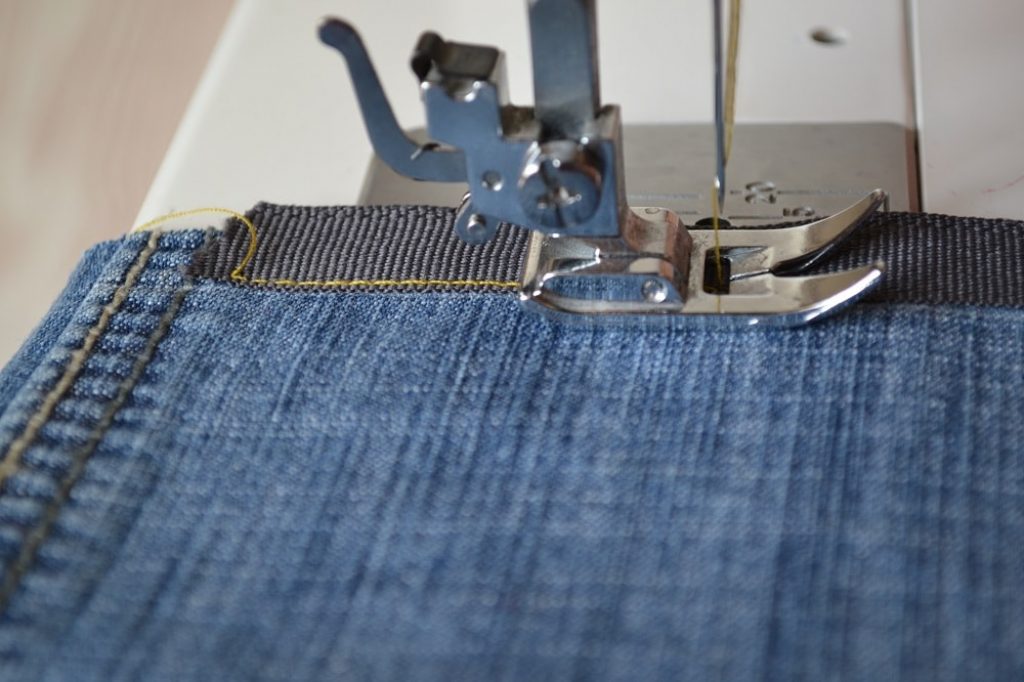
- Choose the straight stitch with a medium stitch length.
- Fix the fabric with the presser foot.
- Put the needle down, make sure that stitch line is close to the upper folded edge.
- Make 3–4 forward stitches and secure the sewn section with several reverse stitches.
- Sew along the upper fold all the way around.
- Try to be careful and keep in a straight line.
- Remove the pins when you no longer need them.
 It is better to start from the inner (less visible) part of the legs. For bulky or hard fabrics, you may choose a special presser foot to feed them through the machine properly.
How to hem pants with a serger machine?
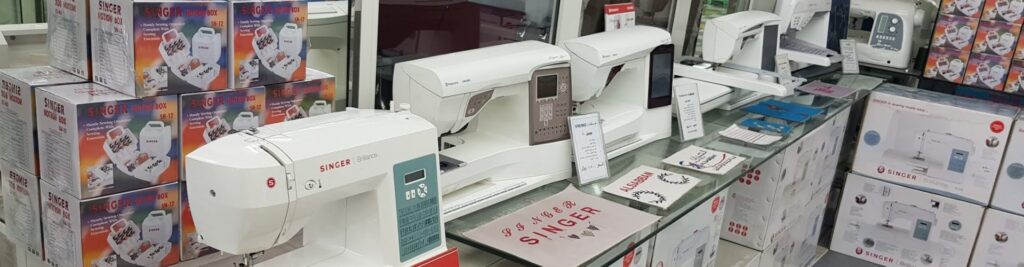
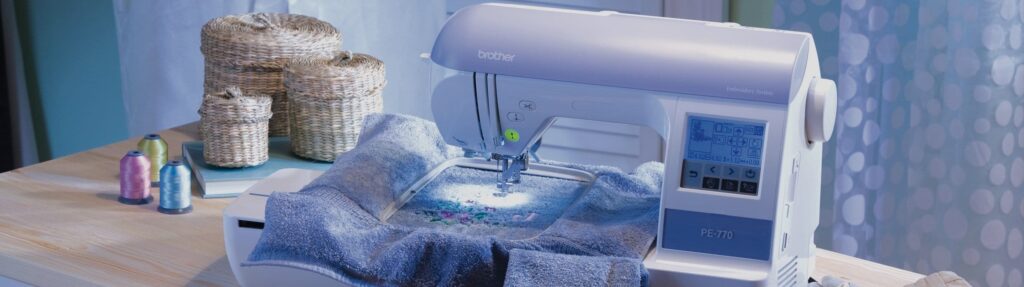
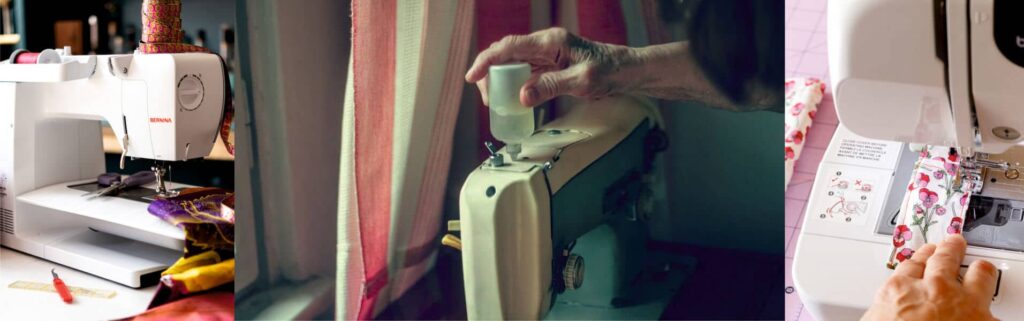
A serger machine hems the fabric and trims extra pieces all at once. This tool makes hemming a breeze. If you hem regularly, you may need it, but for a one-off task it is not required. You will succeed with a Singer sewing machine or other high-quality devices (Brother, Bernina, etc.). This is why we put this option in the second part of our guide.
A serger performs a neat cover hem with adjustable width. You may pick the wide or the narrow seam according to your fabric and preferences.
For hemming pants with a serger you need to fold the fabric only once, so make sure that your measured length is about ¼ inches longer than the desired pants length. Don’t cut the unnecessary material. Set the machine for a rolled or an overlock stitch. First, sew a few stitches without the fabric. Then, put your pants into the serger and start sewing. When finished, gently move away the fabric and let the machine sew several stitches to continue the chain that you will use for another leg. After serging the raw edge, you may hem the pants with your regular machine.
Hemming pants with a coverstitch machine
With a coverstitch machine, you stitch on the right side of the pants using 2 or 3 needles. These should be carefully placed in the correct position on two layers of fabric. It is important not to stretch the fabric and to line up the fold with the seam allowance guide.
A coverstitch machine provides some great options for customizing the garments:
- If you want to decorate your pants with a wider hem, don’t cut the extra fabric and use it as a wider fold.
- Instead of covering the raw edge, you may sew it right onto the fabric.
The strong and wide seam will protect the raw edge from falling apart. Working with a coverstitch machine may be a learning curve. But the resulting beautiful and even seam is well worth the effort.
Happy sewing!