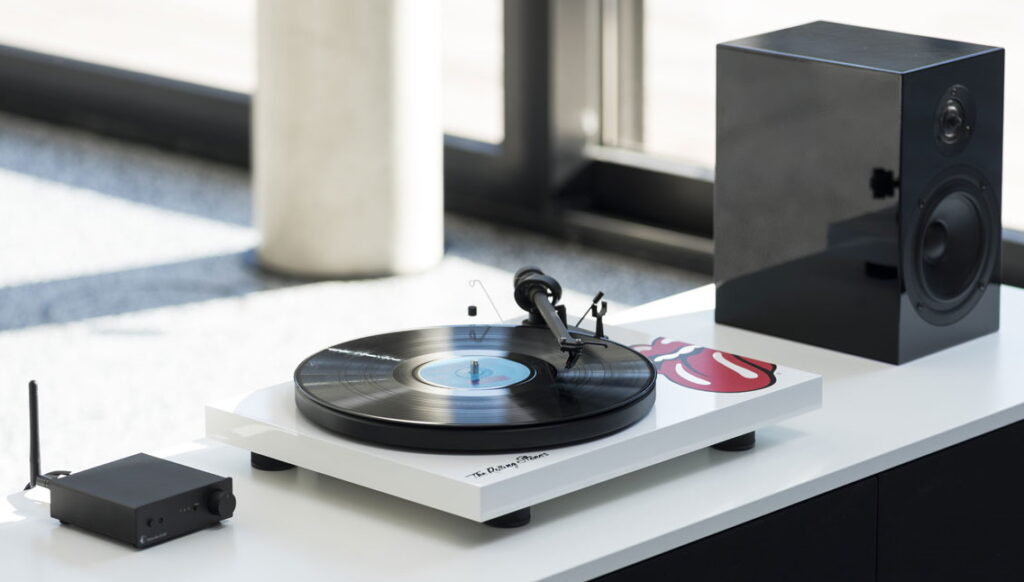
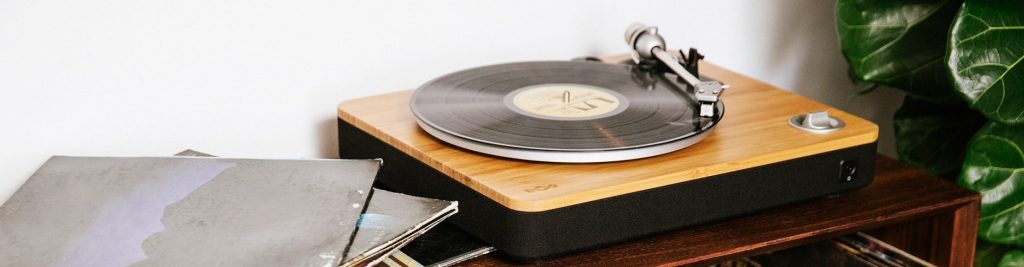
A turntable is a vital instrument in the DJ’s starter’s pack and for individuals who choose to play vinyl records. Despite the gradual transition from analog to digital DJing, a turntable remains an invaluable tool, a testament to this because turntables’ sales have been on the rise Trusted Source Turntable sales on the rise..... | What Hi-Fi? Forum Seems that us British vinyl spinners bought £10Million worth of turntables in 2008 (up from £9Million in 2007). forums.whathifi.com since 2006.
So you’ve decided to purchase the best turntable, or you already enjoy your records. Just like any appliance you have at home, it requires maintenance and cleaning from time to time. In the following guide, we will learn more about how to clean a turntable needle and how often you should repeat this procedure. Let’s get started!
Why Should You Care About How to Clean a Turntable Needle?
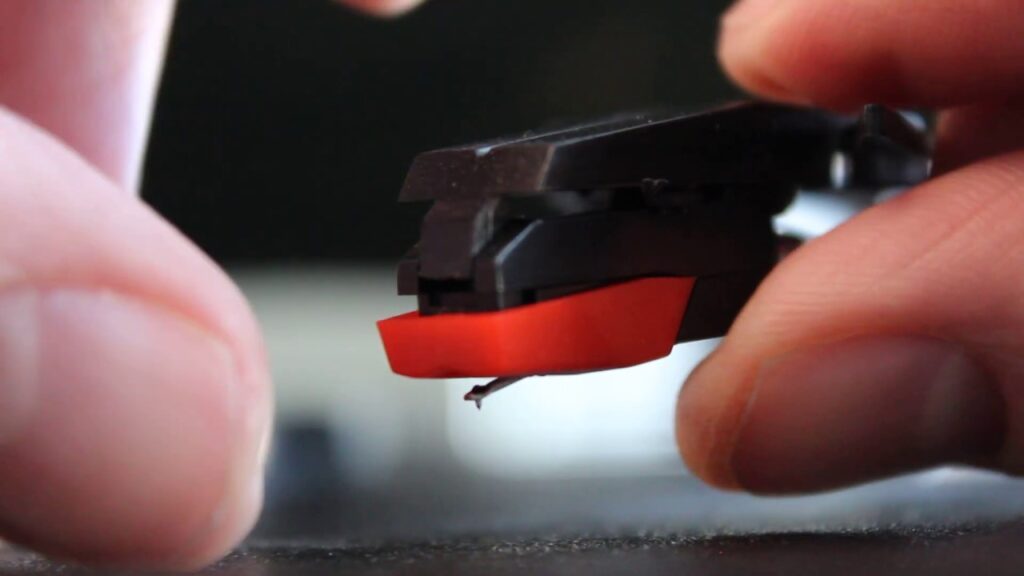
A needle is the subtlest and delicate part of the turntable – the stylus translates vibrations into an audio signal, making it one of the most critical components of the turntable. Using the turntable needle or stylus accumulates dirt from dust and fat when this happens, it affects the quality of sound produced. Therefore, the needle needs regular attention. You will need to get the turntable needle cleaned from time to time as part of your machine’s routine maintenance.
By nature, the stylus touches every record you play, and when it accumulates dirt, this is transferred to all the records you play, leaving them contaminated.
If left dirty, the turntable needle can reduce the longevity of your turntable and the vinyl record.
Options for Cleaning Your Turntable Needle
There are different types of tools and methods for dealing with dust and statics on your turntable needle, although not all of them are useful and convenient. Fortunately, with the advent of the internet, everyone seems to have the perfect solution to getting the turntable needle cleaned. Available options include;
- Using bristle hairs: They can remove dust from the stylus’s surface, but difficult dirt might persist on the surface.
- Special liquids and brushes: Specialized liquid and brush sets, such as the Fluance Vinyl Record & Stylus Cleaning Kit, are also another option for removing dirt from your stylus. The liquids come in different forms, some being more aggressive than others, depending on the condition of the stylus.
- Mr. Clean Magic Eraser: It is a widely known alternative. These solutions should be used with caution as it is capable of wearing off important surfaces, so it is preferable to try it first on a less critical surface.
A Step by Step Instructions on Cleaning Your Turntable Needle
The steps taken in cleaning will depend on the type of device that is used in cleaning;
- With a Magic Eraser: On purchase of your eraser from a supermarket, store in a cool place to keep it completely dry. When you are ready to use, cut the part into small sizes to measure 2x3cm each. You will then lift the tonearm of the turntable to have access to the needle with the white surface of the pad directed upwards. Afterward, place the cleaning pad on the stylus, then return the tonearm to sit directly on the pad. You will notice dirt sticking to the pad with repeated lifting and dropping of the tonearm. This should be continued until you cannot detect any dirt coming off.
- Using a Stylus Brush: This is the approach often recommended by manufacturers. To use the brush, move the brush across the needle in the same direction the turntable spins. If the brush is supplied with a specialized liquid, it should be applied with caution to avoid a situation where the cantilever and the needle become glued.
- Using Bristle Hairs: Bristle hairs are applied fairly as a stylus brush, and the same approach should be used.
How Often Should I Repeat This Procedure?
There is no rigid rule about the frequency of cleaning your turntable. As such, this will depend on how often you use the turntable. However, it is usually recommended that it should be done after every 10th use or weekly.
Cleaning Precautions:
- Avoid direct tapping of the stylus with your fingertips: No matter how soft or how clean you think your hands are, more dust and dirt will be drawn to the oils on your fingers. You might also damage the stylus or disrupt the alignment in the worst cases.
- Avoid cleaning items for homes. These will remove the glue that secures the stylus to the cantilever, which can do some significant harm to the inner parts if it gets into the cartridge.
- Avoid using Q-tip and isopropyl alcohol. This is recommended in a few areas, and it might work well, but ISO evaporates very quickly, usually faster than the pollutants can be brushed away.
Final Thoughts
Getting a turntable with excellent recommendations and reviews will be the first step in ensuring good sound quality from your player system. However, this is not enough. It is also vital to ensure regular maintenance of this equipment by knowing how to clean a turntable needle to avoid product breakdown.