Ever wonder what it’s like to go off the grid? To live life without the Internet, TV, or even a phone? If so, you’re not alone.
The truth is that many people are looking for ways to disconnect from the world, and one of the best ways to do this is through solar panels. Solar panels can be used to power your RV battery system, giving you all of the energy you need without having to rely on an electrical grid—and without having to buy any new batteries!
But, what procedure on how to hook up Solar Panels to RV Batteries should you follow? It can be unclear—and it’s not always as simple as it seems.
This article will teach you the exact steps you should follow. We’ll also look at different types of solar systems and what they do, so you can make an informed decision about which will work best for your needs.
Before You Start
Before you start, there are a few things you need to know and have to learn how to hook up portable solar panels to RV batteries successfully. First, you’ll need a good understanding of how these systems work. Second, you’ll need basic knowledge about batteries and how they work. And third, you’ll need some essential tools to help you complete the task.
Necessary tools
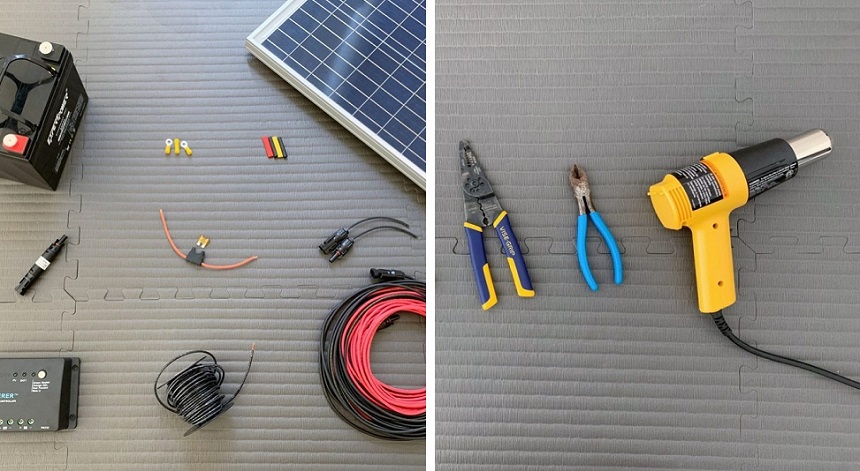
You must have the following equipment for the procedure:
- Solar panels
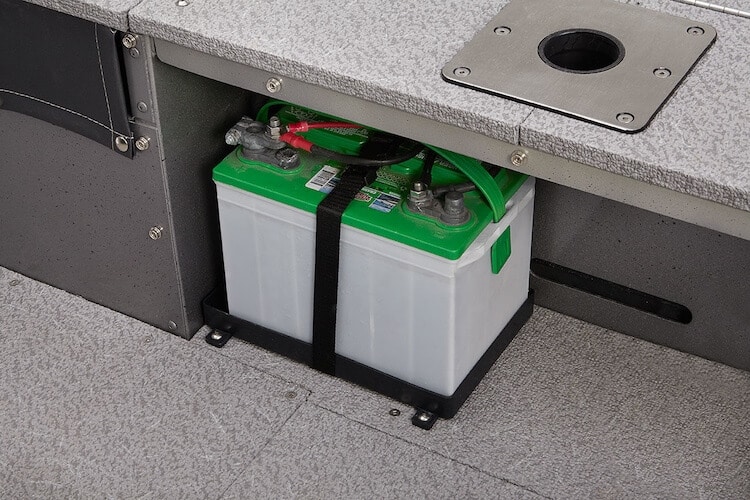
- 12v deep cycle solar battery
- Charge controller system
- Solar inverter
The above are just the main components. On top of them, you will need the following tools:
- Screwdrivers
- Copper wires – preferably two distinct colors.
- Wire clips for connections
- electrical tape to mask your connections
- MC4 connectors
- A pair of wire cutters
- A cable stripper or crimper (if you’re using standard pin connectors)
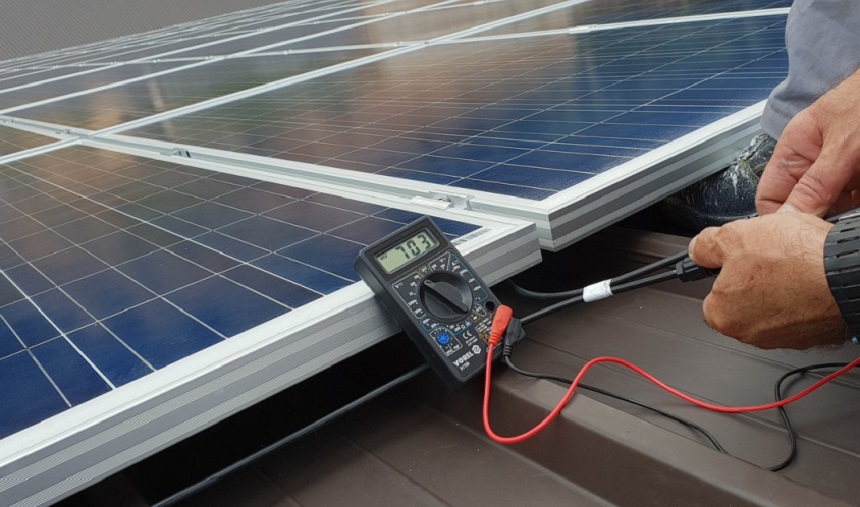
- A voltmeter (if you’re using standard pin connectors)
- An extension cord or heavy-duty battery cable that will fit your battery inverter terminals
Potential difficulties
A few complications might arise when connecting solar panels to an RV battery. First, you need to ensure your solar panels are compatible with the battery you plan on using. Your solar panel must have a similar voltage as your RV’s, or else it won’t work.
You must also ensure your battery is charged before connecting it to your solar panels. This is because some batteries can be damaged if they’re not fully charged beforehand. Finally, if your solar panels aren’t connected properly, their voltage could cause sparks and even an explosion!
How do You Hook up Solar Panels to RV Batteries
So, how do you hook up solar panels to RV batteries? The most straightforward way is via a direct connection. Just connect the terminals on your solar panels to their corresponding terminals on the battery.
The first thing you should know about this method is that it’s not really a good idea and can be dangerous. That’s because it can lead to battery overcharge and discharge, damaging your battery.
The direct connection method has some hazardous risks involved. For instance, there’s a risk of overcharging your batteries when using this method. It can lead to damage or even an explosion if precautions aren’t taken.
So, you have bought new solar panels for your RV, but no one has told you how to hook them up. Here’s a step-by-step guide on how to hook up solar panel to charge RV battery. And if you have not yet bought one, get insights from the best solar panels write-up.
Mounting
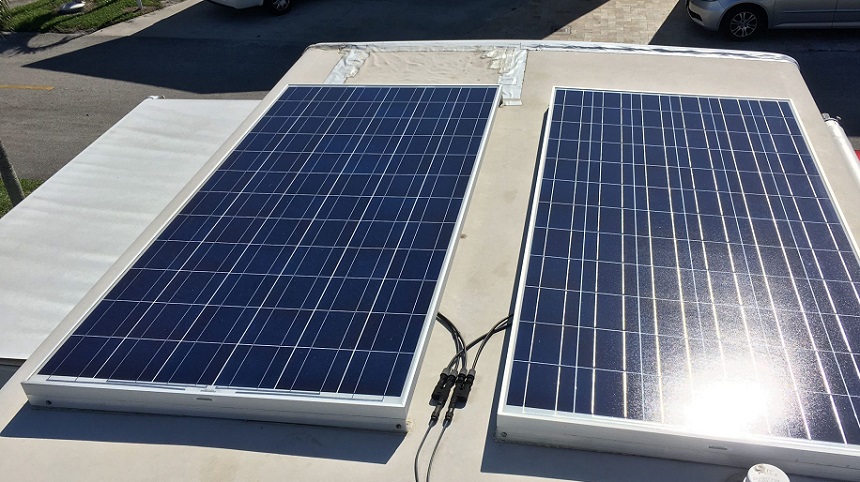
Mounting solar panels is a pretty straightforward process. The most important thing to remember is that you want the panels to be as close to the battery as possible, which means mounting them on the side of your roof. If you choose to mount them on the top, follow all safety requirements for attaching them so they won’t be blown away by the wind.
As you’re setting up your solar system, you’ll want to make sure you’ve got a good location for your solar panels for direct sunlight radiation Trusted Source Solar Radiation Basics | Department of Energy Learn the basics of solar radiation, also called sunlight or the solar resource, a general term for electromagnetic radiation emitted by the sun. www.energy.gov .
Wiring options
If you have multiple solar panels, the wiring options are pretty simple:
- Parallel or
- Serial connection.
A parallel connection is the easiest option if you have two solar panels. You simply connect the two terminals in parallel. Connect the positive to the positive and the negatives together
A serial connection is best when you have more than two solar panels and more than two batteries. It’s just like a parallel connection, except that instead of connecting all terminals, you join them in a specific order. This helps prevent any mistakes that could damage your battery or cause it to short-circuit. For serial, you will connect one negative to the positive of the other solar panel and vice versa. For more insights, read our best solar panel for RV article.
Connecting charge controller to battery bank
You need to connect your solar panel charger controller to your RV battery. You must do this correctly for safety reasons and for the best performance of your system.
First, ensure you have the correct charger controller for your RV battery. You should check this with the manufacturer before buying to ensure you are using a compatible product.
Second, connect your charger controller’s positive and negative terminals to those on your RV battery. These will be marked with a + and – sign, respectively. Use the charger controller terminals marked battery or power bank.
Connecting to solar panels
In this step, you’ll want to use MC4 connectors, which fit correctly and tightly on your controller.
First, you’ll need to connect the positive cable from your charger controller to one of the positive terminals on a solar panel. Then, you’ll need to join the negative line from your charger controller to one of the negative terminals on a solar panel. You can use any color combination of positive and negative cables here—you don’t have to stick with just two!
Check before use
So you’ve got your solar panels connected to your batteries, and it’s time to go camping. But before you leave, there’s one thing you should do… check your connections.
When connecting solar panels to batteries, there are a few things to check for:
- Make sure the cables aren’t too tight or too loose. You want them snug, but not so much that they’ll damage the terminals on either end of the battery.
- Check that all connectors are connected correctly: positive to positive and negative to negative. You don’t want to join different polarities accidentally, do you?
Connect solar inverter
Now that your solar panels are connected to your RV battery, it’s time to join the solar inverter. The inverter takes the DC power from the solar and converts it into AC power that your house appliances can use.
This step requires you to connect the inverter input terminals to the load terminals on your solar charger controller. You can also join the inverter directly to the battery, but it’s too dangerous. You could counter this by buying an advanced inverter. According to most reviews on the internet, the Renogy 2000W Pure Sine Wave Inverter must be a suitable model for you; thanks to its safety feature and high output, it will perform well in your RV.
Lead-Acid Battery Types
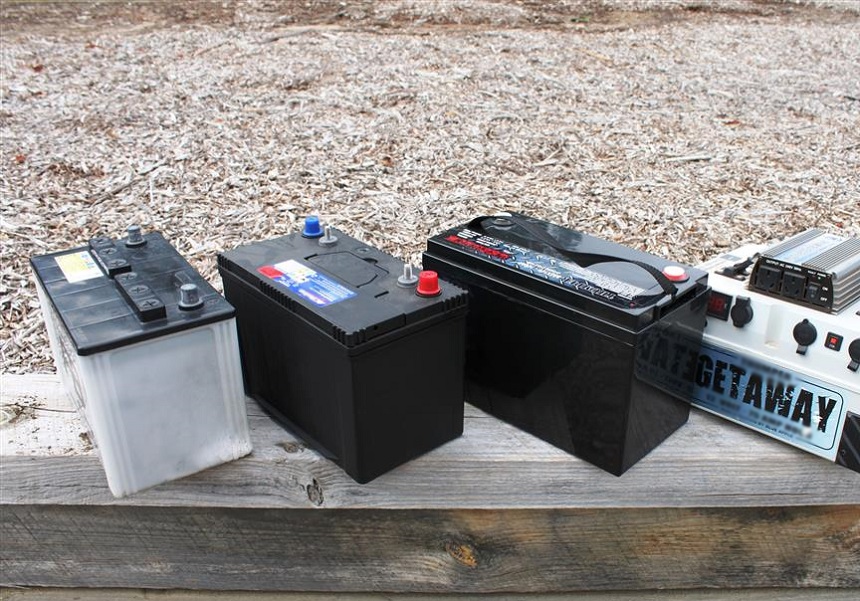
So what exactly is a lead acid battery? It’s a common type of battery that’s used in many kinds of electronics. These batteries are the most common type of battery you’ll find in an RV. There are several lead acid batteries, each with its characteristics and uses.
Starting and deep cycle
Starting batteries are used to start your car, truck, or boat (if you’re a fisherman). They are designed to supply a large amount of power for a short period. In contrast, deep cycle batteries provide more output over an extended period. Both types of batteries can be used in solar systems, but only deep cycle batteries are typically used in solar systems because they can withstand the heavy discharges that occur during charging.
AGM
The AGM or Absorbed Glass Mat battery is one of the most common batteries today. It’s a lead-acid battery that uses glass as an electrolyte. The glass acts as a sponge Trusted Source BU-201a: Absorbent Glass Mat (AGM) - Battery University Learn what differentiates Absorbent Glass Mat (AGM) batteries from other lead acid battery type batteryuniversity.com to absorb the acid and keep it from contacting the rest of the cell.
The advantage of using this type of battery instead of normal cells is that it can be recharged without losing capacity, produces a lot of power, and is lightweight. It also has less voltage drop over time than other types, which means it will last longer in devices that don’t use too much power. It is commonly used in RV systems, UPS, boats, military planes, and other places that need a lot of energy. Should you need such a cell, then you can trust Renogy Deep Cycle AGM Battery 12 Volt, which according to most user reviews, is powerful and has a maximum discharge current of about 2000A.
Wet cell
A wet cell battery is a type of lead-acid battery. The main difference between the two types of batteries is the amount of water in their electrolytes. Wet cell batteries have more water than their dry counterparts, which allows them to store more energy and run longer without needing to be recharged.
Wet cell batteries are also flooded or unsealed because they have a liquid electrolyte instead of a solid one like a gel cell. The liquid electrolyte helps prevent corrosion within the battery’s terminals and prevents sulfuric acid from forming when exposed to air.
Gel cell
A gel cell battery is a type of lead-acid battery. It has a jelly-like consistency, making it easy to handle and store. Gel cells are also known as “gel-filled” or “gel-cased” batteries.
Gel cell batteries are typically used in vehicles and other vehicles with heavy loads, such as boats, trucks, and tractors. Gel cells have been around since the late 1800s and were one of the first types of batteries used in electric vehicles.
Solar Charge Controller Types
It’s easy to get overwhelmed by the sheer number of options out there when it comes to solar charge controllers. But don’t worry—we’re here to help! We’ll walk you through the most common types and explain how they work, so you can choose the one that best suits your needs.
MPPT
MPPT stands for Maximum Power Point Tracking. In other words, this type of solar charge controller allows you to optimize the power output of your solar panel by maximizing the voltage potential and current. This will allow your batteries to fully charge faster than they would otherwise when using a traditional controller that does not have this feature.
PWM
PWM is the most common type of solar charge controller. It uses pulse width modulation (PWM) to regulate the amount of current that flows through your solar panel. PWM controllers have been around for some time and are still widely used today. They are very effective at regulating the current going into your battery because they use an internal microprocessor to determine when to turn it on and off. They are also cheaper than MPPT and are certainly the type you should get for your RV battery system. According to most user views, the Renogy Negative Ground Solar Charge Controller must be the best PMW in the market, thanks to its innovative charging feature and intelligent reverse polarity protection.
How it works
A charge controller is a device that helps to regulate the amount of electricity sent to your solar panel(s). There are many charge controllers, but they all work in the same way: they monitor how much electricity is being produced by your solar panels and then adjust the amount of power being sent to them accordingly.
Final Thoughts
Solar panels are a great addition to any RV setup. The benefits are many: you can use the power generated by the solar panels to charge your batteries, which will help to reduce your fuel consumption; you can use the excess energy generated by your solar panels to run other appliances on your RV, and you can even sell back any extra power produced to make money.
We hope this article has helped you understand how to hook up solar panels to RV batteries. It’s essential to take the time to research your options and make sure you’re making the right choice for your needs. You should also consider what type of batteries your solar panels need, their charge capacity, and many other factors discussed above.