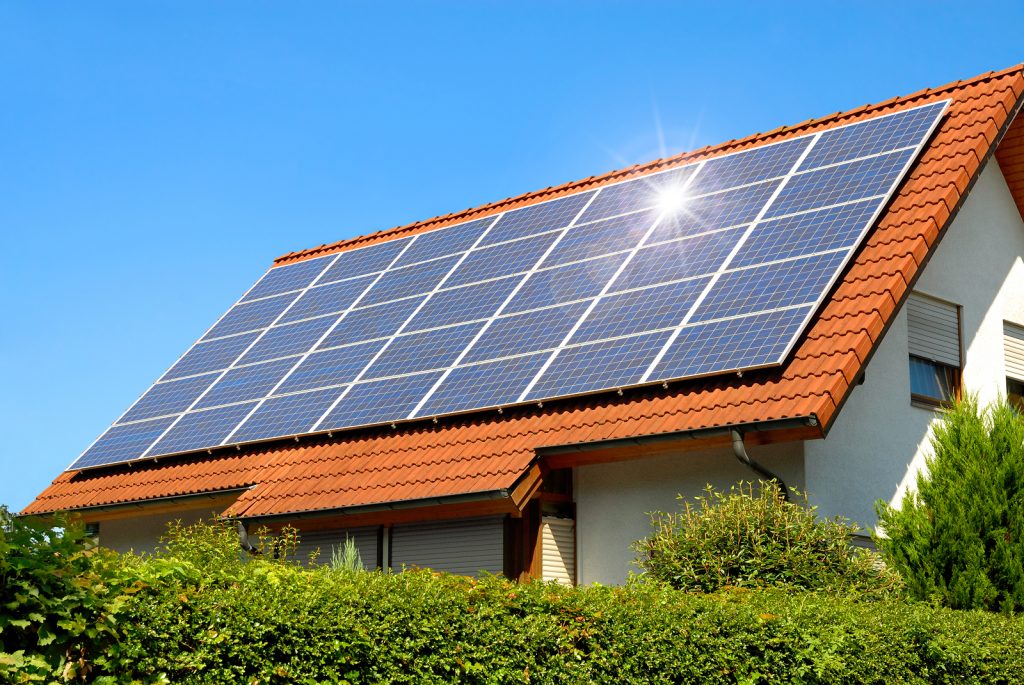
Van life is fun, and the peace and tranquility of nature that comes with it are unrivaled. But, can you have a cold beer from a fridge, charge your camera and run your heating during winter? With a solid solar panel set up, you can have a seamless enjoyment of both worlds. You can learn how to install a solar panel on your RV or bring it to a professional. Doing it yourself can seem somewhat overwhelming, especially if you are not ready to delve into the tiny little details of your system.
However, if you are a serious DIYer who’s always up to the task, diligently read the manufacturer’s instructions that come with your solar kit, then follow the installation directions and tips on this guide. You must understand that the specifics of your setup might vary depending on your roof type or size and solar kit.
Before you start
 Installing a solar panel on RV or trailer is a pretty big job. You want to ensure you get some things right before you get started to avoid unnecessary costs involved with redoing the job. Some of the crucial considerations you need to make include:
Consider the panel’s output
Right off the bat, calculate the amount of power you need for your RV. You can use an RV electrical calculator Trusted Source Calculator | Go Power How much solar would you need to power your adventures? By answering these simple questions, we can estimate the size of your system that’s right for you. gpelectric.com to know the amount of power you need for your RV. If you find that the system is too big for your van or trailer, you can easily reassess your electric demands.
Also, if you have a lean budget that doesn’t cover the entire setup upfront, fret not. You can start small then scale up later when you have the money. The most important thing is to ensure you buy the perfect solar charge controller for your system. Otherwise, you can begin with fewer panels and batteries.
Consider the size and number of panels
For you to know the amount and size of panels you need, you should measure the size of your RV roof. If your roof has vents and aerials, then you should be ready for some extra work.
Solar panels come in a variety of sizes. If you are doing more than one panel, ensure they are all from the same manufacturer, with a similar amp and watt size.
Whichever size or type of panels you pick, keep in mind that on cloudy days or a bad solar day, you will wish you had large solar panels.
Decide on the setup and mount
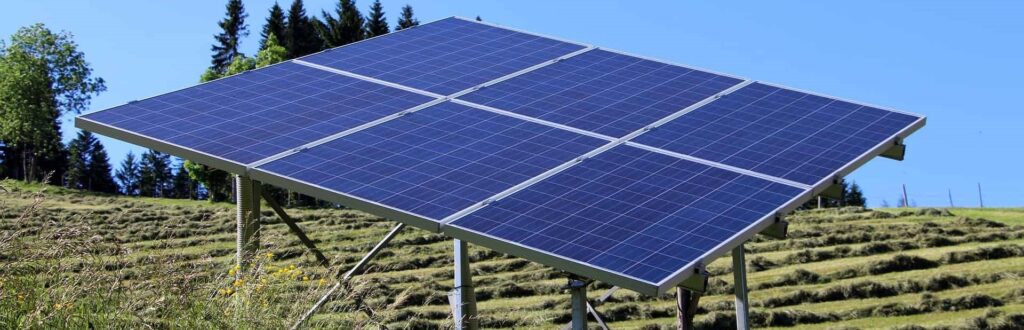
You must decide on the type of setup that is best convenient for you. You can choose to get a permanent fix or tilted mount. You might as well get a portable panel. Whatever choice you make determines what you need to buy.
On top of knowing what to buy, picking a specific setup for your panels will also help you get the most out of them.
Make a wiring diagram
Drawing a wiring diagram will help you complete your installation kit list easily.
Solar panel parts and components
 The next thing you need to do is determine and buy all the solar panel parts and components needed for the installation. As a novice, it would be better if you went for a pre-configured kit that has all the essentials and offers excellent value for money. The Renogy 100 Watts 12 Volts Monocrystalline Solar Starter Kit is the most acclaimed starter kit. Experts recommend for any RVer looking for a kit that can withstand any weather conditions. the kit features a 100w solar panel, connectors, mounting brackets, and a negative ground charge controller.
Some of the basic components needed to join a whole solar system include:
Solar panels
These are the most crucial part of any solar kit as they harvest sunlight and convert it to electricity. There are multiple kinds on the market, but the monocrystalline panels are deemed the most efficient.
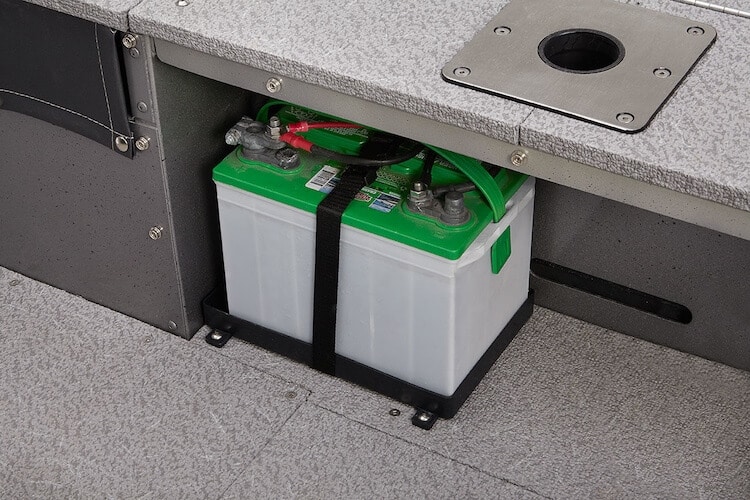
Batteries
These store the energy generated by the panels. For your RV, go for deep cycle batteries. They are sized in Amp hours (Ah), and the higher the Ah, the more energy the batteries can store. The 4 main types of deep cycle batteries include; lithium, AGM, Gel, and FLA batteries. Do note that different batteries perform differently. For instance, a lithium battery with 100Ah performs in a different way from a Gel battery with 100Ah.
Solar charge controllers
These are meant to regulate the electricity currents from the panels to a safe level that can charge the batteries without any damage.
There are 2 types of solar charge controllers: PWM and MPPT, and they affect how you wire your solar system.
The PWM charge controller is a fantastic low-budget option, but you have to wire it in parallel. The MPPT, on the other hand, costs a lot more because of its more complex electronics. Though it is more effective at charging batteries, especially on larger setups.
To get the right solar charge controller for your kit, you can use an interactive solar charge controller calculator.
Mounting brackets
With solar panel mounting brackets, you don’t have to drill holes in the roof of your RV when fitting your solar panel.
Solar panel cable
This is what transmits the electricity currents from the panels to the charge controller. They are usually rated to handle the currents, and it is recommended that you use bigger cables to reduce voltage loss between the charge controller and the solar panel. You must be sure to choose the right size of a solar panel cable for efficiency and safety reasons.
Solar panel gland
This is a weatherproof seal that you use to plug the hole through which the solar panel cables run into the RV. It has 3 parts; a cover that sits on top of the RV’s roof, a bolt that attaches it to the RV, and some gland collars that allow you to thread the solar cables through.
Fuse holder
This is another crucial part of a solar system. It holds the fuse between the battery cut-off switches and solar-charge controller to protect the battery.
Heat shrink
You must cover the bare wires for safety purposes as well as to prevent corrosion. Heat shrink seals all the electrical joints, covering the bare wires.
Battery terminal eyes
These allow you to connect the solar cable to the battery.
Battery cut-off switches
These, like a fuse holder, are safety mechanisms. They allow the battery to be isolated. Go for a big cut-off switch that has ample wriggle room in case you need expansions in the future.
Tools you’ll need
If you already own a toolbox, then you could possibly get all the tools you need from it. However, installing solar panels requires some special tools like a digital multimeter. Some of the basic tools you will need if you don’t own a toolbox include;
A ladder
With a ladder, you don’t have to strain so much, especially if you aren’t so tall.
A heat gun and a caulk gun
You must protect every electrical connection in your RV from corrosion by sealing all the wires. You can best achieve this by heat shrinking them. Nothing beats a 2-speed heat gun at heat shrinking.
Wire crimping tool
A hammer crimper will make a solid crimp on the big wires to ensure you have a perfect electro-mechanical connection that guarantees a continuous flow of electricity. A simple crimper will crim the butt splices and lugs onto cables.
Drill and drill bits
You need to drill a hole through which the wires will pass, and if your solar panel doesn’t come with mounting brackets, you must drill a few holes to permanently mount it.
 Digital multimeter
 Digital multimeter
This test tool will help you measure the electrical value of your solar kit.
Kill-A-Watt meter
This allows you to determine the size of your solar system and your power consumption by measuring AC loads.
Light meter
This will let you know how much sunlight is hitting your solar panels. With it, you can ditch the flawed concept of guessing how much sunlight is in your area.
Wire strippers or cutters
You need sharp wire cutters to get clean, fray-free wire ends that offer the best connections with little loss of power.
Safety tips
Here are a few useful safety tips for any novice or enthusiastic DIYer.
Read manufacturer’s instructions. Before you begin the installation, ensure you go through all the safety instructions that come with your solar kit.
Do not touch electrically active components of the solar system like terminals when the panels are exposed to a source of light. Also, avoid sitting or stepping on your panels, as they are probably not built to hold up much weight.
During installation, ensure your panels are not getting charged. You can use clothes or the boxes the panels came in to prevent them from getting exposed to sunlight.
If you are doing the installation outdoors, ensure the weather is not cold or wet.
Installation process
The installation process is potentially confusing, but once you have wrapped your head around what’s required and you follow the steps below, you can easily hack it. So, here is how to install solar panels on your RV trailer;-
Panel mounting
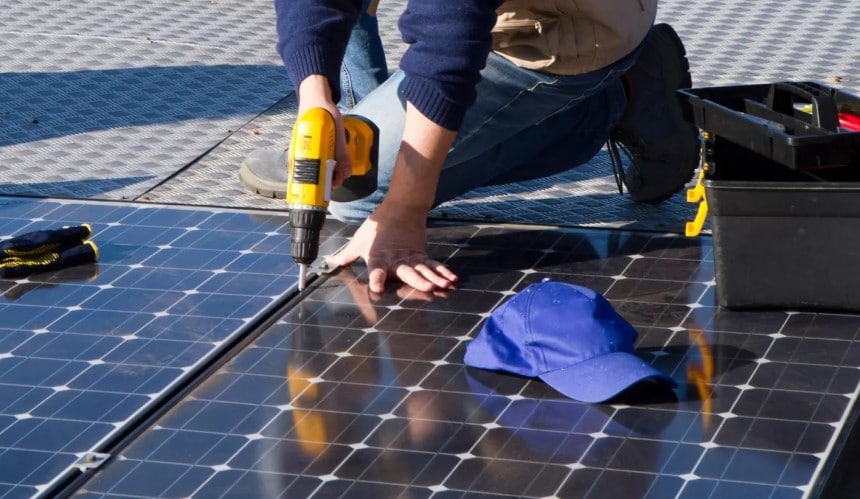
 Mounting your panels is the first thing you need to do when installing your solar kit. The process is not similar for all types of panels. For instance, if you have rigid panels, you must fix them to the roof of your RV with screws. If you have flexible panels, you can either fix them to the roof using adhesive or screws.
In case you choose to use adhesive to mount your flexible panels, ensure the roof membrane of your RV supports the use of the adhesive. This is why most kits come with mounting hardware like mounting brackets rather than adhesives. The Renogy Adjustable Solar Panel Tilt Mount Brackets is one of the most popular mounting brackets models out there. The quick-assembly brackets are designed for off-grid solar systems with precise hole placement and stainless steel fasteners. They are a fantastic choice to use on top of RVs or any other flat surface.
Once you have gathered your panels, whether rigid or flexible, lay them out evenly on your RV’s roof. Ensure everything fits perfectly and when you are certain that you like how you’ve placed the panels, mark their location. Most RVs don’t have flat roofs, instead, they have ribs running across their length. Ensure you lay the panels in a flat position either on the ribs or the flat roof. Otherwise, you wouldn’t get the perfect connection when it comes to bonding them. Also, you don’t want to place your panels under things like vents or Air conditioners that might cast a shade over them.
Before fitting the solar panels, it is advisable that you test them. Place each of them in direct sunlight, then using a multimeter, test their voltage at the end of the cables. This will allow you the chance of returning them in case you find any faults.
Next, secure the panels to the roof. If you are installing rigid panels, use the mounting hardware they come with to bolt them onto the roof of your RV. If you are using mounting brackets, you must create a water-tight seal. You can achieve this by using a sealant under each bracket. The type of sealant to use depends on the roof membrane of your RV; if you are not sure, you can check your RV manufacturer’s website or dealer to ensure you get the proper sealant.
Finally, screw the panel to the roof and be super keen to avoid shooting a stray screw onto your panel accidentally. This is the point when you want to drill holes for the cables as well. Cover and seal the holes with cable gland collars, then sand the edges, prime and paint to prevent corrosion.
Pro-tip: Do panel mounting on a dry day, then leave the seals and the bonding to sit still for 24 hours before you move the RV from one point to another.
Wiring
Remember the wiring diagram you made when preparing for installation? Arm yourself with it, and get ready to wire the solar panels together. Most solar panels include at least a meter of negative and positive cable with a pre-fitted connector. You will need to extend this cable to reach the solar charge controller.
One secret for great wiring is keeping the cables as short as possible but also reducing voltage loss. You also want to keep the length of the cable intact on the outside of the van as it will allow you to replace the panel easily in the future. You can coil and tape the extra length of wiring to the underside of the panel.
There are three main ways to go about wiring: through or beside a plumbing pipe, through the refrigerator vent, or drilling.
Drilling is your last option. You can drill a new hole anywhere in the RV but try to drill one in areas that can be hidden, like near a cabinet. Ensure you use a sealant or a waterproof entry port. If you already drilled a hole and covered it with cable gland collars, you go ahead and attach the cables to it. Thread the cables through the gland collars from the ground as it can be a tad challenging.
Once you are done threading the cables, check that all the connections are tight, then use a multimeter to check the voltage output and connectivity of your solar panel array. Whichever wiring design you chose, keep in mind that the series wiring has more voltage than the parallel wiring.
If you are happy with the connections and the wiring is as per your design, secure the collars in place and move to the next step.
Connecting the charge controller
 There’s a popular false assumption that this is the most difficult step. The first thing to do is choose a mounting location that is close enough to your batteries. This will help reduce line loss. Next, read the manufacturer’s wiring instructions that come with your solar kit. If it defers from this procedure, then go with it. Some kits require you to connect the charge controller to the battery first before connecting it to the panel wire.
The multimeter will come in handy again at this stage because you must test the polarity of your wires. Next, mount your solar charge controller to the wall or location you picked. Wire up your controller according to the manufacturer’s instructions. You may be required to crimp terminal eyes onto the end of the solar cable depending on the fuse holder you have. You may also need a battery temperature monitoring sensor for your battery bank, especially if you are using lithium batteries.
When the wiring is complete, add the fuse so that power can get transmitted to the solar charge controller to be configured for your battery. By this point, your solar system is pretty much ready. All you should do to have it fully installed is close the circuit to allow the solar power to charge the batteries.
Installing the inverter
This is an optional step. If you intend to use AC appliances in your RV like, a laptop and a microwave, you need an inverter. You can’t use the appliances directly because your solar power is DC. The inverter will convert the DC power to AC.
The inverter must be installed near the batteries and away from any potentially damaging elements like corrosive battery gases or heat. You will get the Dos and Dont’s from the label on the inverter.
To install the inverter, connect the positive and negative wires of your battery to the inverter, after which you can make the connections to your RV electrical system. Remember to connect the negative side first.
Once done, you can fire up your newly installed solar system. It is the simplest and most satisfying bit. All you have to do is insert the fuse into the battery input fuse holder, then turn on the battery cut-off switch. There shouldn’t be any sparks, flashes, or bangs if you followed the installation procedure keenly and did everything safely. In case there is any flash or spark, turn off the battery cut-off switch and remove the fuse to find the fault.
If everything turns out fine, check the display of the solar charge controller if it is showing the correct sunlight readings according to the weather outside.
Things no one will tell you about solar panel installation
If your RV has a fiberglass roof, use the 3M Fast Cure 5200 Marine Adhesive to secure your solar panels’ mounting hardware to the roof.
When securing your solar panels to the roof with screws, aim for the studs or trusses on the roof so that they get something to bite into easily.
Attach the solar panels’ wiring to the roof with the right type of caulk. Use puddles of the caulk every 3 to 5ft and after it has dried, repeat with more puddles of caulk.
You must measure the roof of your RV before buying solar panels.
Final thoughts
People who live off the grid and are always on the move have always had the solar vs. generator debate when looking to get a reliable source of power. Experts recommend combing them to have power in your RV throughout. Unlike buying a generator and firing it up, installing a solar panel system on an RV is not a walk in the park. There is so much to wrap your head around. If you are not up for the task, you can always reach out to a professional, though it’s doable. If you are a DIY enthusiast, you can follow the instructions keenly to install a solar panel system on your van fully.
The first thing to do when learning how to install solar panels on RV is to familiarize yourself with all the resources needed. The installation process differs depending on the type of solar panels you get. The most important thing to do is read the manufacturer’s instructions.