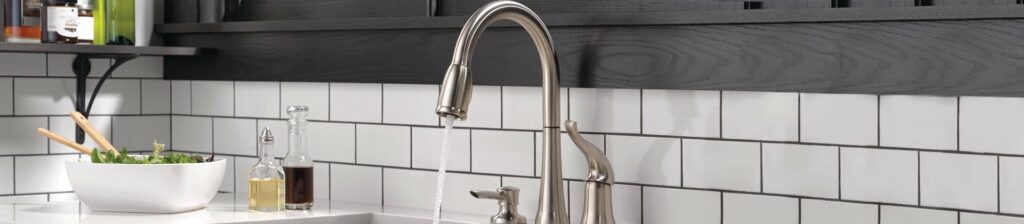
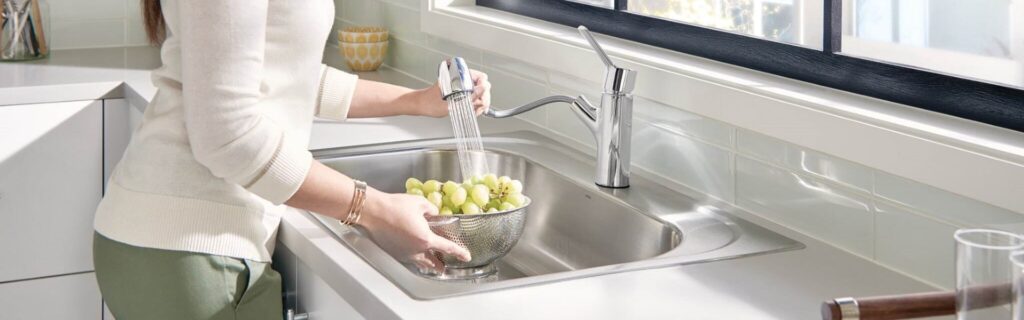
Anything that is moved frequently, regardless of its makeup, relaxes over time. Metals, plastics, composites will wear out a bit with routine use. This is true for kitchen faucets, for example. A loose faucet can be caused by a worn-out O-ring or a wobbly faucet base. Whether it’s cold or hot water you need, the knobs will become a bit loose over time. In this informative article, we will take a look at loose kitchen faucets, which have a dual function, so to speak, and then give you instructions on how to tighten kitchen faucets.
There are usually two types of problems affecting the faucet when it is loose. The base of your faucet may have loosened over time as water circulates through it and this is to deal with water pressure. Another problem is with the handle. It loosens on overuse. Every time you flip the handle to control the water flow, there will be a little loss of tightness. For this reason, our guide will be divided into two sections: tightening the base and the handle.
How to Tighten a Loose Kitchen Faucet Base
Some of the tools you will need in general are:
- Masking tape
- Adjustable wrench
- Screwdriver (flat head)
- Flashlight
- Mini knife
- Allen key/hex key set
In this part, we’ll break down the tightening measurements and what you have to follow when planning to tighten the foundation of your kitchen faucet.
Step 1: Cover Your Sink Drain
 This isn’t a step. It’s a precaution to the procedure. When you want to tighten the base of a kitchen faucet, you will deal with small particles and objects. This course of action is really important, because if a large number of your faucet components fall out even though they are smaller, you may not be able to find them.
So, ensure the drain hole is covered so that no component goes through the drain. Once the precaution section is complete, you can move on to following step.
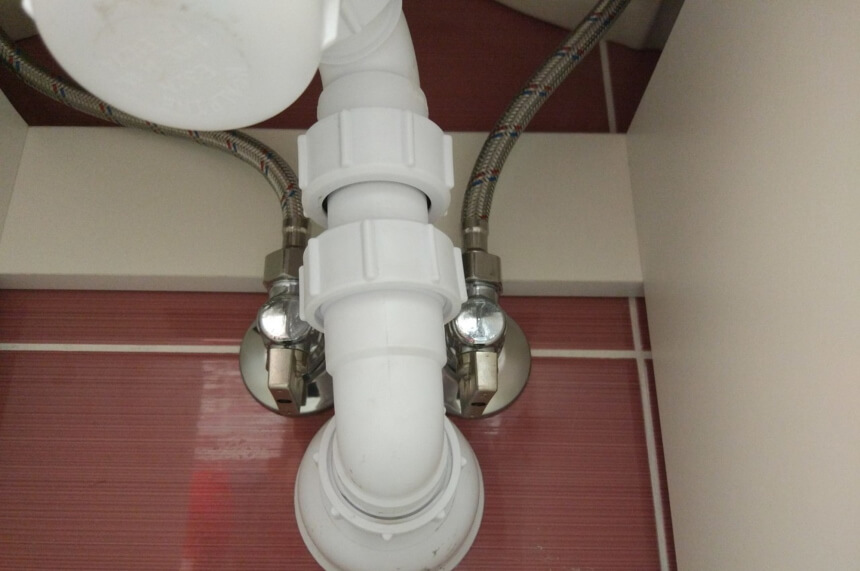
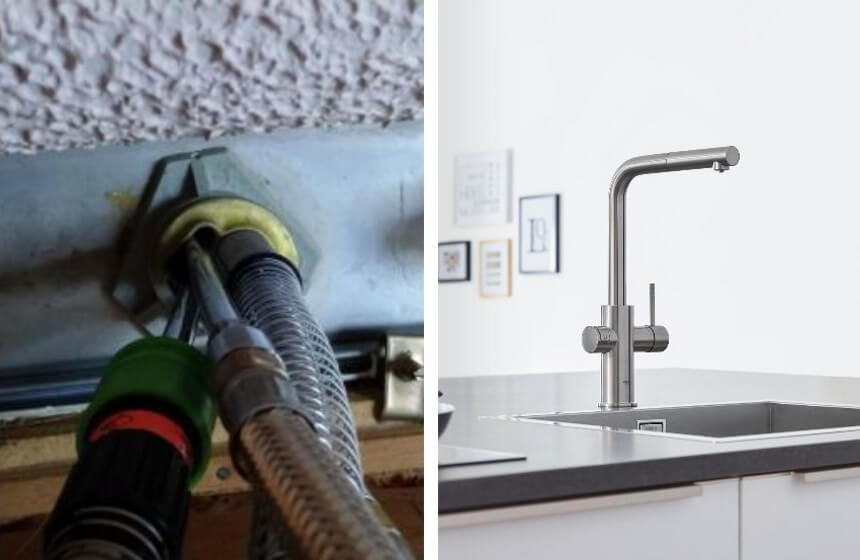
Step 2: Disconnect the Water Supply Lines
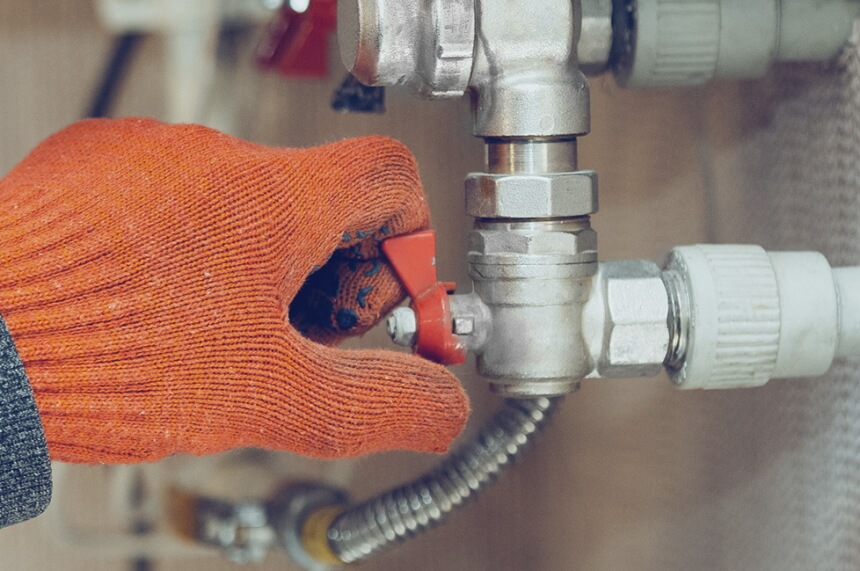 Before starting the process of tightening your faucet, you need to turn off the water pipes. There are two forms of water distribution pipes for hot and cold water supply. You must turn them both off before you start.
Go under your sink and you can find the two valves. Turn them to turn off the water supply lines. Make sure you do this right. When finished, drain the remaining water from the line.
Step 3: Empty Your Sink
You need to drain your sink to take the next step. If you don’t, they could become a barrier as you tighten the faucet bade. It is therefore essential that you empty your kitchen sink.
Step 4: Release Air and Water Pressure
 Before moving on to another step, you need to make sure that your faucet is completely free from any kind of pressure. If you have turned off the distribution lines, water can put pressure on your faucet, and every time your faucet is pressurized you cannot use it easily. It is therefore essential that you release all types of pressure from the kitchen faucet.
So, turn the water on the handle to release the water and air pressure instantly after turning off the distribution line.
Step 5: Water Pipes
Once everything is done perfectly, you need to lift the lines by prying them. Hold an adjustable wrench and place it in the center of the water distribution lines as well as the intel. Now use the wrench counterclockwise to pry up the water lines.
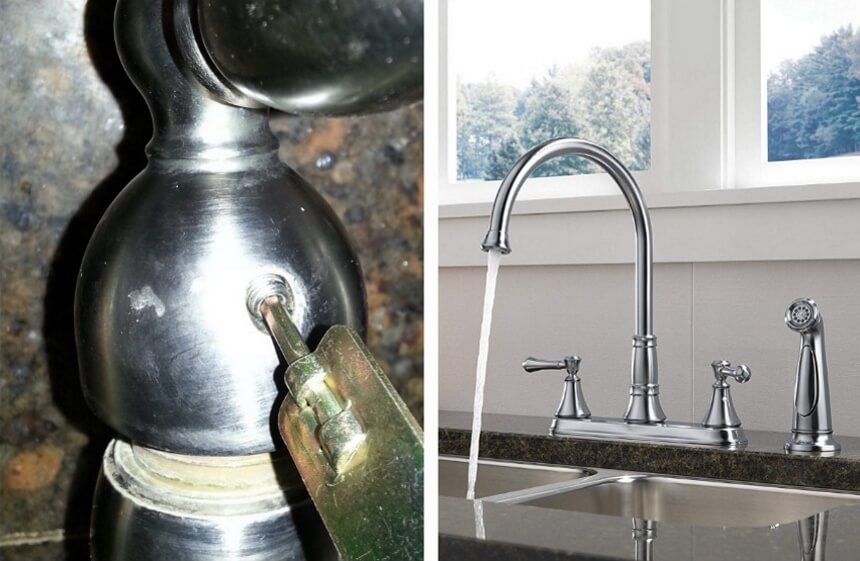
Step 6: Tighten the Nut
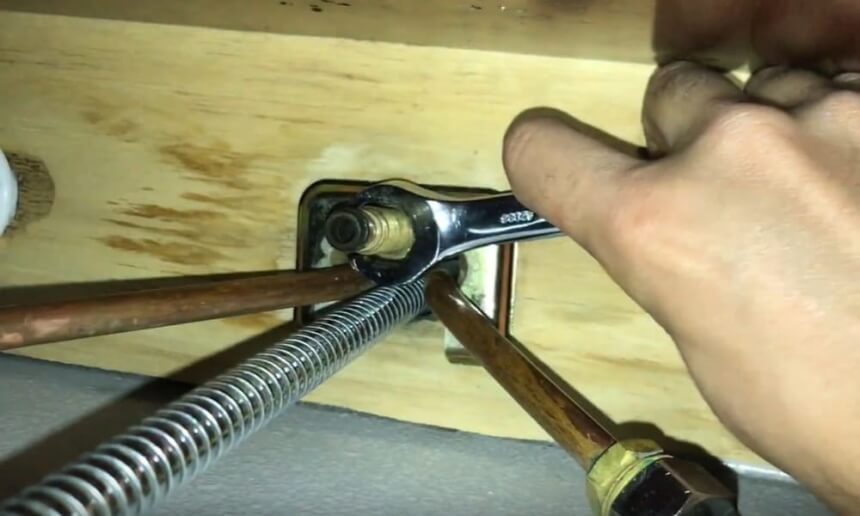 To tighten the nuts between the faucet and its base, you need a sink wrench that includes suitable jaws. The Ridgid 57003 EZ is a suitable faucet tool. It will make your work easier and more comfortable.
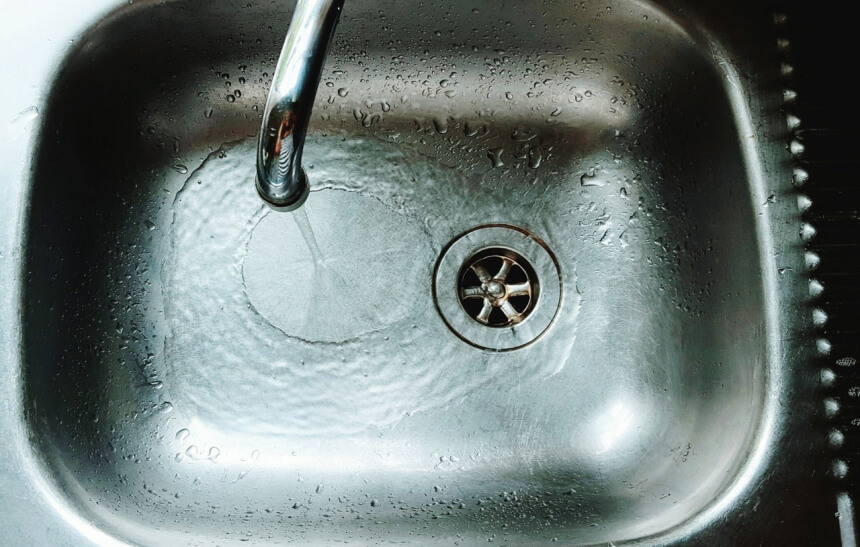
Step 7: Evaluate Your Work
When you’re done tightening the faucet base, it’s time to take a look at what you’ve done. Turn on the water supplies. If water is coming in, turn on the faucet and assess if there are any problems such as leakages.
Uncover your sink before turning on the water. If there are no leaks and your faucet is working and functioning properly, you are done fixing the base of the faucet. If there’s a dripping issue, tighten a little more with the basin wrench.
How to Tighten Kitchen Faucet Handle
By following the seven steps below, you’ll be able to tighten a wobbly kitchen faucet handle.
Step 1: Empty the Sink and Cover the Drain
Remove everything from the kitchen sink. If you squeeze the handle of your kitchen faucet, it is a tricky task to handle, and you are dealing with small particles. It is therefore necessary to clean the sink to be able to operate easily.
Besides cleaning, make sure you have blocked your sink drain to prevent small parts from coming off.
Step 2: Switch Off the Water Supply Lines
 There are two water distribution lines under your sink that provide cold and hot water. You should turn them off.
Turn off the water distribution lines by turning them counterclockwise. You must turn them off.
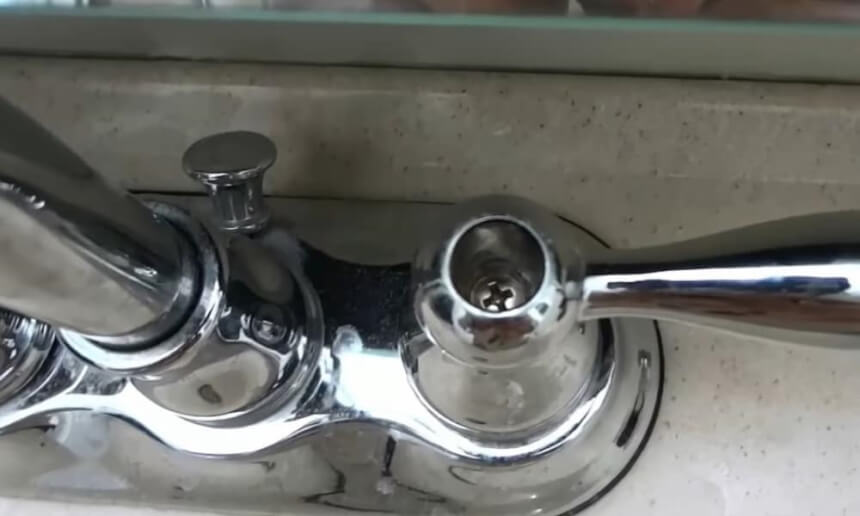
Step 3: Examine the Faucet
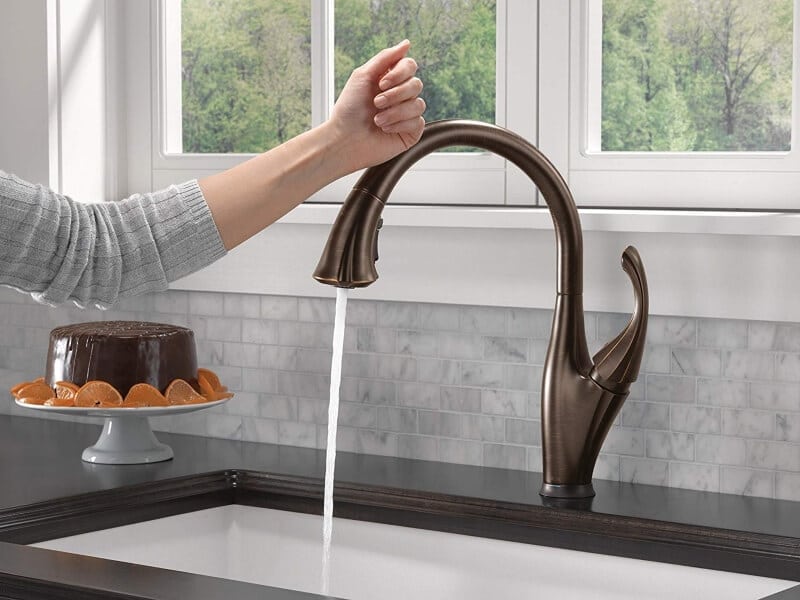
 To be able to repair the faucet, you must first study it. Evaluate the proper mechanics of your kitchen faucet and see how it works. If you are dealing with a Moen kitchen faucet, there are two parts of the handle that you can detect.
It requires a hex nut or screw in the entrance to the kitchen faucet handle. You want to take a close look. It is possible to discover a cap.
Step 4: Remove the Hexagonal Screw
 Removing the hex nut or the thread is delicate and difficult. You have to be extra careful or you could damage your faucet. These two hex screws or nuts are smaller than the other nuts. If you remove them, use a small knife.
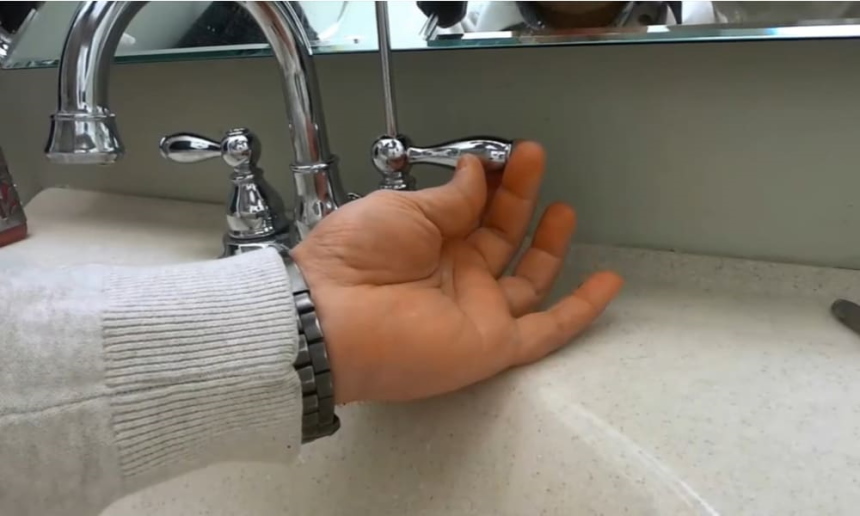
Step 5: Locate the Set Screw
At this point, you should uncover the adjustment screw that is in the cap of the faucet handle. Reaching is a bit tricky and difficult but it is under the decorative cap.
Now take a 3/32 Allen wrench to give you a hand. This wrench is intended to work with corners. This is perfect for the faucet handle, and it can make your job quite simple. Typically, these are the precise dimensions to tighten the screw inside the handle.
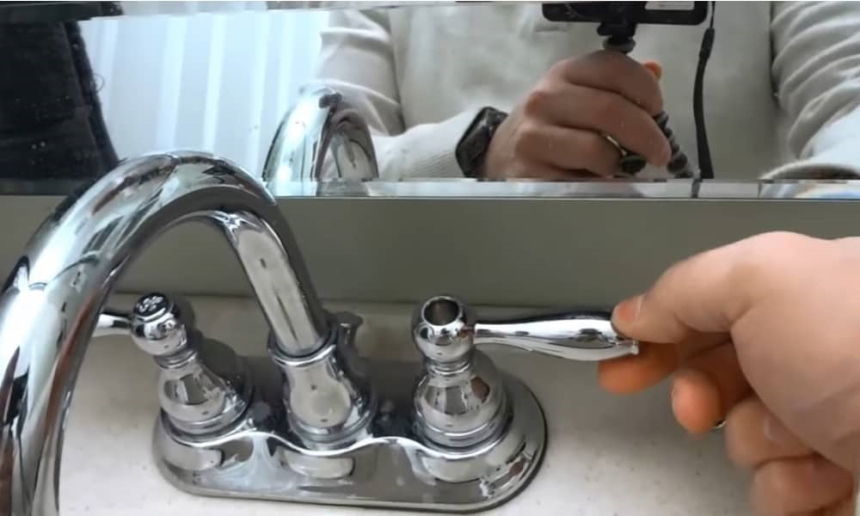
Step 6: Tighten the Screw
 The most difficult task is to locate the set screw. As soon as you find it, your job is pretty much done there. Tighten it with the wrench. Hold your screw with the Allen wrench.
Now use a wrench to twist it, to tighten the screw thread you will need to transfer the wrench clockwise. Don’t give an excessive amount of stress while you are tightening. The screws in the faucet handle are all quite sensitive. So, you have to be somewhat careful when tightening.
Step 7: Test the Faucet
 Once the tightening is over, you can check out if the work was successful. Turn on the water distribution lines located under the sink. At this point, you should check the tightness of the handle of your kitchen faucet. Make sure it is comfortable.
If you feel that the handle of your faucet is uncomfortable and still dripping, you will want to start this process again.
Dual-handle vs Single-handle Faucet Tightening
The instructions we gave you are on how to tighten a single-handle faucet. However, things may be a little different with dual-handle faucets. You only need to tighten the setscrew of a two-handle faucet. The set screw is also located under the faucet handle cap. Tighten the handle clockwise. You need to remove this cap and tighten the screw. Then you will need to replace this cap.
Kitchen Faucet Tightening Recommendations by Brands
Things can also be different from brand to brand, here are our recommendations for the most popular faucet brands.
Moen
If your faucet is a Moen brand faucet, all you need to do is replace the cartridge inside the handle as that is the main faucet. When it wears out, water starts leaking out from the spout. The repair takes only half an hour to complete. The instructions in this guide above are for Moen faucets. They should suffice if you have this brand of faucet.
Kohler
When your Kohler two-handle kitchen faucet is leaking, there is likely a problem with the cartridge in one of the handles. Since it’s a dual-handle design, two different cartridges are controlling the flow of water. Focus on the handle where the leak is coming from or replace both cartridges if the leak is from the faucet spout. This repair is a common one, and it only takes experienced do-it-yourselfers, about half an hour to complete.
Delta
If you have a single-handle kitchen faucet, a double-handle tub faucet, or Delta shower valve these can all be repaired fairly well with the same repair kit.
Remove the cap that covers the screw that holds the handle in place. Remove the screw and the handle.
 After removing the handle, you will see a rod, remove the retaining nut, carefully with a pair of wiggle pliers and pull out the rod. It may be necessary to place a screwdriver under the shaft to loosen it.
Look down the cavity where the rod has been you will see a black ring, insert a screwdriver into the hole and remove the seat and spring underneath. A good way to reinstall a new one is to slide the seat over the screwdriver and then the spring, making sure they point in the right way. The CRAFTSMAN Screwdriver Set is one of the best for working on faucets. Now stick the screwdriver in the hole, letting the spring and seat snap into place.
Take the rod and put it back in place, tighten the fixing nut with your hands then 1/4 turn with a wrench, put the handle back on screw it down, and then replace the cap. Turn on the water again and test for leaks and operation
Grohe
Grohe Trusted Source Grohe - Wikipedia Grohe is a German sanitary fittings manufacturer with its registered office in Hemer and headquarters in Düsseldorf. Since 2014, Grohe has been part of the Japanese Lixil Group. The company generated consolidated sales revenues of EUR 1.35 billion in 2017. Grohe employs about 6,000 people worldwide. en.wikipedia.org manufactures several lines of uniquely designed taps for high-end homes and residential properties. The Grohe faucet has a replaceable cartridge system that should be replaced every three to five years, or as needed.
Find the handle (one or two) that connects to the rigid copper tubing or flexible metal tubing and turn these counterclockwise 1/4 turn to get to the “off” position. The water pipe is located under the cabinets in the room you are working in.
Insert the Allen key into the star-shaped hole under the Grohe faucet. Turn the faucet counterclockwise until the handle detaches from the faucet (4-6 turns).
Remove the faucet handle from the assembly point. This will allow you to access the cartridge system that is located directly under the handle.
Hold the cartridge firmly with the clamp, turning it counterclockwise until you hear a click, indicating that you have unlocked it from the cartridge assembly.
Remove the cartridge. You may need to use the pry pliers to remove the cartridge.
Insert the new cartridge into the assembly, using the pliers to rotate the cartridge 1/4 turn clockwise, locking it in place.
Replace the Grohe faucet handle, with the Allen key turning clockwise to tighten it in place. Make sure to tighten as much as you can by hand, without disassembling it, or using a tool that could damage the faucet.
Final Thoughts
A leaking faucet in the kitchen sink can ultimately cause a lot of problems, such as mold and rot if the water drops spread to your walls and cabinets. Fixing this problem before it becomes a bigger problem is fairly straightforward, however. We’ve seen how to tighten kitchen faucet and hope you can now execute this by yourself.