It’s all too common to find someone throwing away a perfectly good garment because of a small but fixable tear. This happens because most people don’t have sewing machines, and even if they did, they wouldn’t know how they work.
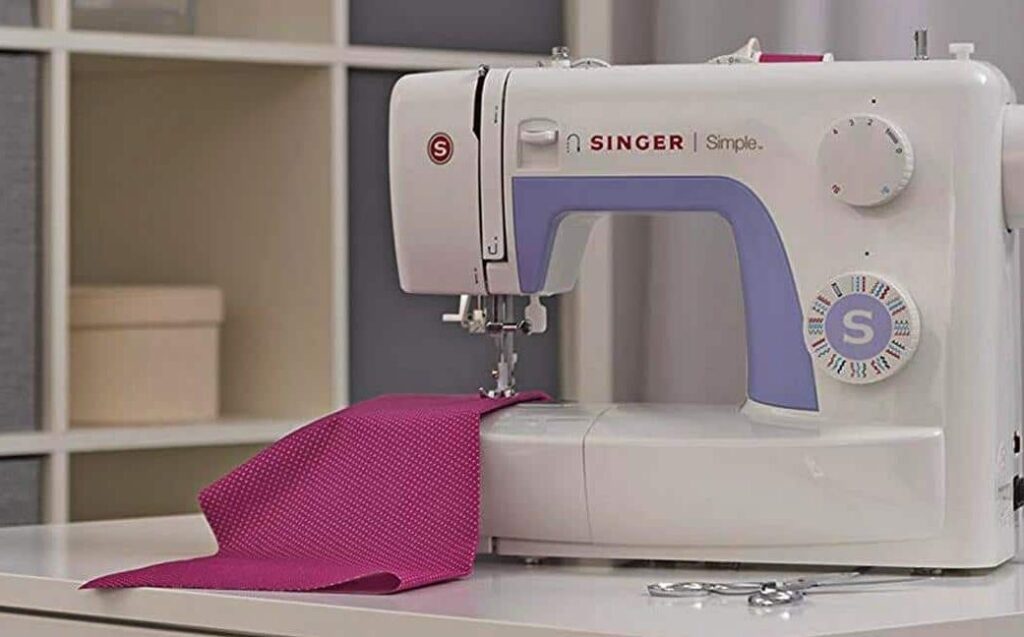
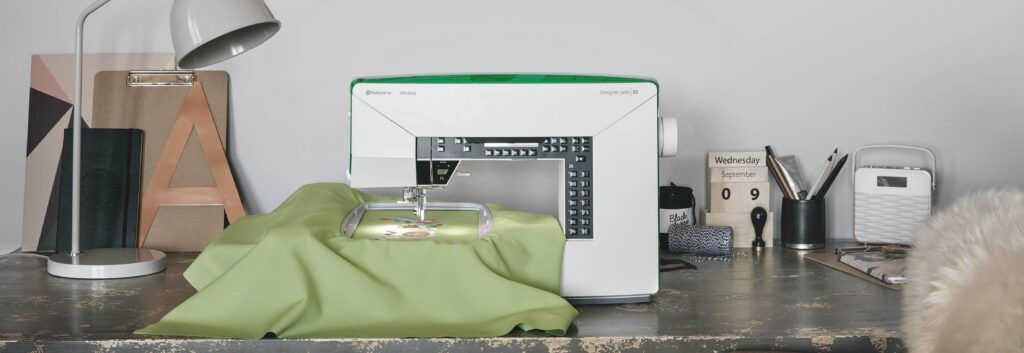
Admittedly, this is a relatively good excuse when normal full-size sewing machines are involved. After all, they’re expensive and not worth the cost for people who don’t have a lot of sewing projects.
Nevertheless, the excuse above doesn’t account for handheld sewing machines. They are cheaper, smaller, and it doesn’t take much to learn how to use a handheld sewing machine. What’s more, you can figure out what to do by just reading this write-up.
When looking for a sewing machine, you have to ensure it fulfills its base function of sewing fabrics and materials together using a thread. The handheld machine is no different. However, instead of the table-top design that you see in tailor shops or with your DIY crafter friends, the handheld sewing machine is meant to be portable and can be used anywhere.
In fact, the term handheld is descriptive and means you can use these mini sewing machines while holding them in your hands. Additionally, manufacturers prioritize portability in such mini handheld sewing machines. Consequently, they’re almost always battery-powered.
Ideally, these machines should be used for repair jobs and not for crafting as they don’t have enough power and features. Furthermore, you should avoid using such devices on thicker fabrics as you risk damaging them irreversibly.
As you would expect, the mini body means that most of the standard sewing machines’ features have been removed from these handheld options. This can be limiting but makes them easier to use. Remember that people using these mini handheld sewing machines are looking for quick fixes, and the ease of use will definitely come in handy in emergency situations.
Notably, Singer remains a popular sewing machine brand even where handheld machines are concerned, and this is seen in the popularity of the SINGER 01663. The portability and ease of use we mentioned are definitely two of the machine’s biggest benefits.
Lastly, depending on the make and model, your handheld machine could end up with either one or two thread bobbin slots to work with.
In terms of benefits for the handheld sewing machine, portability and convenience rank high. Consequently, it’s possible to take it with you to work, on vacation, or even to social gatherings. It will easily fit in a handbag or the glove compartment in a car, so you never leave home without it.
Secondly, you can get it for way cheaper than a standard sewing machine. The varying capabilities between the two types of sewing machines make this understandable. Also, since they have fewer parts and components, the handheld sewing machines don’t take much to set up and use.
On the drawbacks side, we have the fact that these machines are limited. By this, we mean you can only sew along the edge, and the fabrics you sew have to be thin. This also brings another con or drawback in that the machines are relatively flimsy. You might even damage them by trying to sew thicker fabrics.
The last drawback is there aren’t meant for long periods of use. You will deplete both the battery and the thread on the bobbin fast.
Whether from Singer or from another manufacturer, handheld sewing machines tend to have the same basic design. As such, they all have similar parts. When you purchase yours, it should come with a manual clearly labeling the different components that may include:
Also, a few select models may have extra parts such as:
Notably, the hand sewing machines with some extra parts tend to have a similar but miniaturized design of the standard sewing machine. According to most reviews, the SINGER 01664 is one of the go-to hand sewing machine options that give the feel and experience of full-sized machines. It even incorporates a two-thread set-up different from the one-thread design of most mini handheld sewing machines.
The machine won’t be able to take on a torn fabric or garment straight out of the box. The user needs to know how to set it up before they even think of putting it to work. For one, we already mentioned that these mini machines are likely to be battery-operated.
Some vendors will sell their options with the required set of batteries, and all you have to do is put them in before you turn on the device. It’s always recommended that you ensure the tool’s on/off button is set to off before putting in any new set of batteries.
Also, some machines come with a locking switch for all the moving parts. If yours has one of these, you should make sure it is engaged before changing or putting in a new battery set. By doing so, you prevent damage to the handheld sewing machine and possible injury to your fingers.
Additionally, check on the number of batteries needed before buying a spare set as this varies from model to model. Next, set up the bobbin Trusted Source Bobbin - Wikipedia A bobbin is a spindle or cylinder, with or without flanges, on which wire, yarn, thread or film is wound. en.wikipedia.org . New machines will tend to come with wound bobbins that are already loaded with the thread. You may, however, need to change out the thread whenever you start a new stitching process.
You set up the bobbin by removing the cap from the bobbin pin. Make sure the spring in the pin stays intact while you’re doing this. When you push the bobbin onto the pin, you’ll be pushing against the spring as well. As such, the cap helps keep the bobbin in place after you’ve let it go, so remember to replace it.
After positioning the bobbin, it’s now time to thread it through the machine. Start with the closest thread guide and put the thread through it. The thread should go through the underside of the guide and exit at the top.
Pull the thread to the tension control dial, which is attached to tension discs. Slip the thread in between the discs and position it, so it exits on the underside of the discs. After that, slip it through the next thread guide from top to bottom.
You can then use the needle threader to put the thread through the eye of the needle. Make sure you have at least a few inches of free thread hanging from the needle before the next step. You turn the rotary wheel, prompting the machine to push the needle below the fastening plate.
Finally, you can push up the fastening plate with your finger and pull out the thread underneath it.
To get started sewing, lift the needle arm by turning the rotary wheel, raise the presser foot, and put the fabric under the needle. You can then release the presser foot and press the on button. You might need to disengage the locking switch if it is still on.
The machine will start stitching, and you can use your left hand to pull the fabric to ensure you’re not stitching in the same place. This is assuming you’re holding the machine from behind.
After you’re done, you need to secure the stitches. We recommend stopping the machine, raising the needle arm, and pulling the thread out at least three inches from over the fastening plate before cutting it. You again need to turn the rotary wheel full cycle to the point where it goes into the fabric and comes back up again.
After that, you can lift the fastening plate and pull out the fabric. Ensure you don’t pull on the thread when doing so to prevent the seam from unraveling. When you’re done, turn the fabric onto its back and use the three-inches thread to knot the last stitch. Once that is secure, you can cut off the remaining thread.
Here’s a handy video tutorial on an example of the Singer handheld sewing machine.
There are specific guidelines to choosing a sewing machine, whether it’s handheld or full-size. However, if you’re stuck between the two variations of the machine, we can help you decide based on what you hope to get from the device.
The handheld option is likely only good for small repairs and easy carry. As a side benefit, it is much cheaper than the alternative. However, if you’re a craftsperson, we highly recommend you save up and buy full-sized options with additional benefits such as control over stitch types and more.
As a professional, it would also be impractical to get a handheld option since it won’t meet the needs of the job. That said, either option is excellent as long as it fulfills its primary purpose.
The write-up above disproves the theory that learning how to use a handheld sewing machine or one from another manufacturer is difficult. As such, if that is what put you off from purchasing such a device, you may want to reconsider. Also, it’s great to have such tools on hand. You can’t forecast when you might need an emergency stitch job.
