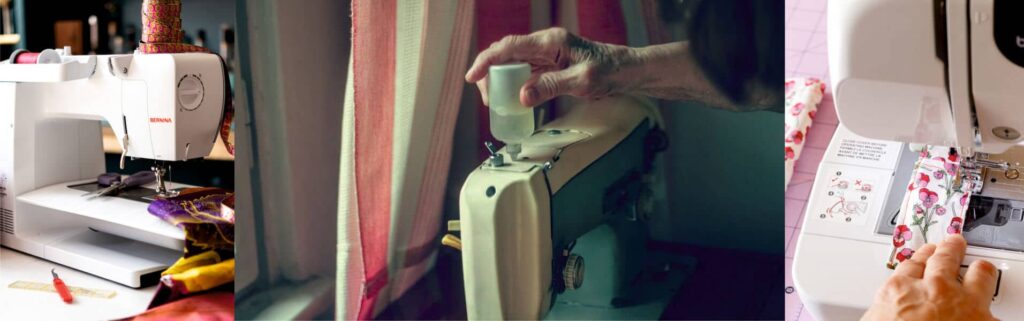
Embroidery Trusted Source Machine embroidery - Wikipedia Machine embroidery is an embroidery process whereby a sewing machine or embroidery machine is used to create patterns on textiles. en.wikipedia.org has been used to add some stylish decorations and patterns to textiles since the 1960s and it hasn’t lost its appeal over the last few decades. It is simpler to add to clothing, pillows, blankets, or other pieces than you may imagine, thanks to the creation of embroidery machines. These models are designed strictly to embroider pictures, letters, and patterns onto your fabrics.
Of course, you don’t need a dedicated embroidery machine to accomplish this decorative task. Instead, you can learn how to embroider with a sewing machine instead, using the stitch options included to create your favorite designs. There are also 2-in-1 machines available, like the Janome 9850 model, which gives you the best of both worlds, allowing you to sew and create complicated embroidery all with one machine. If you’d like to learn how to embroider with a regular sewing machine but aren’t sure where to start, the following information may help.
What you’ll need
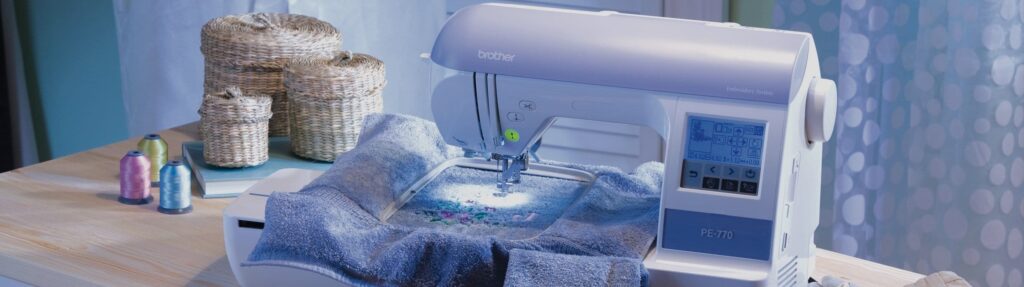
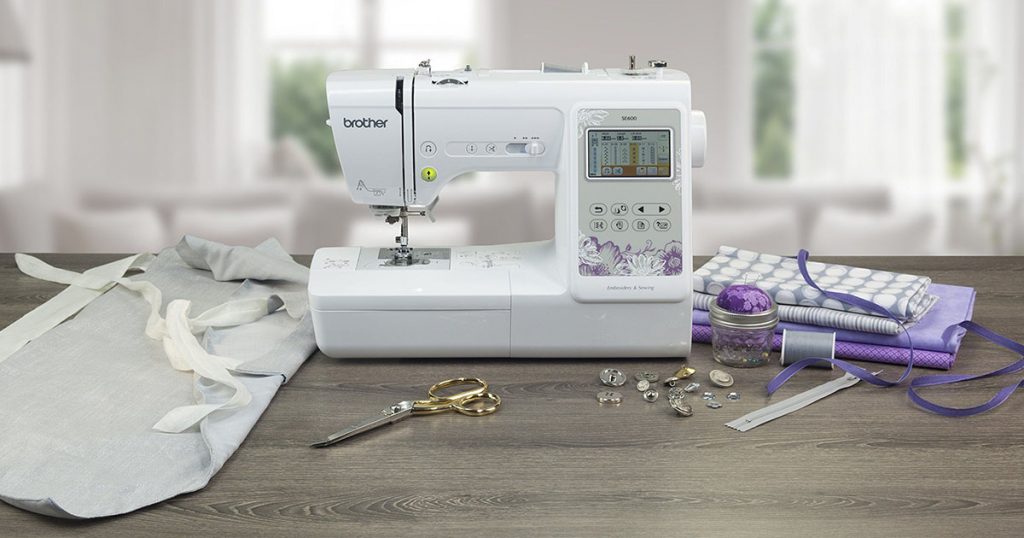
 If you’re going to learn how to embroider with a Brother sewing machine or any other brand for that matter, there are a few things you need to get started. The first is a good sewing machine. You don’t need a complicated one, either. Even a basic sewing machine will have a few extra stitching options that could be used for some lovely embroidery, so don’t assume that a fancy machine is needed for this.
You’ll need a few extra items as well. First is the right needle, which varies depending on the type and thickness of the fabric you’re using. You’ll also need thread, fabric, scissors, and medium-weight tearaway stabilizers to get started.
There are also a few optional materials that you can use. These include embroidery thread for a more decorative look to your finished products. A free-motion foot is also a good option for embroidering with a sewing machine. This type of foot lifts and lowers along with the needle rather than pressing the fabric down as the needle moves. An embroidery hoop is also handy to have since it keeps the fabric spread out with no bunching or shifting as you sew.
Prepare your machine to embroider
Once you’ve gathered your materials, it is time to prepare your sewing machine. Choose the thread you plan to use, making sure that the spool is full before you add it to the sewing machine. You should also check the threads to make sure they are accessible, especially when you’re doing multi-colored work.
Remove the presser foot from the machine. If you’re using a free motion foot, secure it in place. If not, leave this area empty. You should also lower the feed dogs since you do not need them running to pull the fabric through.
Choose the stitch you want to use. A simple zigzag stitch is a popular choice since it is decorative and available on even basic sewing machines. A single stitch is better for the edges, though, since it creates a nice border around the letters or pictures that you’re adding to your fabric. Some models include a variety of other stitch options, like the 165 stitches available on the Brother XR7550PRW. Once you’ve chosen your stitch, set this option on the sewing machine.
How to embroider letters with your machine
 Though learning how to embroider letters with a regular sewing machine may seem like a difficult task it is much simpler than you may think. Once you’ve gathered all the necessary items, it is time to get started.
Get a template
The first thing to do is decide on a template for your embroidery. You can choose designs from online resources or from purchased patterns. If you want to be really creative, you can also design your own template. Be sure to choose a font that is fairly thick to create a more robust design that will show up nicely on a piece of fabric. Once you’ve chosen your design, you can copy it onto a medium-weight tearaway stabilizer.
Prepare the fabric
To prepare the fabric you’re going to be adding the embroidered letters to, you need to add a stabilizer to the back of it. This will ensure that you have clean edges and avoid any frays. There are both single-sided and double-sided stabilizers available, so you can choose the one you like best for this process. The double-sided stabilizers already have adhesive added to both sides, so is a bit more convenient since you don’t need to keep separate adhesive options handy.
Locate the template and attach it securely
Once your stabilizer is attached, take the template and secure it to your fabric. If using a double-sided stabilizer for the template, secure it in place using the built-in adhesive. For a single-sided stabilizer, use a spray adhesive to adhere the printed paper onto the fabric. You can also pin the paper down if you don’t have any adhesive.
You can also add the embroidery hoop at this time to keep the fabric straight and reduce any bunching or gathering when you’re trying to embroider the letters.
Start stitching with the edges
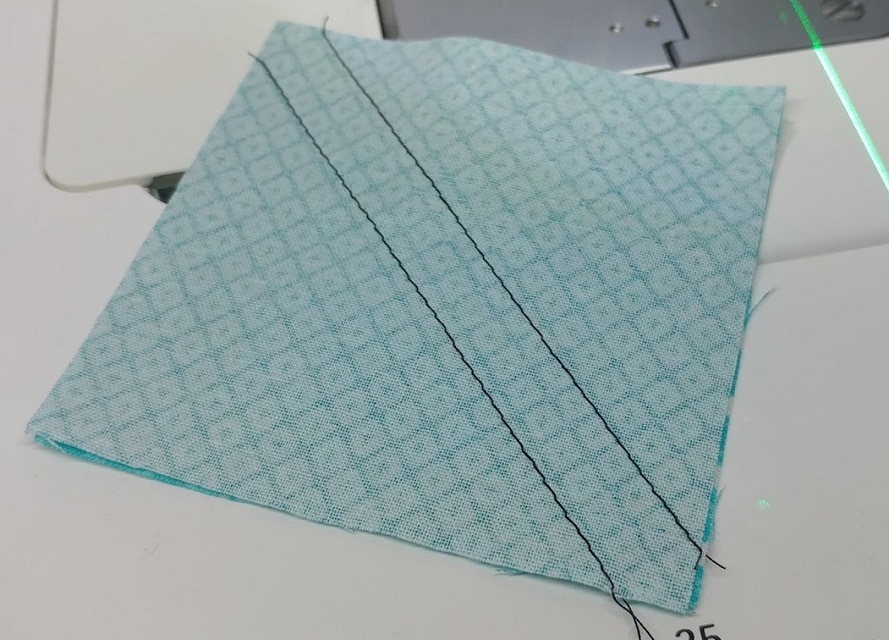
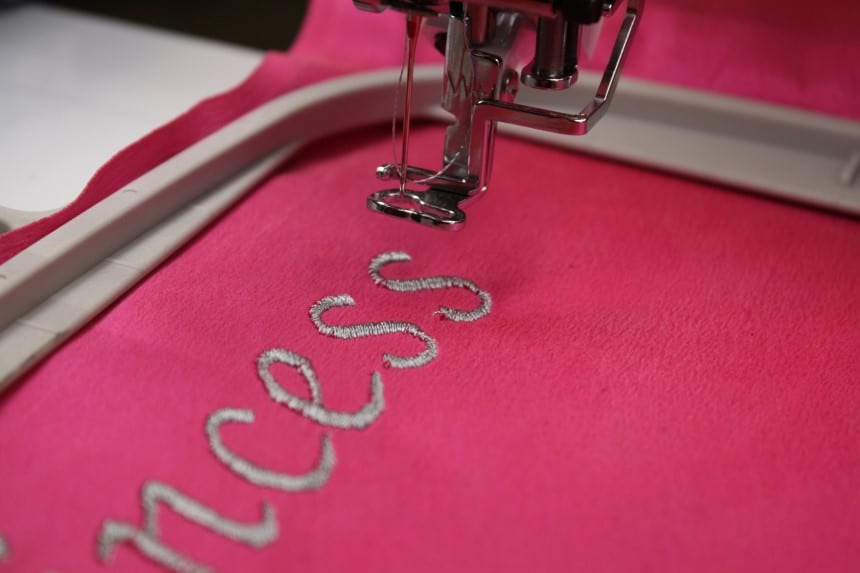
Now that you have your template and stabilizers in place, you can start sewing. Start by using the handwheel instead of your pedal. Turn it slowly to pierce the fabric and then raise the needle again to bring up the lower bobbin thread. Make a few stitches in the same place to lock in these threads and prevent them from unraveling. Cut away the extra thread before continuing to sew.
Take your time, working around the edges of the first letter with slow needle movements. Move the fabric as needed to follow the outline of each letter before filling them in.
Watch the hoop
As you’re embroidering the letters onto your fabric, be sure to hold the hoop, moving and turning it as needed to complete your pattern. This makes it easy to maneuver the fabric using small movements to keep the stitches evenly spaced and within the pattern you’ve chosen.
Don’t pull the fabric
With regular sewing, you may be used to doing a bit of pulling on the fabric to keep it moving through the machine. When you’re trying to embroider names or words with a sewing machine, this is the wrong thing to do. Pulling on the fabric during embroidery can create uneven stitches, so you need to maintain even movements to keep the stitches looking their best.
When you reach the end of the pattern you’ve chosen, lift the needle. Then pull the thread a bit and cut it. To get the loose threads to the back of the fabric, do a bit of backstitching. When the thread is at the back, you can tie it off and trim it as needed.
Remove the remaining paper
The last step to embroidering letters with a sewing machine is to remove the remaining stabilizer paper that held the template. If using tear-away paper, gentle tear it around the stitches, being careful not to pull on the stitches. Cutaway paper should be handled just as carefully, with the scissor cuts as close to the thread as possible without snipping any of them. Then you can gently pull out the remaining paper.
You can also remove the hoop and the stabilizer on the back of the fabric. When all of these pieces are removed, your item is ready to use as you see fit.
What else can you embroider with your machine?
The beauty of embroidering designs onto fabric on your own is that you can add pretty much any type of design you like. The letters we described above can be used be for a person’s name, a favorite sports team, a business name, or just a favorite saying if you like. You can also choose a variety of fonts, giving those simple letters a more decorative touch whenever you want.
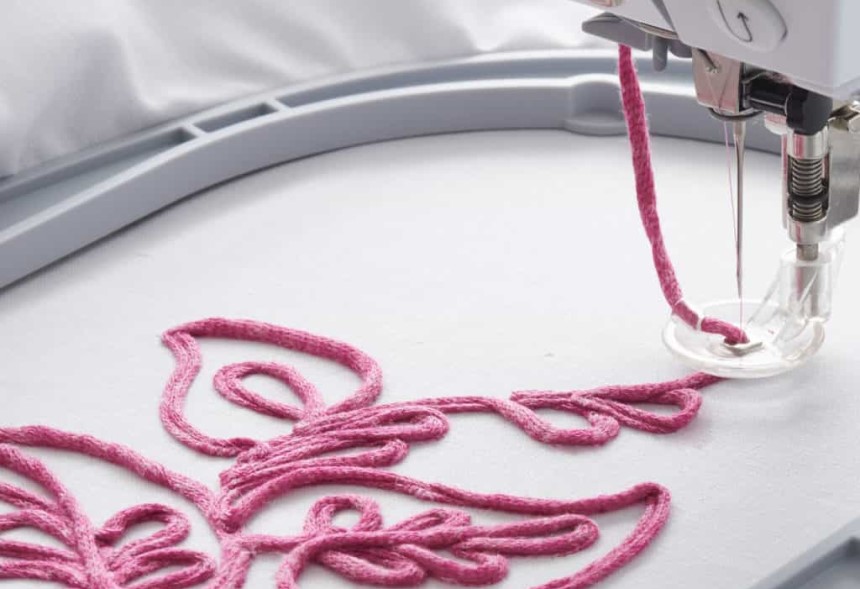
You can also embroider a variety of other designs with your sewing machine. You can choose some lovely flowers or other nature designs. You can add animals, shapes, logos, or anything else. There are a ton of patterns and designs to choose from that give you so many options for your embroidered items.
If you have a creative touch, you can even come up with your own designs. You can draw them freehand and then scan them onto your computer to be printed onto the stabilizer paper that you use for adding the design to your fabric. You can also use art-related computer programs to create your unique designs, saving them for future use if needed to add to future projects whenever you like.
If you have little ones at home, this can also be a fun project for them, allowing them to come up with their own designs that you can add to their favorite clothing or other items for them to show off.
Stitches and techniques to use
You don’t always need to use the stabilizer for the front of the fabric, though using it on the back can help keep the fabric flat and secure, as can the use of an embroidery hoop. If you are good at freehand drawing, you can use chalk or a washable marker to add the designs to your fabric. This makes it easier to finish the project off since you don’t need to worry about trying to remove the stabilizer paper beneath the design.
Adjust the top thread tension to keep the thread a bit looser than you would for your other sewing projects. Go slow with the needle to be sure your stitches are as accurate as possible and to ensure you aren’t leaving any gaps when filling in your designs.
You may also want to adjust the stitch length, depending on the type of stitch you’re using. A zigzag stitch should be turned to 0, while a straight stitch should be adjusted to the regular 2 length.
Make sure that the fabric is kept on the needle plate at all times. The removal of the pressor foot may result in the needle lifting the fabric as it rises, so you should do your best to keep this from happening to ensure proper stitching and even spacing.
Start small. If it is your first time embroidering with a sewing machine, try smaller, simpler projects before moving on to any intricate designs. You may also want to stick with straight lines or gradual curves until you learn how to turn the fabric properly as you sew.
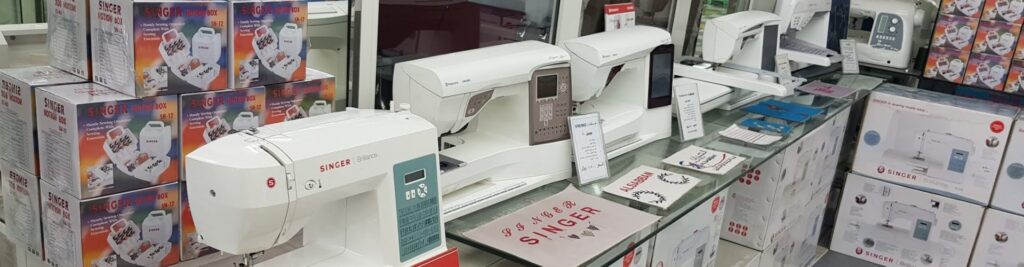
What machines are ideal for embroidery?
 There are a wide variety of dedicated embroidery machines available for these types of projects. These range from beginner embroidery machines to the more advanced models. There are also combination machines that are for both embroidery and sewing, so you get the best of both worlds without having to buy multiple machines.
You don’t need to spend your money on an embroidery machine or a combo machine if you don’t want to though. Almost any regular sewing machine can be used for these projects, provided they allow you to turn off the feed dogs and adjust the thread tension. Having a few extra stitch options for more decorative stitching is also handy.
Final thoughts
Adding embroidered letters or pictures to your clothing, pillows, towels, blankets, or a variety of other pieces can give them a unique and decorative look that is much more pleasing than plain fabric. Though beginners may find the idea of embroidering their own designs a bit overwhelming, the process is easier than you may think.
The best thing about embroidering at home is that you don’t need a special machine to do so. As long as you take the time to learn the steps on how to embroider with a sewing machine, you’ll be creating your original projects in no time.