Regularly cleaning and lubricating your sewing machine is an essential part of proper maintenance. When you remove the built-up lint and apply oil, your machine will run more quietly and smoothly. In our guide, you find useful tips on how to oil a sewing machine, including front-loading and top-loading devices. In addition, we explain how to clean it and answer some frequently asked questions about sewing machine maintenance. Expert tips will help you to extend the lifespan of your sewing machine and reduce repair bills.
Five secrets of good maintenance
These five simple tips on sewing machine maintenance are sure to give you positive results and pay off in the long run:
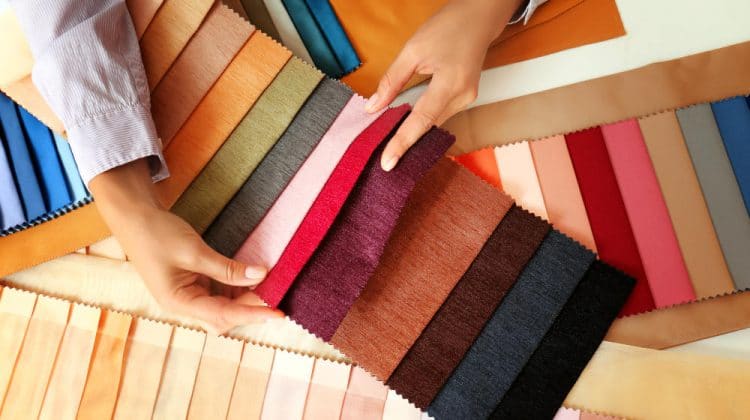
- Use a special thread for sewing machines. It is less linty than a multipurpose thread.
- Remove lint regularly. If it is possible, do it every 10-12 hours worth of sewing.
- Use only special sewing machine oil for oiling.
- Do not use compressed air (canned air).
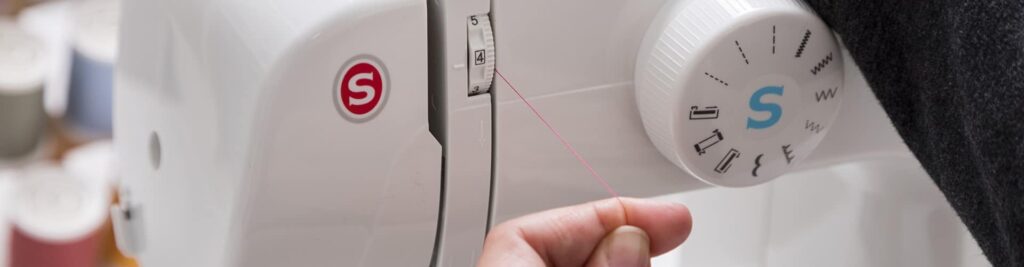
- Read your manufacturer’s instructional manual carefully – and follow it.
Some devices, for example, computerized sewing machines, are self-lubricated and don’t need to be oiled. The manual will describe the exact place where you can put the sewing machine oil, usually in the bobbin housing.
If you don’t have a manual, you may find it online on the manufacturer’s website. These tutorials typically don’t give you in-detailed instructions, but they contain important warnings. Pay particular attention to the information about what NOT to do with the sewing machine, and you will reduce your chances of breaking it.
If you have already read sewing machine cleaning manuals, you probably noticed diametrically opposite instructions about using compressed air. Some experienced sewers recommend it, and some forbid it, as canned air adds extra moisture that makes lint stickier. It also blows the lint into the inner mechanic parts. This may cause the machine to break, and result in a hefty repair bill.
We prefer to use a nylon brush instead of compressed air, and suggest brushing the inner parts of the machine carefully every time you change the bobbin.
For oiling and cleaning, you will need:
- High-quality sewing machine oil.
- A nylon brush.
- A clean piece of cloth for sewing.
The maintenance takes about 15-20 minutes of your time at first, and about 5-10 minutes when you have learned how to do it quickly.
Machines with a front-loading bobbin
Let’s start with front-loading sewing machines. The lint usually accumulates beneath the needle plate and the feed dog, inside the housing and the bobbin case. So, first remove the bed to get the access to the housing. Then:
- Open the bobbin housing door, pull the spring and remove the bobbin case.
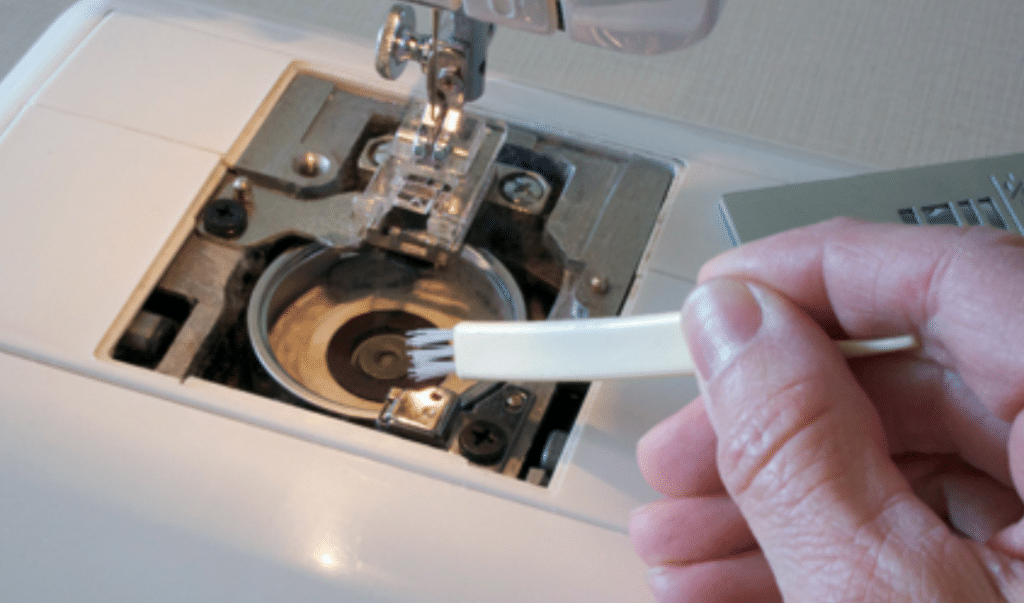
- Brush the inner parts.
- If possible, remove the needle plate and brush the feed dog all-around.
- If you can’t remove the plate, then brush the feed dog from the top and underneath.
- Push the shuttle hook cover and take it out, then remove the shuttle hook.
- Brush the removed parts and inner parts of the bobbin case, including the space underneath the needle plate.
- Put all the sewing machine parts back into place.
- Make sure that all the lint has been removed.
- Add 1 drop of oil into the bobbin case.
- Turn the hand wheel forward and backward to spread the oil.
- Load the bobbin with a thread into the machine.
- Put a piece of cloth into the needle plate and make several stitches.
These stitches help you to remove extra oil from the bobbin case.
Machines with a top-loading bobbin
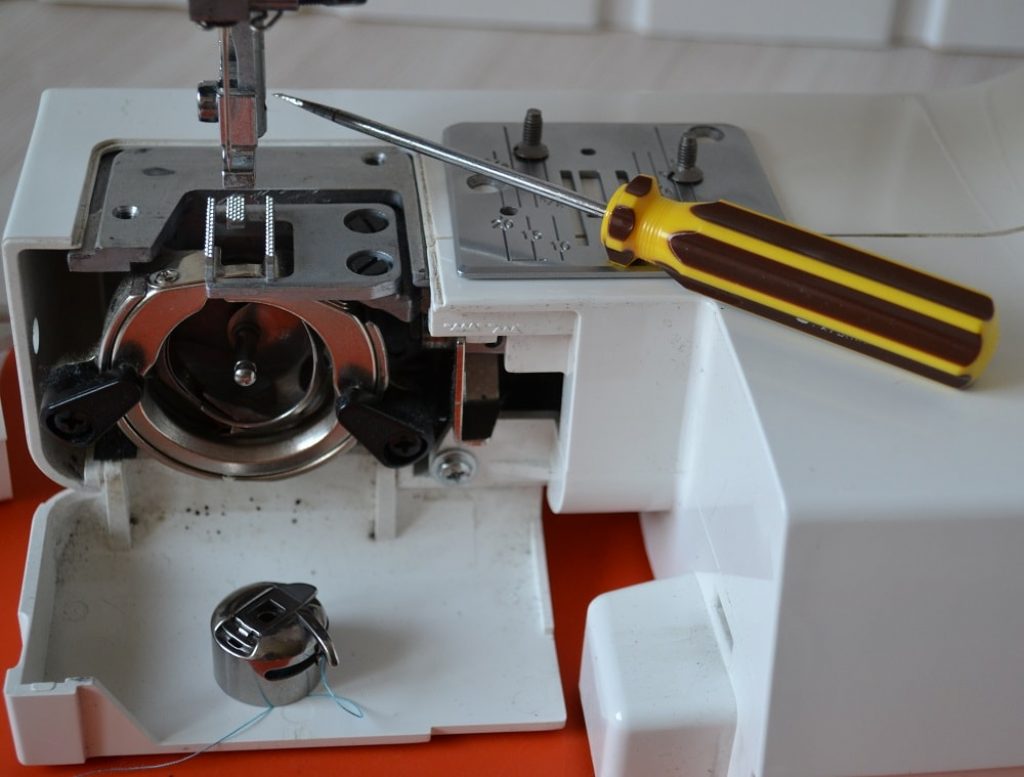
If you want to clean and oil a top-loading sewing machine quickly, you need to remove the feed dog and the needle using a special screwdriver plate. These screwdrivers come with the machine. If you don’t have them, you usually can use an ordinary screwdriver, or even a coin. Once the needle is removed, you may choose to change it to a brand-new one.
Next, follow this guide:
- Take away all the screws that hold the needle plate in its place.
- Remove the needle plate and the bobbin housing door.
- Lift up the bobbin case for taking it out.
- Bush away all the fluff from the inner and from the removed parts.
- Drop oil into the center of the hook race and spread it with a brush.
- Put the parts back together.
 You may use two brushes for cleaning and oiling or just one. In the latter case, you’ll have to give it a wash after brushing the dust.
FAQ
Below are the six most common questions that people ask about sewing machine cleaning and oiling. The answers will help you to avoid typical mistakes.
- Can I use cotton tips, toothpicks, paintbrush, a hair dryer, or a vacuum cleaner to remove all the fluff and lint from the inner parts of my sewing machine?
If you have no nylon brush, you can use other dust removers, but a synthetic brush is the best tool for the task.
A vacuum cleaner and hair dryer can make the inner parts of the machine dry, even if you oil them after the cleaning.
- Instead of special sewing machine oil, can I use an ordinary household oil, car oil, or WD-40?
It is highly not recommended.
- How to clean and oil a computerized sewing machine, what are the nuances?
All electronic sewing machines, including computerized models, need to be switched off and unplugged before cleaning. Usually, computerized sewing machines do not need to be oiled. Extra liquid can harm the electronic plates, so be careful and read the instructional manual.
- How to clean an automatic needle threader in computerized sewing machines?
If you want to remove fluff from the needle threader, there is no better advice than to follow your manufacturer’s manual. To move down the needle threader, you need to push a button or select the icon in the menu (depends on the model of your machine). Then the system allows you to remove the feed dog and needle, enabling you to brush the threader with ease.
- How to clean the exterior of a portable sewing machine?
A portable sewing machine, especially if it is used without a cover, quickly becomes dirty both from the inside and outside. For outside cleaning, use a microfiber cloth or a sponge. You can wash the sewing machine body and head with a little bit of soap, but try to avoid extra water. Do not let water to drop on the needle plate and inside the machine. After cleaning, wipe everything dry.
- Can I pay someone to do the job?
Yes, if you don’t want to clean and oil your machine by yourself, you can take your device to your local sewing machine repair shop. Professionals will do the same thing that you would do at home. When choosing a shop, try to find one that is specialized in your sewing machine brand. For example, if you have a Brother sewing machine, go to the Brother repair center. In addition to the cleaning, the technicians can update the software or run diagnostic tests.