Sewing elastic Trusted Source Elastic (notion) - Wikipedia In sewing, elastic is a notion which is sold in narrow strips and generally serves to increase the ability of garment to stretch, either to accommodate movement or to make the garment suitable for wearers of many different physical sizes. Elastic comes in four forms of construction, each with costs and benefits. en.wikipedia.org into a garment without a machine would make your work significantly more complex. However, the truth is that not everyone has a sewing machine at their disposal. If you’re one of these people, this doesn’t mean you should give up. There is still a way to get around that handicap.
The guide below tells you how to sew elastic by hand. You can use the steps described to sew elastic until you have the option of a machine. You can even decide never to incorporate the machine if what you have already works for you.
What you need to sew elastic by hand
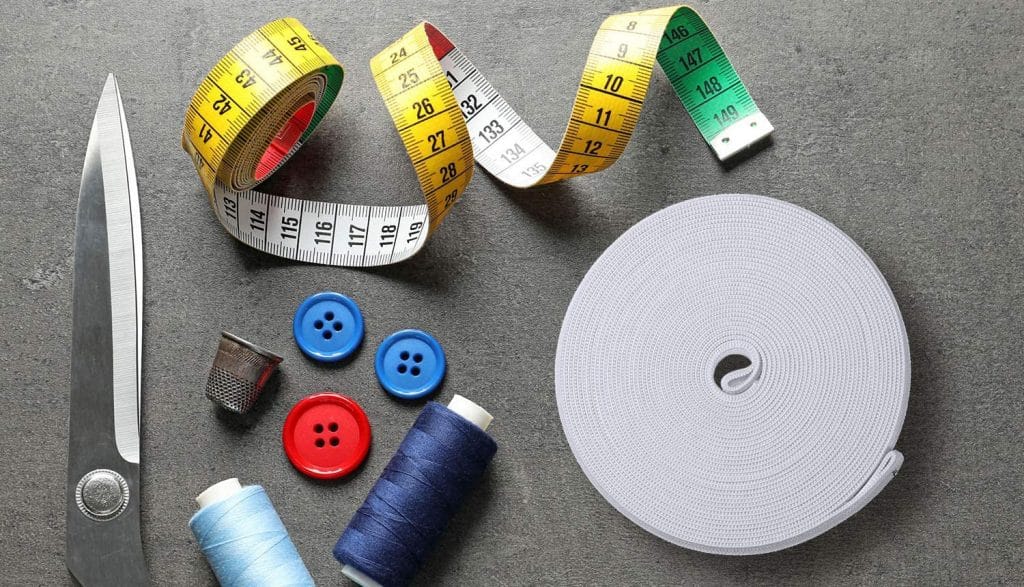
Except for the elastic, you would typically need the same supplies any other beginner would need to take on a sewing job. These include a thread, needle, pins to hold the fabric and elastic in place, and maybe some scissors to cut the thread and the elastic.
How to sew in an elastic
The two most common ways to sew an elastic waistband by hand include using a casing and sewing directly into the garment. We’ve discussed and given instructions for both these methods below. You can pick which one to go with depending on the job.
Using a casing
For this option, you first need to make a casing for the elastic. This you can achieve by turning in the ends of the fabric to make a hem-like structure. We are assuming that you have enough material to work with at the top if this is the waistband for your pants.
This hem should be roughly the size of the elastic you’re going to use or larger. To be safe, be sure to measure the width of the elastic so that you can ensure the extra fabric you leave at the top is more than twice that size. Also, when you sew in the hem by hand, be sure to leave enough space for the elastic to fit through.
Next, you measure and cut the elastic. It should be slightly under the waist size of the person you’re making the pants for. Remember that you want to leave enough leeway for the elastic to stretch. A slight disparity of about one inch should be enough.
After that, it’s time to put a safety pin on one end of the elastic. The space that you left in the hem will now come into play. Push the safety pin end of the elastic through this space and use the pin to drag the elastic around the hem.
To do this, you may have to bunch up the hem then pull the pin from over the fabric. Additionally, you can add another pin to hold the other end of the elastic to the material. Remember that it is smaller than the fabric, and with a tiny mistake, it will go into the hem and make your work harder.
Also, go slow and straighten the elastic every few seconds. If you don’t, the elastic might twist while you want it to be straight. At some point, the elastic will exit the hole you left in the hem. You can then remove the pins and attach the two ends of the elastic using a thread.
Try to use a zigzag or backstitch while putting the two ends of the elastic together. You can then slide this potion of the elastic into the hem and seal it up. You should be done at this point and are free to test out the stretchiness of the garment.
Directly into a garment
The second method of sewing elastic to fabric by hand involves stitching the elastic directly to the garment you’re working on. Again, you start by cutting the elastic. By this time, we can assume that you already left enough fabric to cover the elastic in the waistband.
Remember to account for the stretchiness of the elastic when you’re cutting it. You can then sew the elastic edges together to create a loop. Slide this over the section of the garment where you intend to place the elastic.
After that, use pins to attach the elastic to the fabric at regular intervals. Four pins should be a good place to start. Remember to stretch the elastic band to ensure the fabric doesn’t get bunched up as you’re doing this. If you don’t have pins use the extra needles in your toolbox to hold the fabric and elastic together.
The Mr. Pen needle set is highly recommended by previous users since it has 50 needles in the set. With this many needles, you can even forego the thought of buying pins altogether. The big eyes in these needles also mean easier threading.
After that, sew the elastic to the fabric by hand. Use the top edge of the elastic for this. You might have to either work around the pins or remove them when you get to one of the four intervals. You should, however, replace them as soon as you’re done sewing that section.
When you’ve sewn around the elastic band and secured the stitches, you can then remove all the pins. You then fold over the fabric to cover the elastic band. After that, you sew the bottom of the folded fabric. You will still need to pull on the fabric to ensure the elastic is fully stretched while doing this.
The process is completed when you sew all around the garment and secure the stitches.
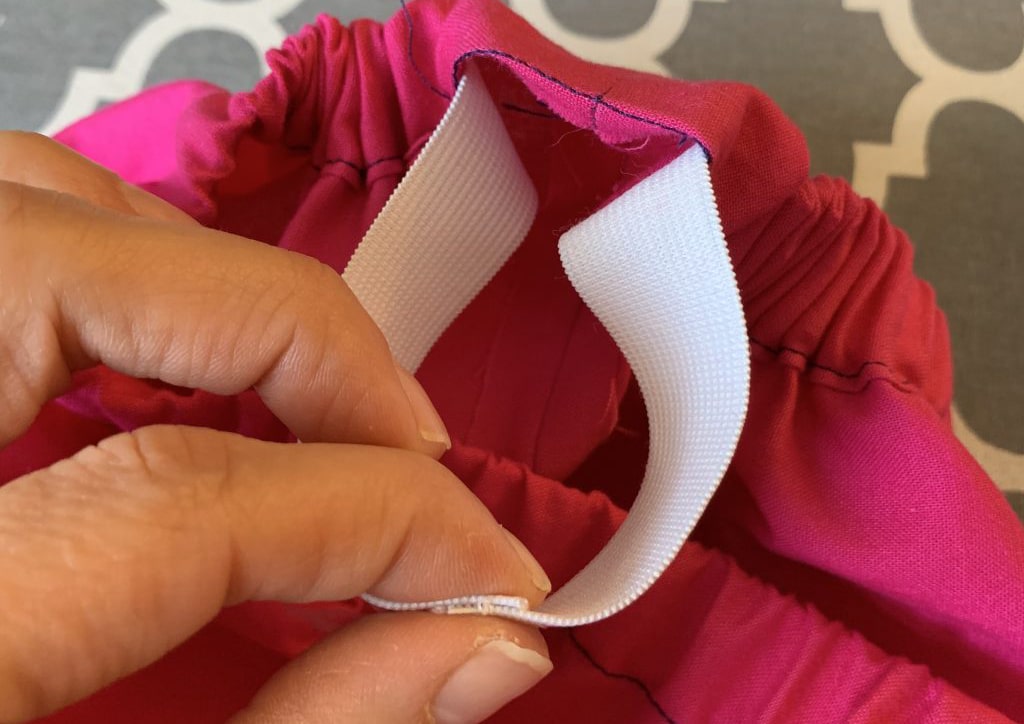
How to sew elastic edges
For the two methods mentioned above, it seems you’ll have to sew the elastic edges together at some point to complete the loop. It’s not very complicated to do, especially if you’re already familiar with basic sewing techniques.
First, you attach the two edges using a safety pin. This will help hold the elastic in place while you take care of the rest. After that, use a backstitch to attach the tops and bottoms of both edges. Handle one at a time, cut the thread, then move to the next one. Notably, one of the edges will be on top of the other.
After that, you can remove the pin and keep using the backstitch to attach the top and bottom of the elastic edges. Alternatively, zigzag stitches have been used to great effect where sewing machines are concerned and can work when sewing elastic edges by hand as well.
Check out this short video tutorial on how to zig zag stitch by hand.
There’s an alternative method for those who want to avoid the bulge, and it involves a small piece of cloth.
You start by sewing one end of the elastic onto the cloth. You might be better off stitching a few lines of thread into the elastic and fabric to ensure they are both firmly attached. After that, bring the other edge of the elastic as close to the first one as possible. There should still be a piece of fabric under this edge as well.
Sew the second edge into the fabric. Remember to secure the stitches. When you eventually insert it into the hem, there will be no bulge.
Types of elastic you might encounter
There are three major types of elastics that you might encounter when shopping for your first time. The first is the braided elastic. Its most distinctive attribute is the parallel ridges. While it has the benefit of extra grip, it also narrows when stretched.
The propensity to narrow also means it’s more prone to rolling as compared to the other two variations. Experts recommend using it in casing situations and avoiding sewing this elastic to the fabric as much as possible. Also, try to put it in areas in your garment where rolling won’t present a problem. Examples include sleeves and necklines.
Next, you have the knitted elastic. This type of elastic is extremely soft, especially in comparison to the other two. However, this is not to be taken to mean it is not durable. Unlike the braided option, the width does not change when this elastic is stretched.
Knitted elastics are also not particularly prone to rolling and seem perfect for sew-on jobs where the elastic is attached to the fabric. It’s generally not good to use this elastic with heavy fabrics. However, for light to midweight fabrics, it should work just fine.
According to most reviewers, the White Knit Elastic Spool is a knitted elastic band made of polyester that is excellent for these types of jobs. It has previously been used successfully in pants, underwear and could easily work for your home DIY projects as well.
Lastly we have the woven elastic. This is often the heaviest but firmest option, which makes it perfect for heavier fabrics as well. You can use it for both sew-on and casing applications without much of an issue. Additionally, the fact that it’s known as non-roll elastic in some circles is proof enough it should be the go-to when you’re trying to avoid rolling at all costs.
Final thoughts
Despite many people preferring machines, learning how to sew elastic by hand is not that hard or complicated. You can learn how and be well into your next garment project in an hour or less. Admittedly you’ll need a bit of background in hand sewing, so you don’t start learning everything from scratch. That said, the skill is worth adding to your list of abilities if you want to keep making your own garments.